New Swingarm In Progress
- Thread starter Blaner
- Start date
You are using an out of date browser. It may not display this or other websites correctly.
You should upgrade or use an alternative browser.
You should upgrade or use an alternative browser.
I know you got a file for making the axle ears, is there a possibility of making it a sticky or whatever so others could use it in the future? Thanks.
BTW, looking good so far!!
BTW, looking good so far!!
I know you got a file for making the axle ears, is there a possibility of making it a sticky or whatever so others could use it in the future? Thanks.
BTW, looking good so far!!
That would be helpful. I'm going to look into making an aluminum one later. I have to do some research first.
WOW! Blaner looking real good! Nothing like making your own stuff, just seems to put that special touch on it all! Looks like we may have another Technician on the forum! I:I Great job Brutha!
Hey thanks guys! well i dont mind putting up the CAD file or something, il look into finding a site where I can host it or something. Also, il have to check with the original designer of the file. I cant take credit for that.
Ya making your own parts really creates something special. makes you appreciate everything more!
Ya making your own parts really creates something special. makes you appreciate everything more!
Holy Cow Blaner, i just signed up for the blasterforum last month when i bought my first blaster. i was just lookin around the site and started reading this thread. all i can say is; way to step it up a notch!!! looks awesome and ill be following your progress!
Update!
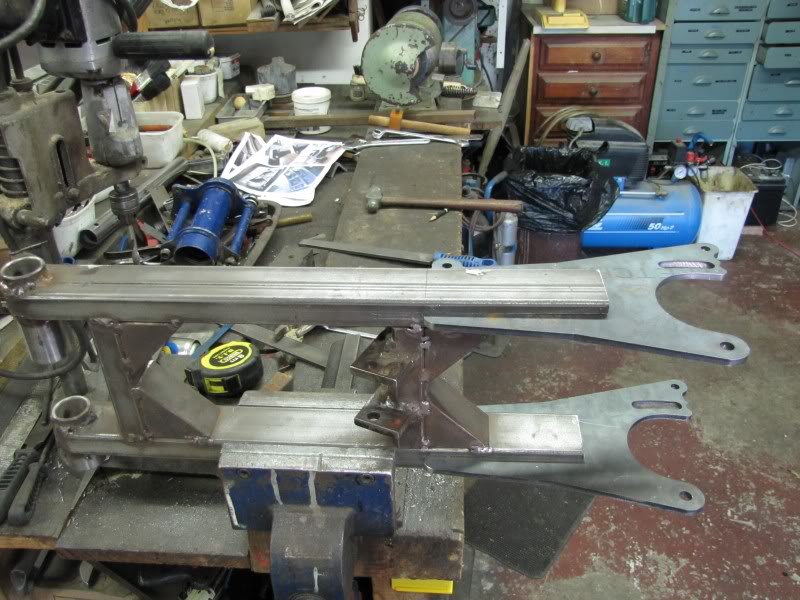
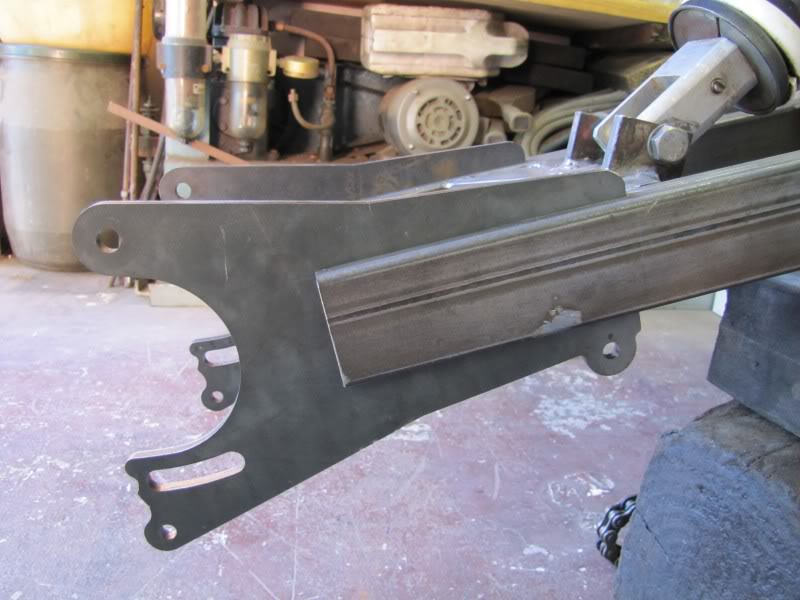
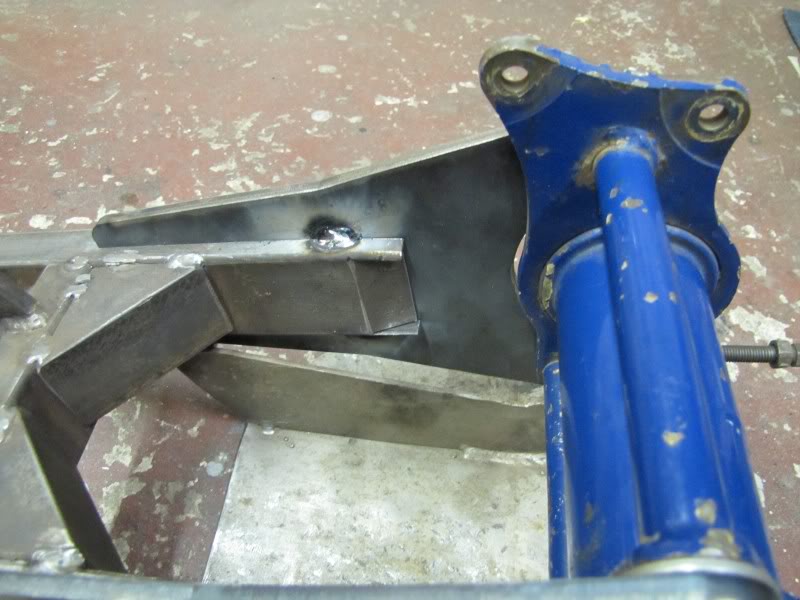
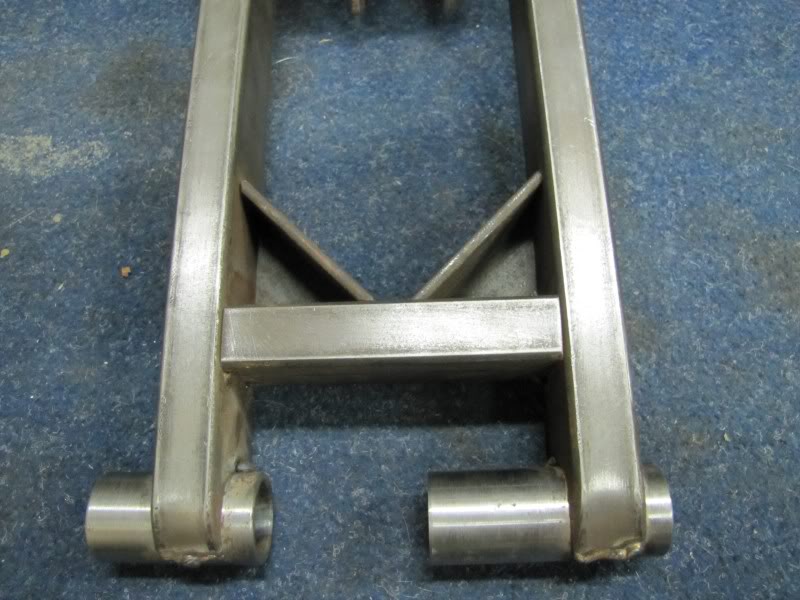
Today got the grooves cut that will house the plates...
I decided the wings were a tad too long for my liking and that in stock trim would interfere with my shock bolt insertion, so i cut off 35mm
Fitted, roughly:

Test fit on the bike to determine the postion of the wings:
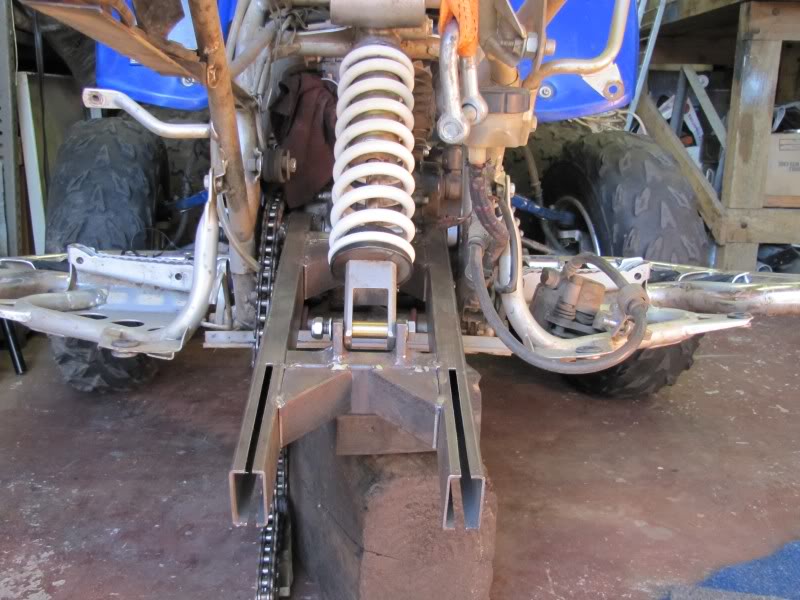
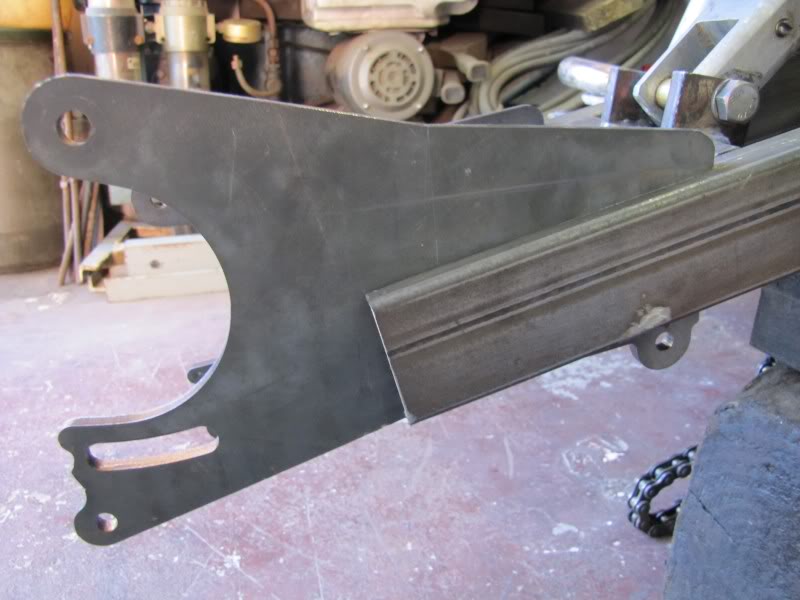
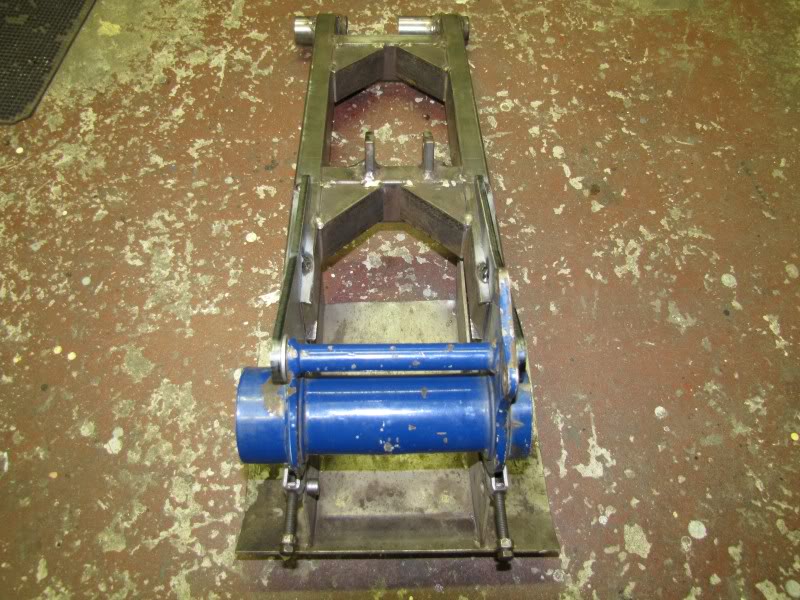
Now I needed to get the position of the wings which i found to be very important because this directly affects the ride height.
This can be seen in this pic. Here, the wings are centered in the middle of the tube, this is "default position i marked before even checking this. This gave a height of 850mm from the grab bar to the floor once I fitted the axle carrier with axle and 22" tires all bolted up
The I moved it down a little and kinked the setup in a manner similar to this pic, here however i exaggerated the kink to take the pic to show you guys, i never went this far...This setup now lowers the shock mount and hence lowers the ride (seat) height of the bike!
Then I went the other way, again, exaggerated for the pic. This now raises the shock mount and lifts the seat height up...
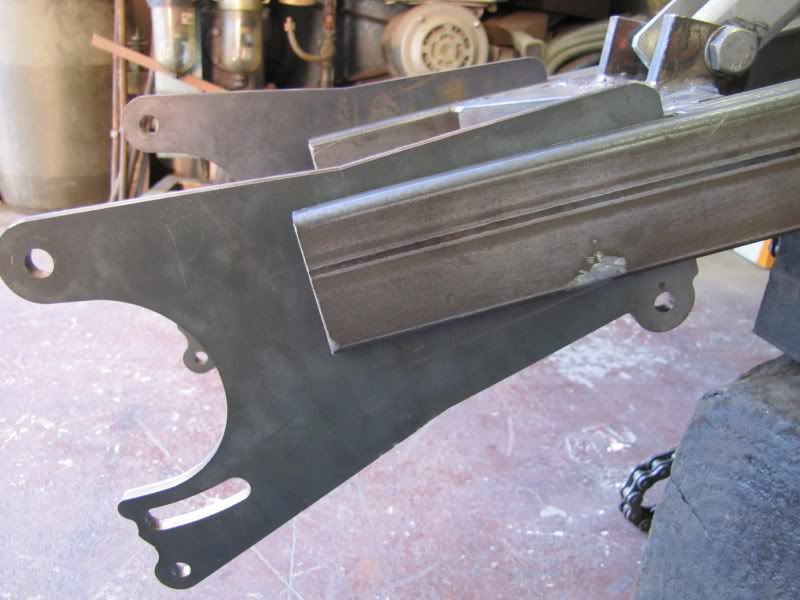
So, with the axle and wheels on, i set the ride height to the exact height it was before, which is coincidently the same height as the YFZ450. bear in mind this is all with a 400ex shock.
Magically the correct spot was exactly where i marked it in the middle to begin with....mmm")
Today got the grooves cut that will house the plates...
I decided the wings were a tad too long for my liking and that in stock trim would interfere with my shock bolt insertion, so i cut off 35mm
Fitted, roughly:
Test fit on the bike to determine the postion of the wings:
Now I needed to get the position of the wings which i found to be very important because this directly affects the ride height.
This can be seen in this pic. Here, the wings are centered in the middle of the tube, this is "default position i marked before even checking this. This gave a height of 850mm from the grab bar to the floor once I fitted the axle carrier with axle and 22" tires all bolted up
The I moved it down a little and kinked the setup in a manner similar to this pic, here however i exaggerated the kink to take the pic to show you guys, i never went this far...This setup now lowers the shock mount and hence lowers the ride (seat) height of the bike!
Then I went the other way, again, exaggerated for the pic. This now raises the shock mount and lifts the seat height up...
So, with the axle and wheels on, i set the ride height to the exact height it was before, which is coincidently the same height as the YFZ450. bear in mind this is all with a 400ex shock.
Magically the correct spot was exactly where i marked it in the middle to begin with....mmm
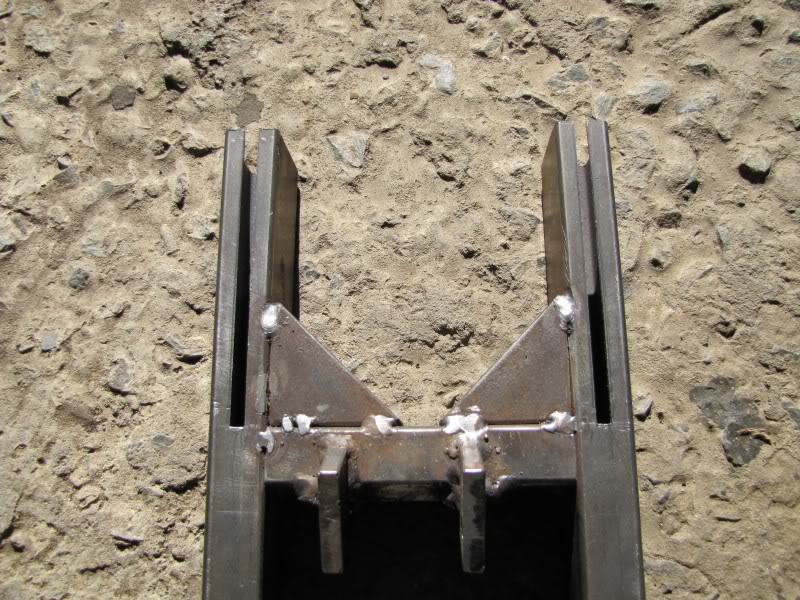
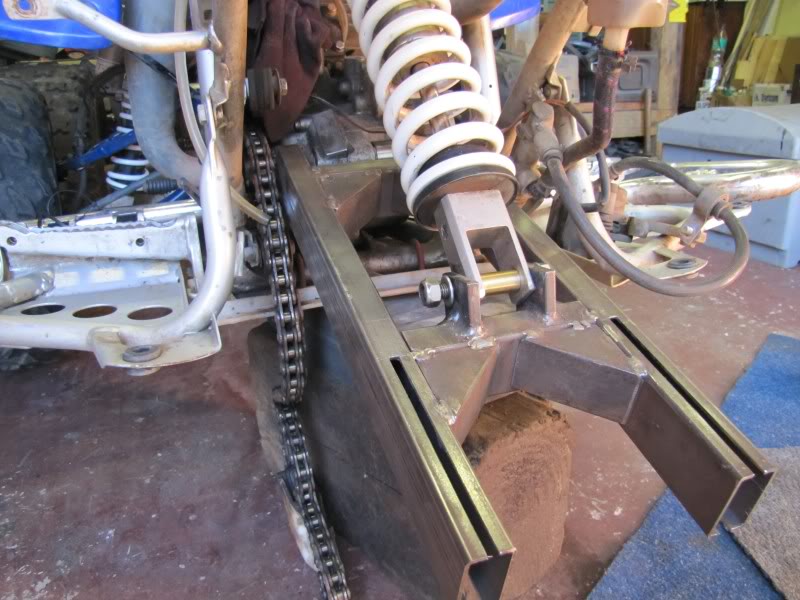
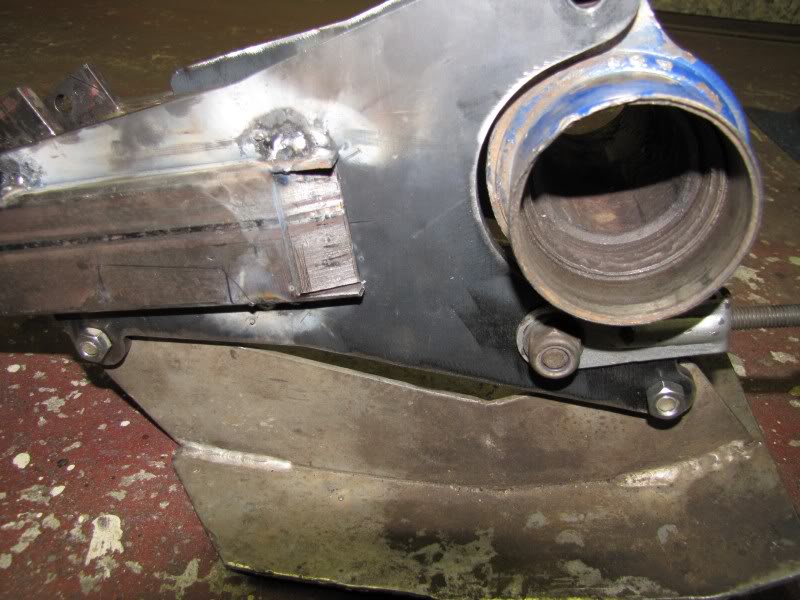
Here I have the wings tacked on with a old dummy carrier bolted in to get the spacing right etc...
Here you can see the plan for closing the ends...not yet finished.
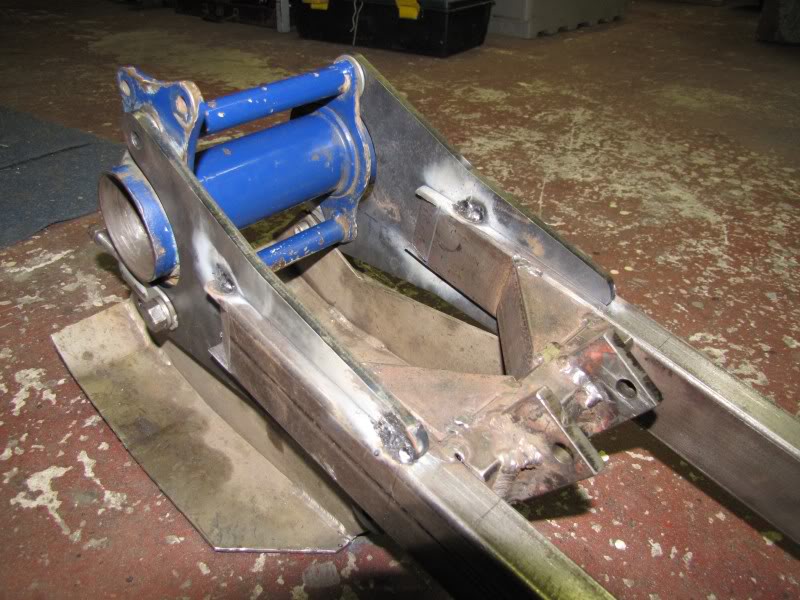
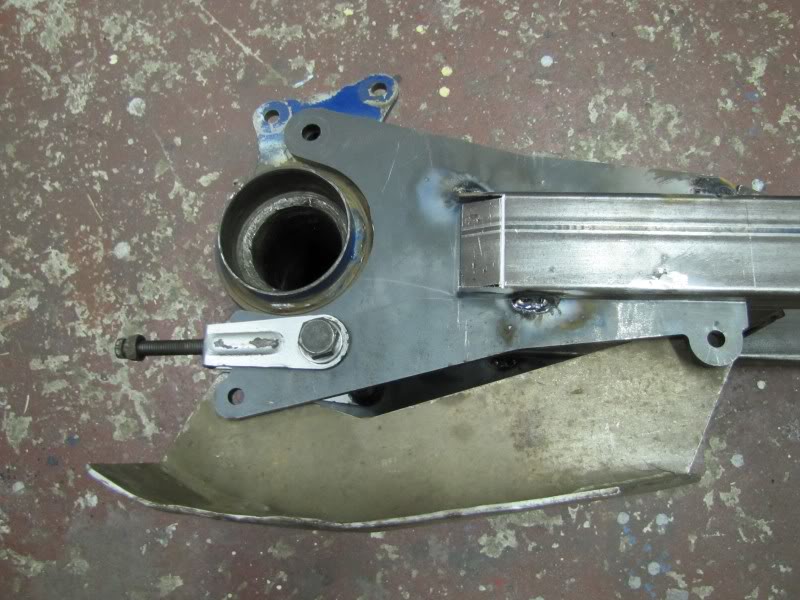
I must still cut a gusset for the front ube here to reinforce it. but i thought Id show you the bottom of the angle iron gussets, I opted for this beacuse i didnt like the idea of a box gusset where water would be trapped!
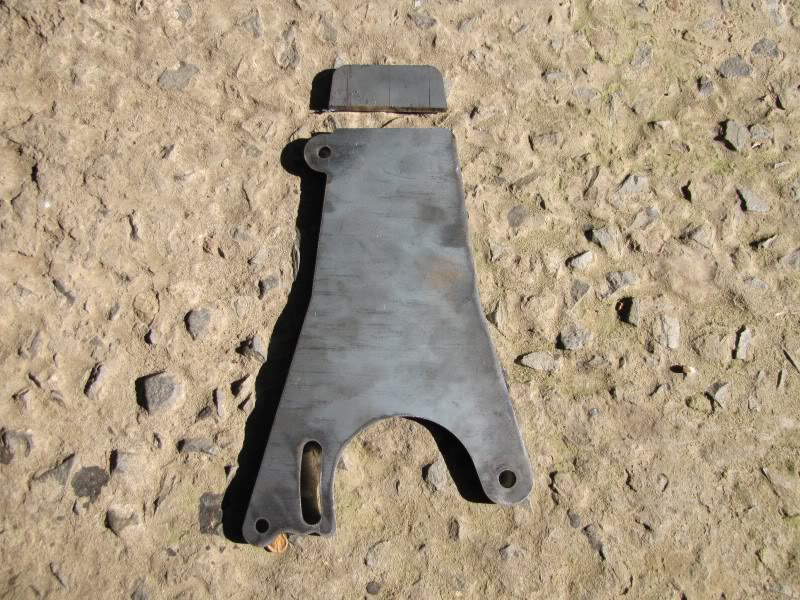
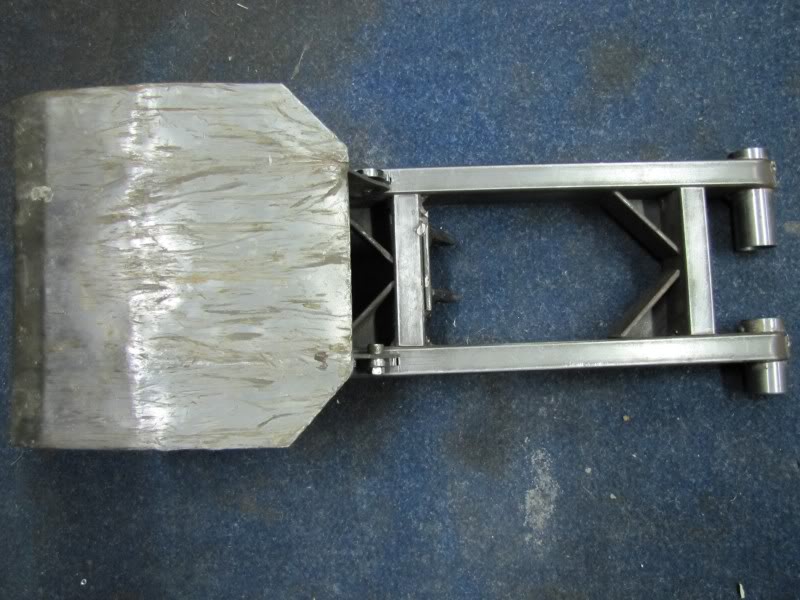
With the skid plate on
Here you can see the plan for closing the ends...not yet finished.
I must still cut a gusset for the front ube here to reinforce it. but i thought Id show you the bottom of the angle iron gussets, I opted for this beacuse i didnt like the idea of a box gusset where water would be trapped!
With the skid plate on
How'd you cut the slots?
was going to use a hacksaw, but used a 1.6mm cutting disk on a grinder. it tends to keep itself in a stright line tooo because of centrifugal force
was going to use a hacksaw, but used a 1.6mm cutting disk on a grinder. it tends to keep itself in a stright line tooo because of centrifugal force
you did a damn good job cutting using a grinder by hand,
i would have guessed that was machine cut, as they look perfectly striaght to me
you did a damn good job cutting using a grinder by hand,
i would have guessed that was machine cut, as they look perfectly striaght to me
well il be sure to pass that on to my dad - He did the cutting there...it required a bit of filing to get it fine tuned so that helped get rid of any bumps
Nothing like free hand machining. One other thought, what did you do for pivot tubes? Did you have to machine the inside for brgs, or outside for dust caps?
Very Nice progress! I'm impressed! My one thought,
For sure is some nice ass fabbing and machine work!
, This i'm not understanding as you are going to weld completely around the gussets right? So how could water get in? Maybe I'm missing something... I would think that with leaving the underneath open more chance of mud water pak staying in there than if they wer closed?? Just a thought!i didnt like the idea of a box gusset where water would be trapped!
For sure is some nice ass fabbing and machine work!
Awesome work blaner have some rep for this one, I was gonna suggest a long way back that you try to make a roundhouse but sick DIY hustle man.
Hey if you don't mind me asking how much did it cost you to get the lasercutting done? I'm just curious for comparison on some stuff I've thought about having done.
Hey if you don't mind me asking how much did it cost you to get the lasercutting done? I'm just curious for comparison on some stuff I've thought about having done.
Similar threads
- Replies
- 0
- Views
- 150
- Replies
- 11
- Views
- 694