Works shock rebuild pictorial

Status
Not open for further replies.

sicivicdude

Member
Apr 7, 2010
6,172
162
99
North Carolina
So I'll preface this by saying I got these in a trade with no specific need for them. They were beat, broken (literally, a dual stage spring was broken), and dirty.

After finding out they were on their way, I contacted a friend about them and he said he was interested. Unfortunately, they needed some help but he's up for some elbow grease to get a good deal anyway....

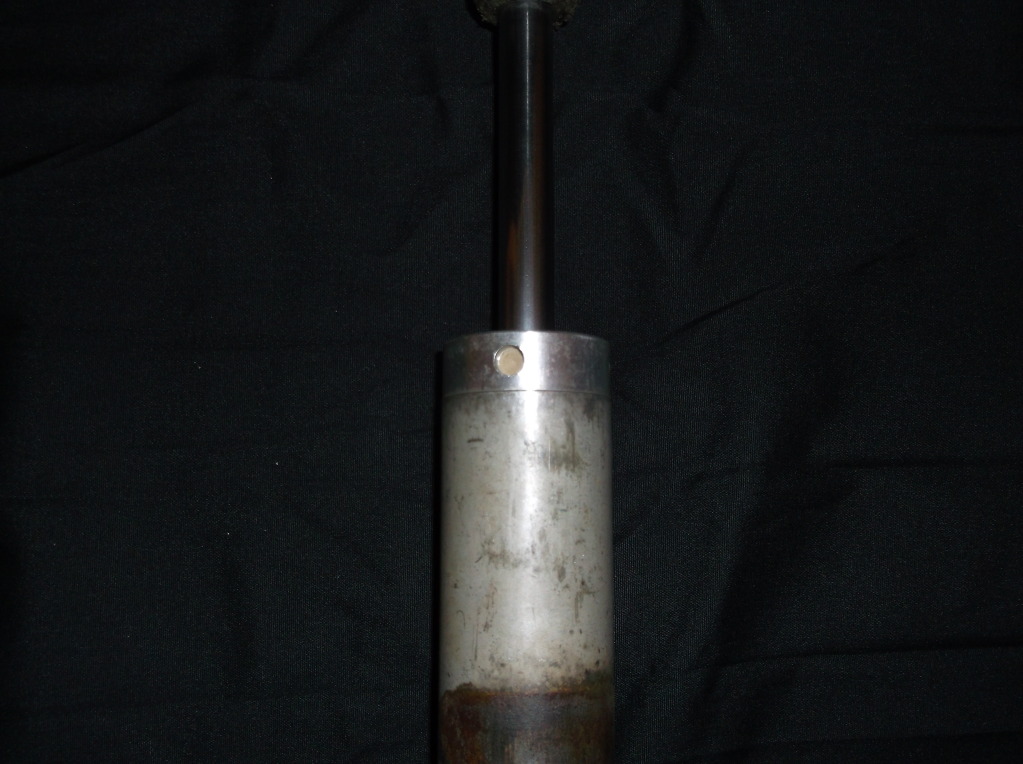
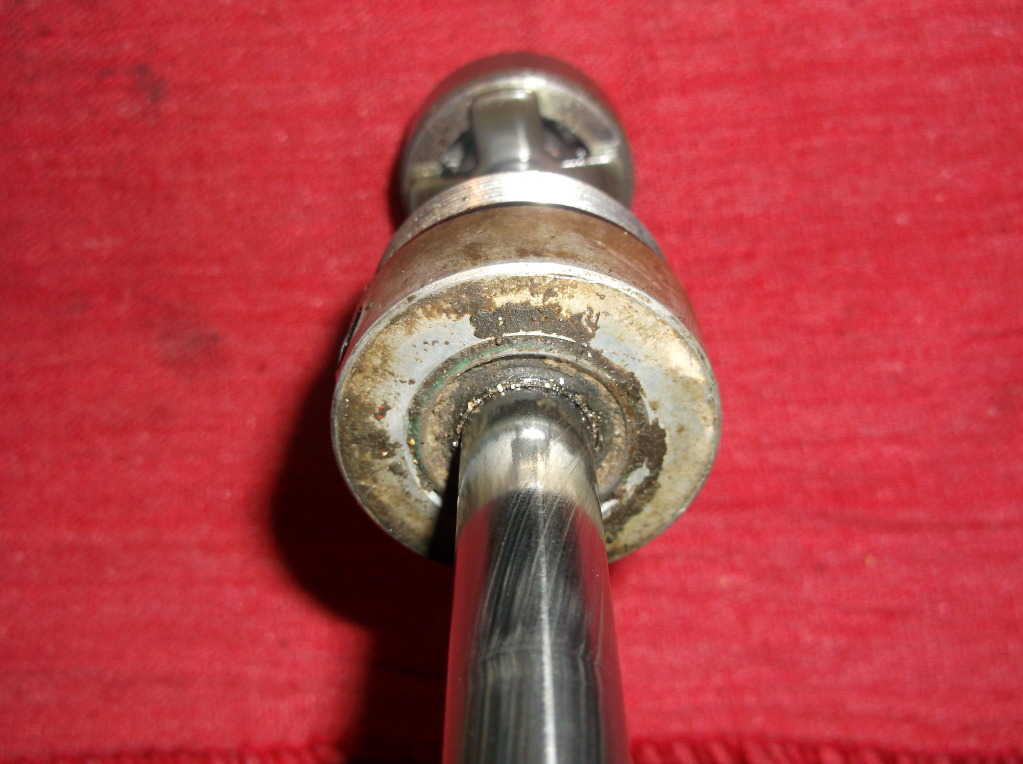
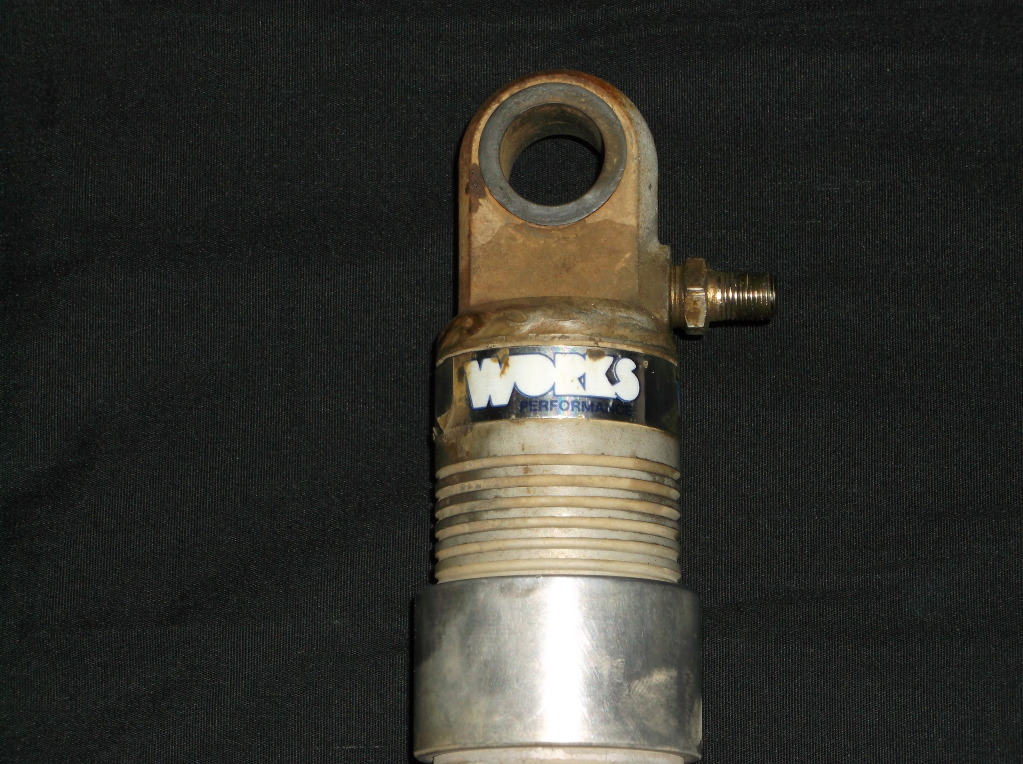
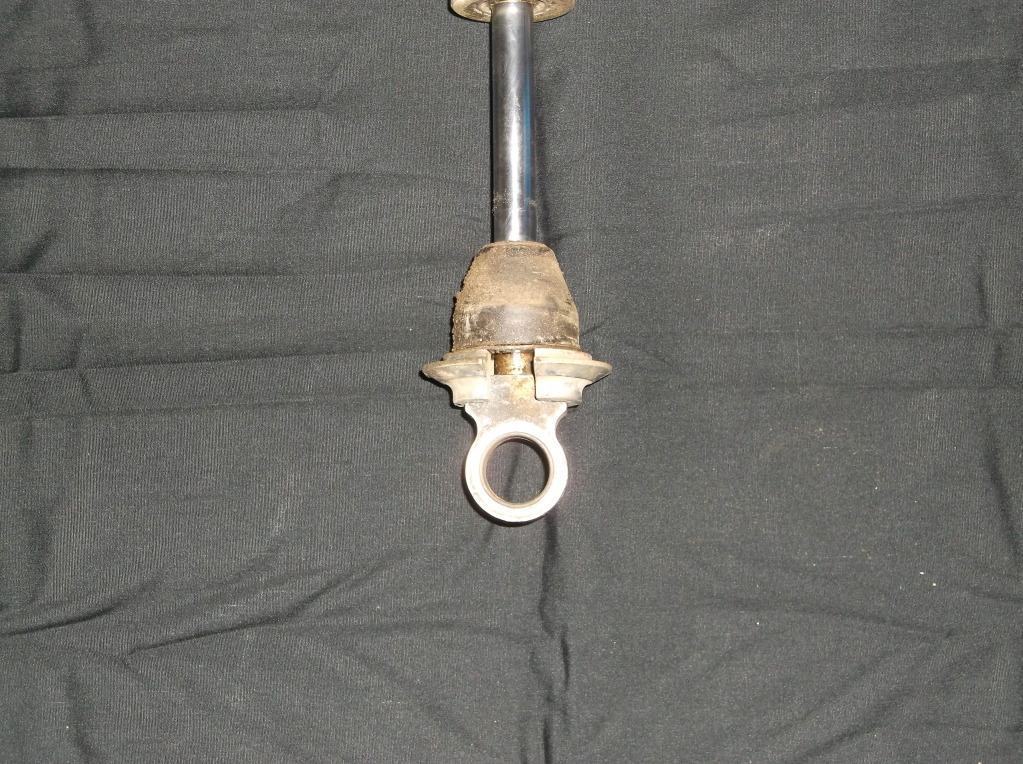
For starters, they are 14.5" eye to eye Works dual rate AT Steeler shocks.

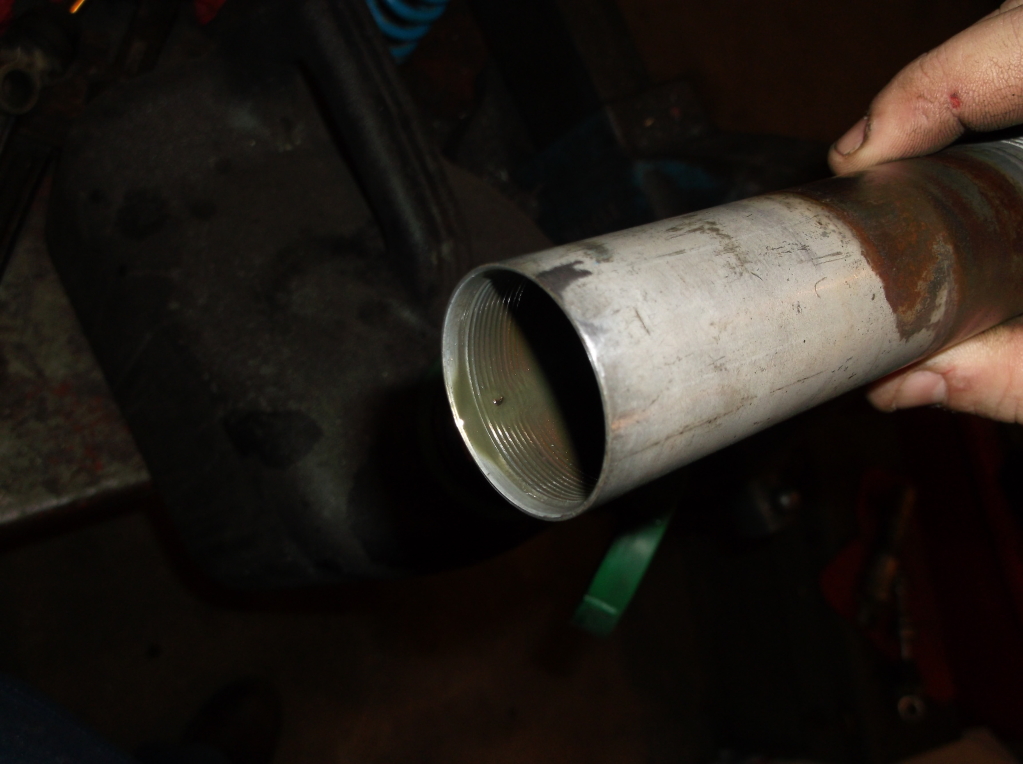
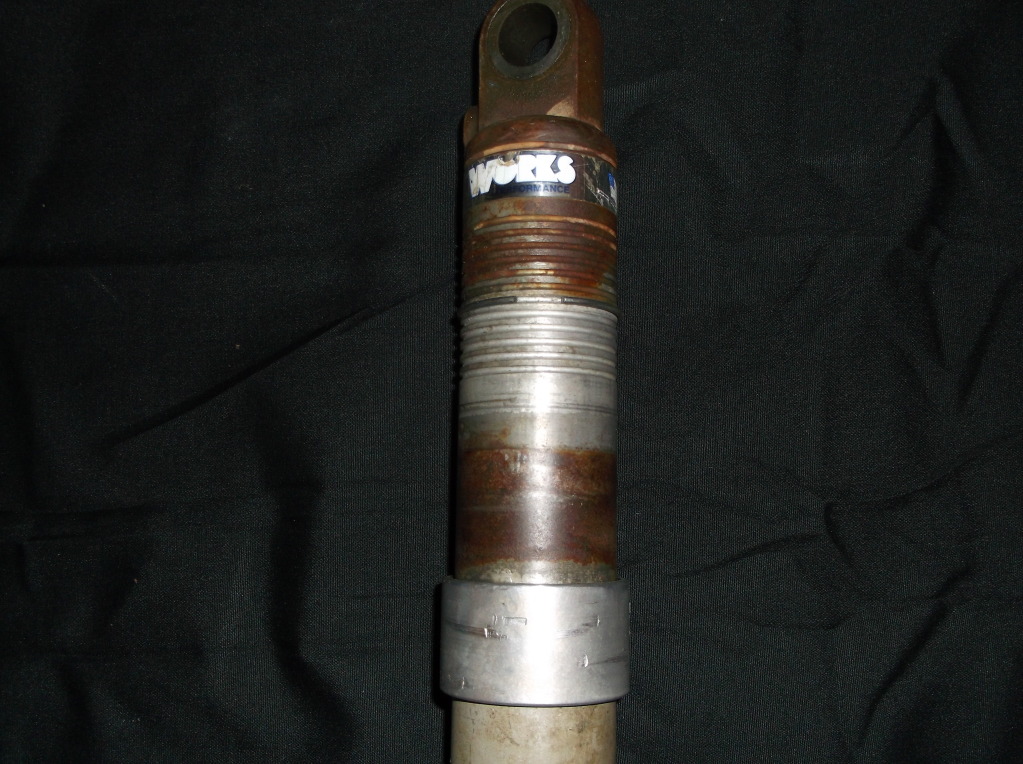
Both had leaky seals (with no pressure), one had a broken second stage spring.

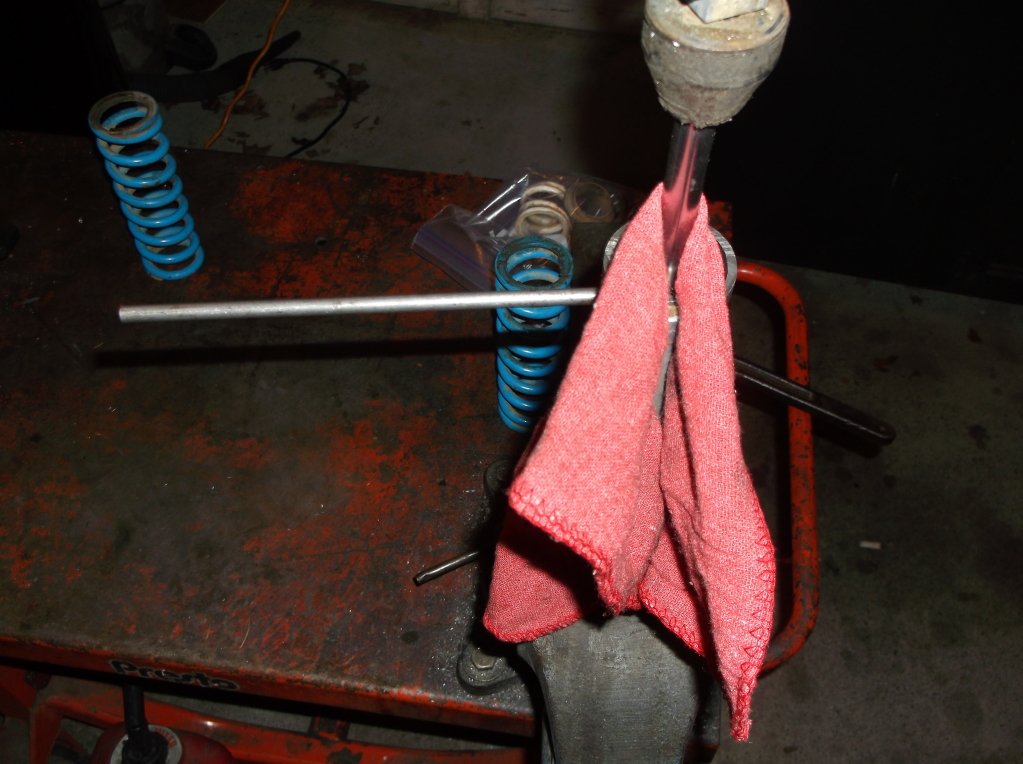
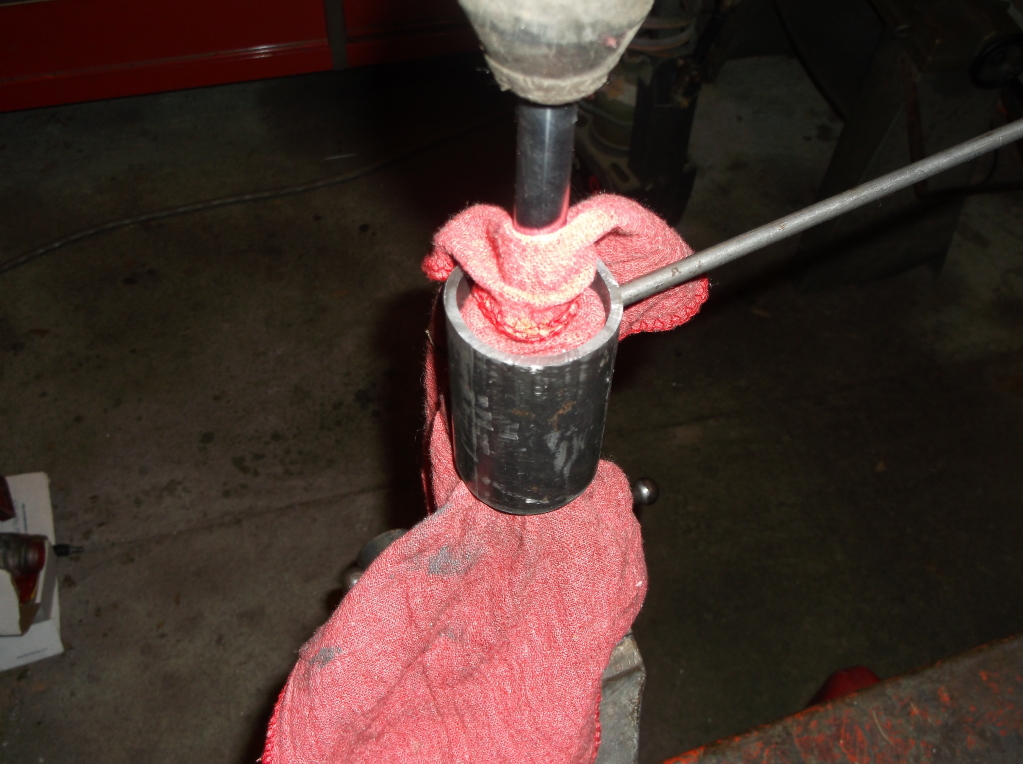
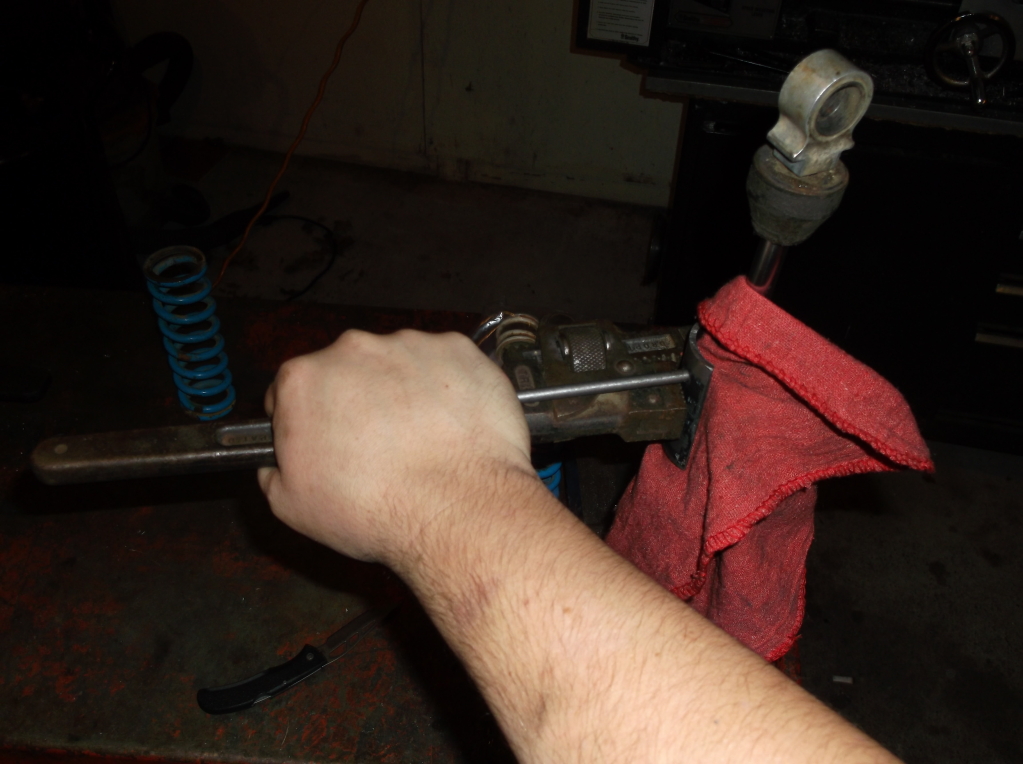
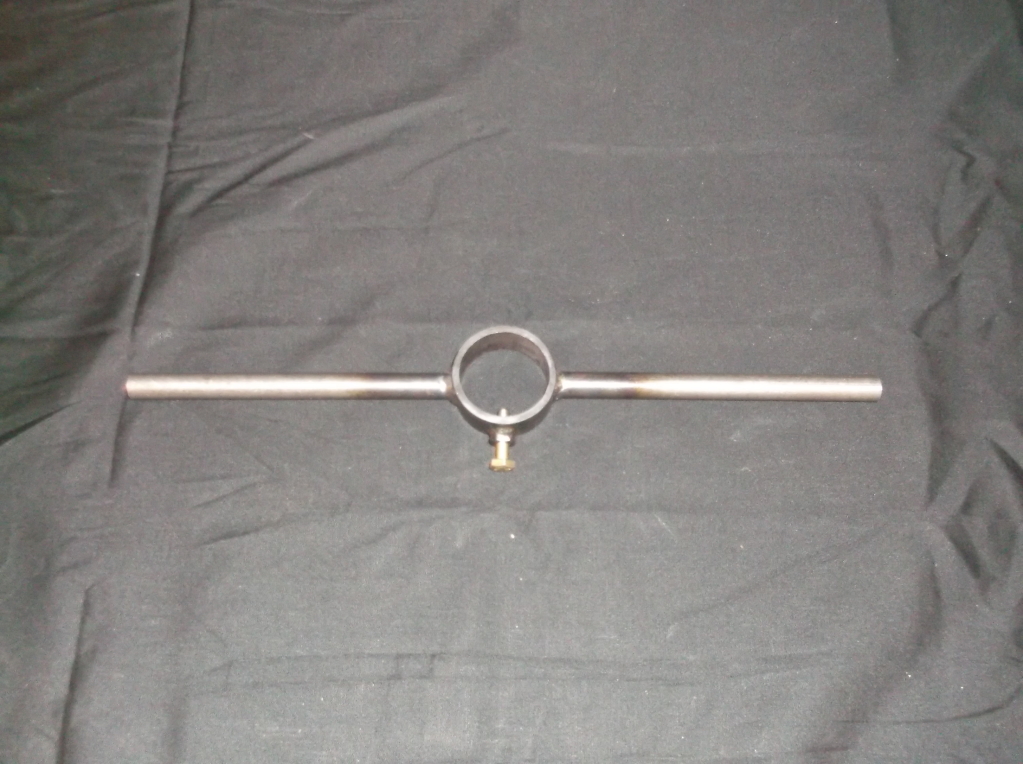
I made myself a set of ATV spring compressors a while back. They are the threaded rod style with two hooks that grab the spring. Work great, not the safest way to do this....
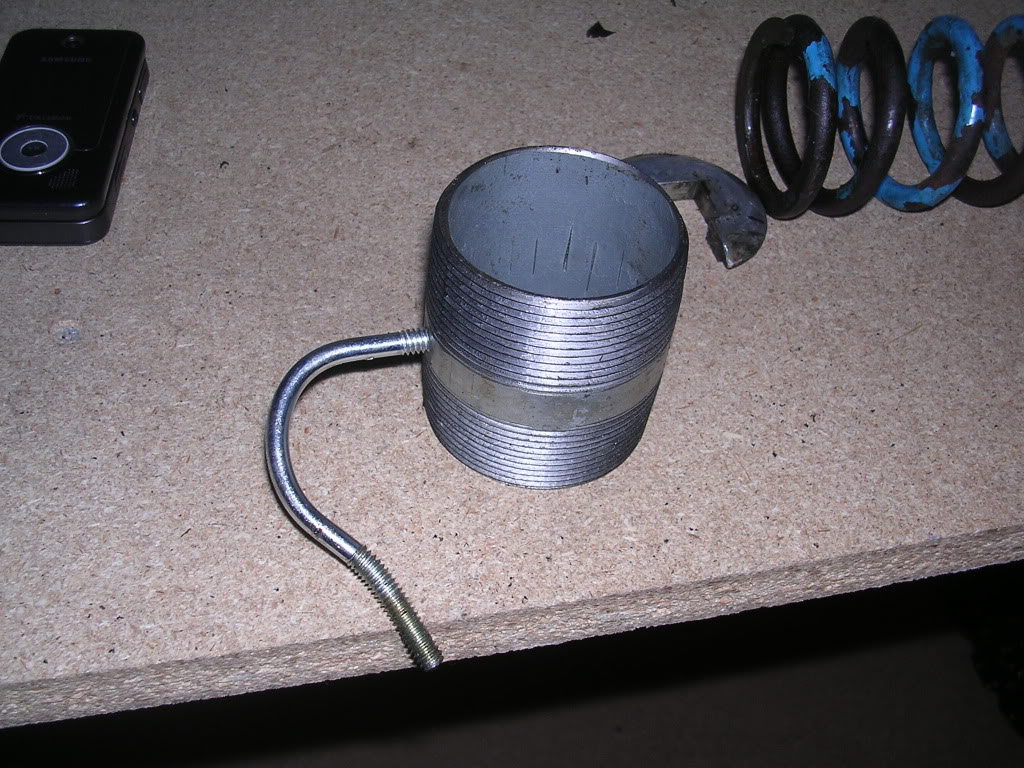
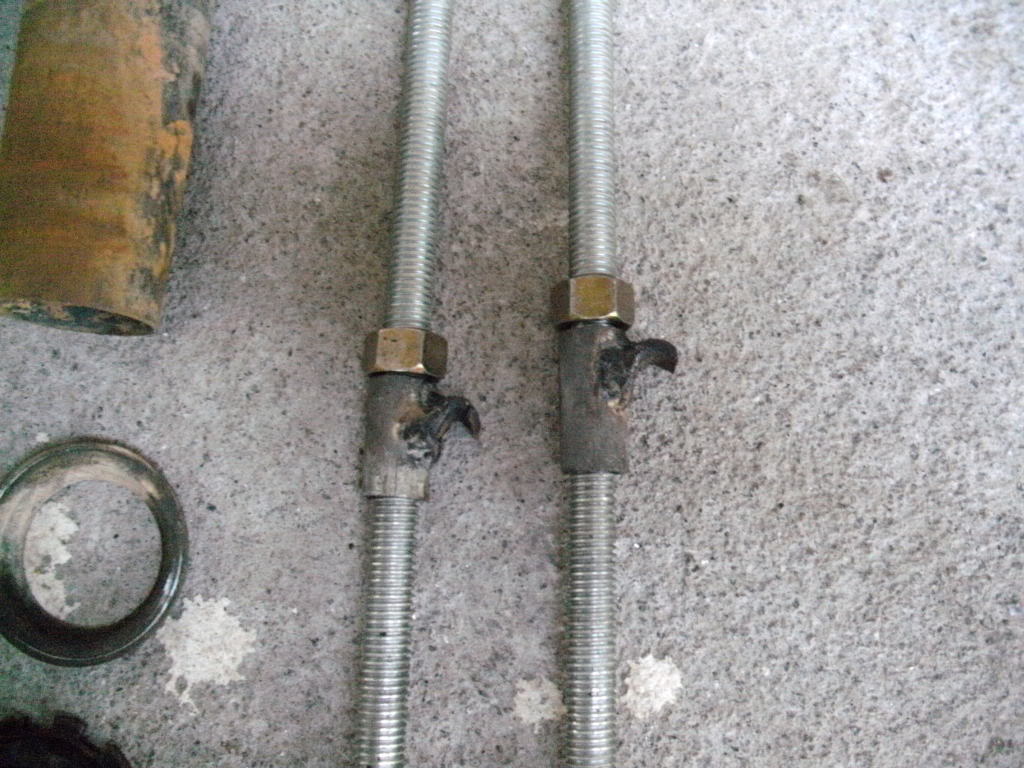
The hooks:

1262914342.jpg


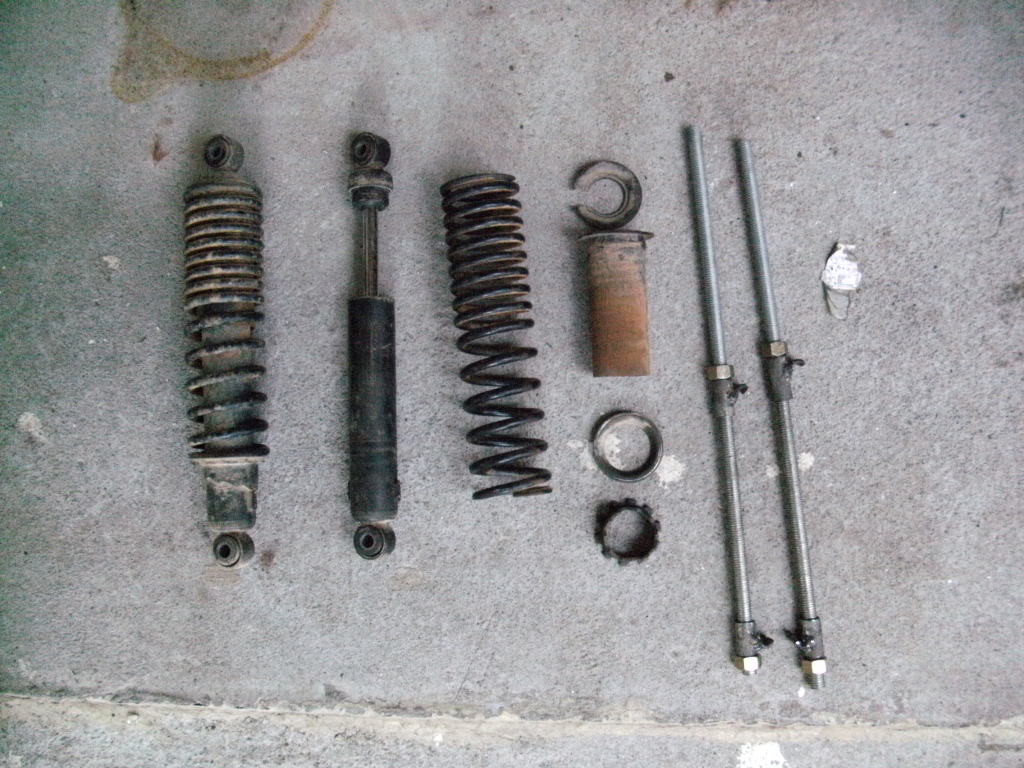
Them sitting next to the first set of shocks I took apart with them, Bayou 400 4x4 shocks:

1262914345.jpg


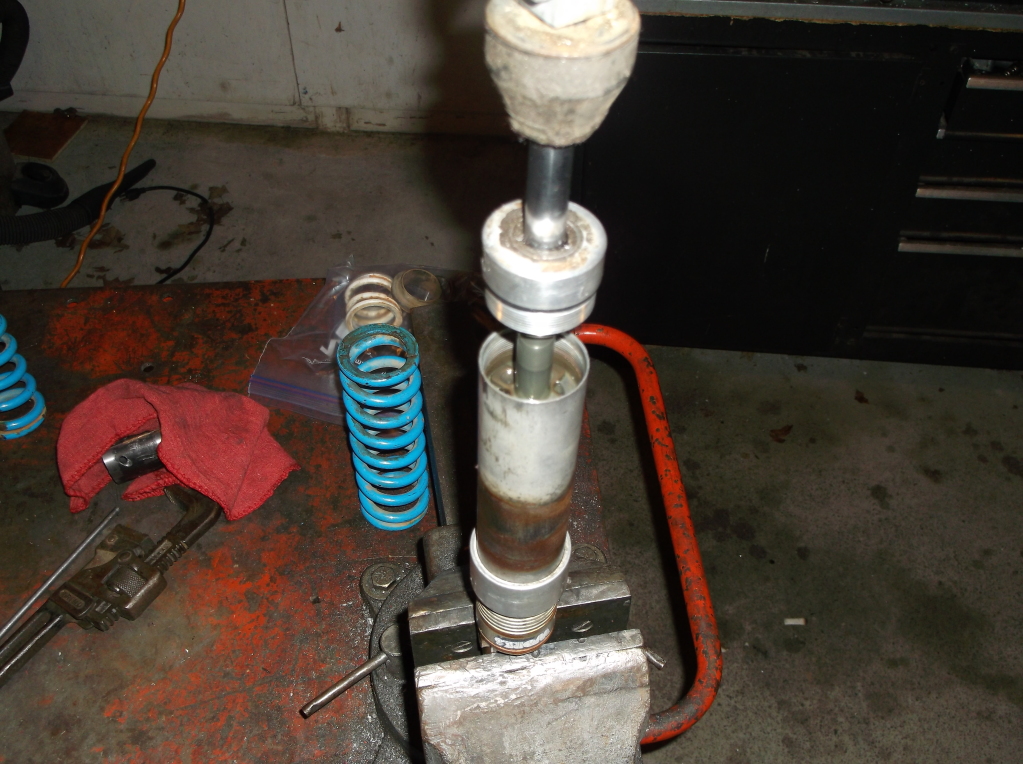
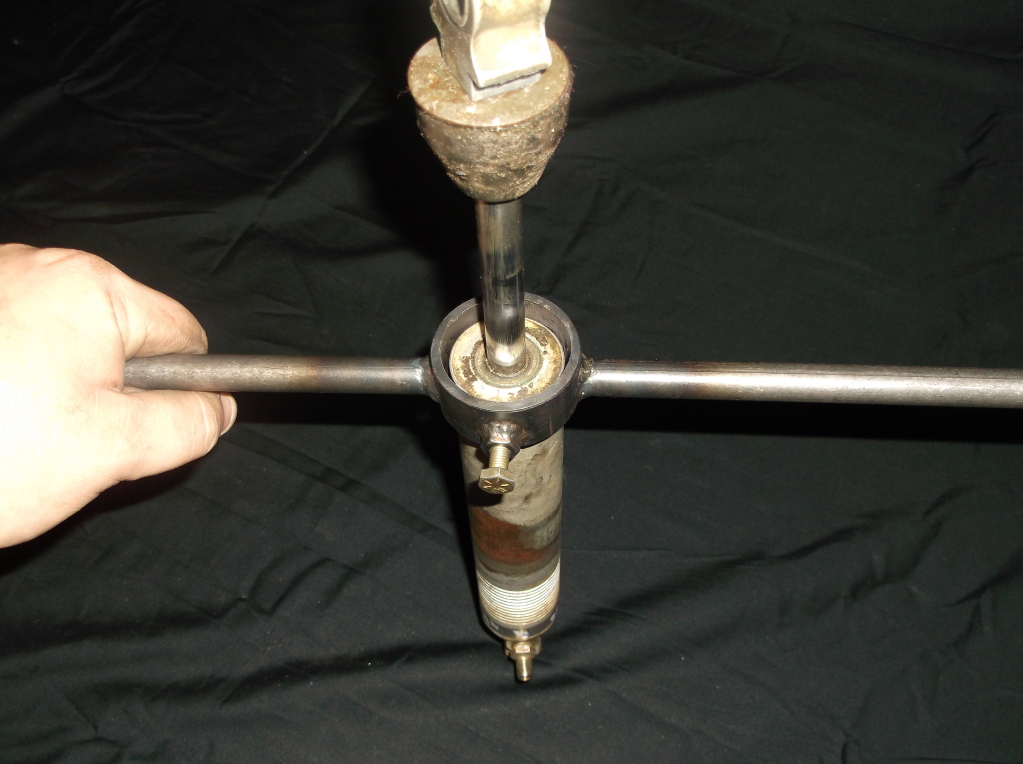
Use those on the primary spring on these shocks and you end up with this:

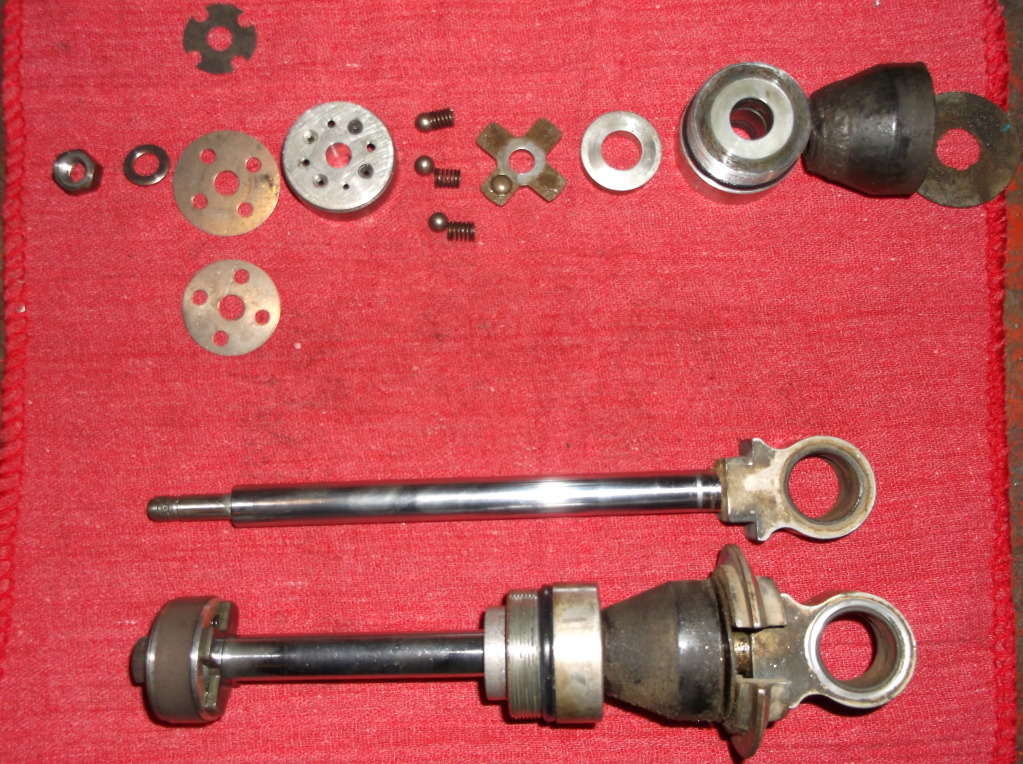
In order, we have the cap that sits on top of the dual rate spring (but under the snap ring preload bushing piece), the white dual rate spring, the travel limiter tube, the plastic spring centering device, the blue primary spring, and the retainer assembly. Obviously the shock body that was all sitting on is on the right with the snap ring and snap ring preload bushing piece still on the body.

DSCF1364.jpg


DSCF1365.jpg


DSCF1368.jpg


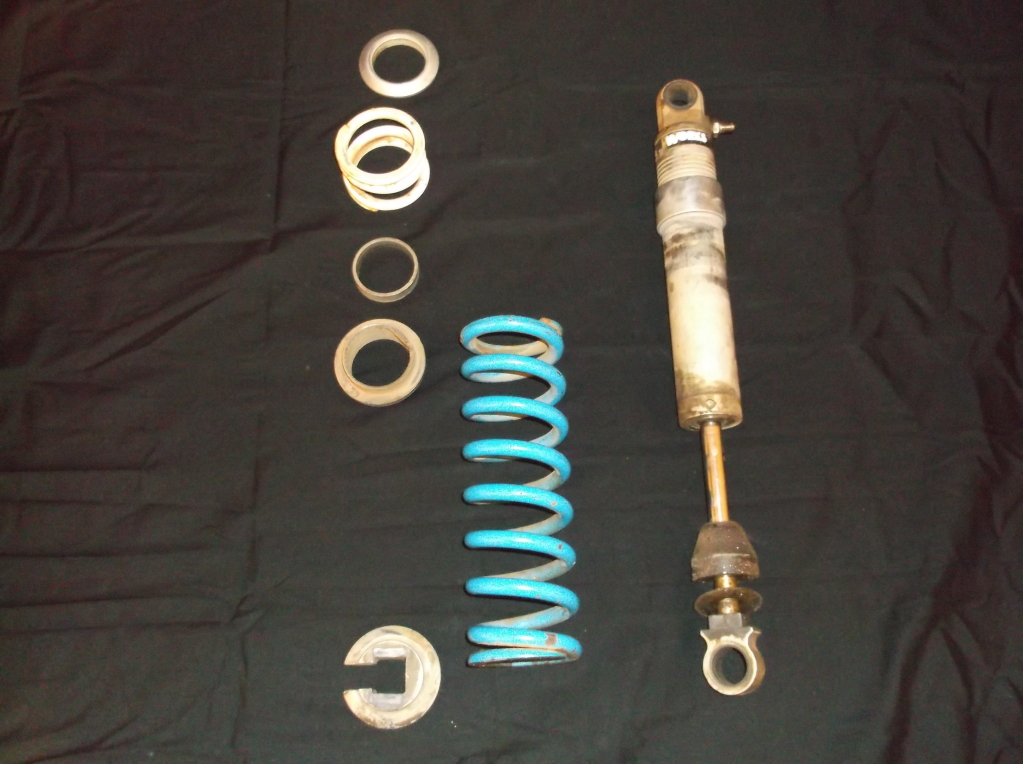
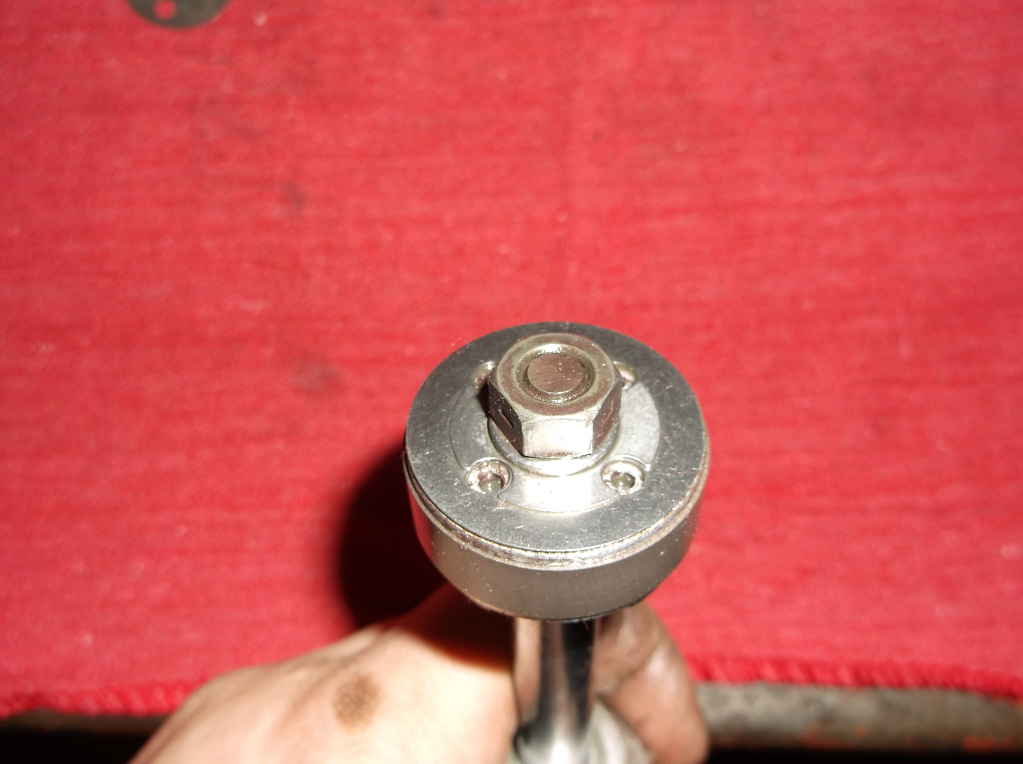
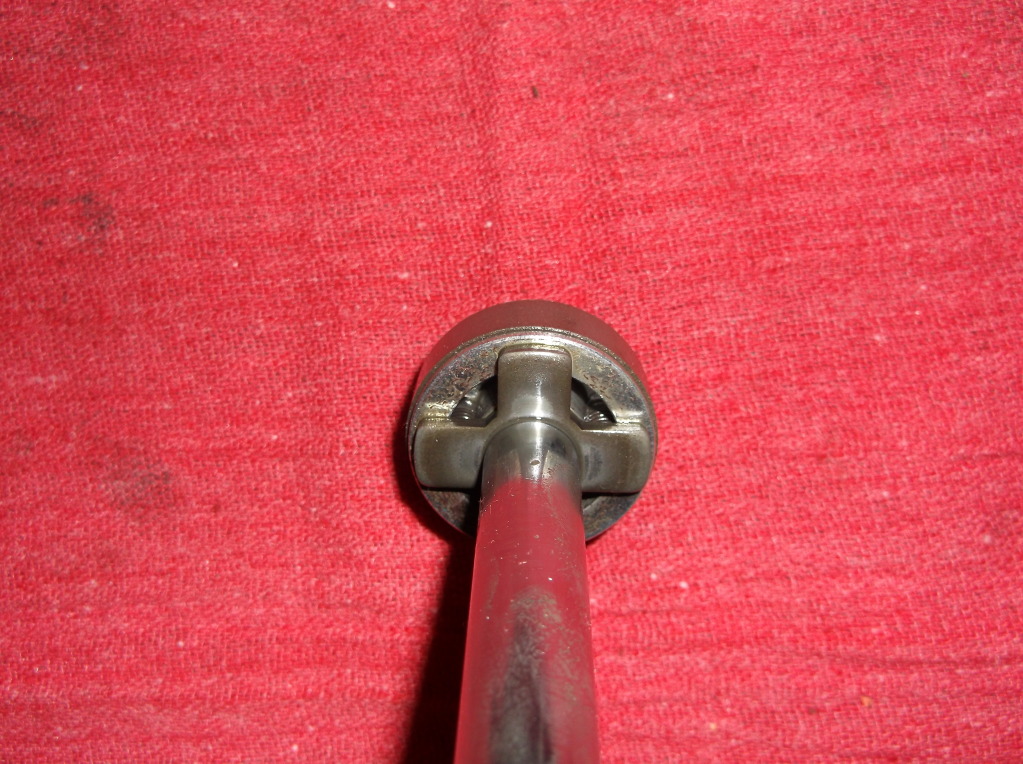
This is the bottom retainer that holds the whole assembly on while it's assembled. It's setup to fit around the square base that the lower mount is made out of.

DSCF1371.jpg
 
So with the spring off, all we have is a big tube full of oil (if there's any left) that won't go in or out very fast.

The entire thing is held together at the lower end by this:

DSCF1372.jpg


It's a threaded "nut" inserted inside the shock body. It holds the oil seal (O-ring) and dust seal ( regular double lipped oil seal). It also has a o-ring on the outside to seal the assembly to the shock body.

It is standard thread (right hand) but VERY tight and it only has a 1/4" hole in the side of it for some sort of fancy spanner wrench. To say the least, I don't have that fancy spanner wrench. No matter I'll just rig up some stuff real quick....

Here's what we have. It's a piece of Sch 40 black iron pipe with a big slit in one side, a 1/4" hole on either side, and a piece of 1/4" mild steel round rod.

DSCF1375.jpg


Nothing fancy.... literally doable with a hacksaw and a drill....

Here's how we install the assembly:

DSCF1373.jpg


DSCF1374.jpg


The red rag is between the steel pipe and the shock body so I can turn the entire assembly without scratching up the shock body:

DSCF1377.jpg


WHILE I'M USING MY PIPE WRENCH! MUHAHAHAHAH!
 
Quick tug on the assembled tool (WHILE KEEPING THE 1/4" ROUND ROD AT 90 deg TO THE SHOCK BODY!) and the "nut" unscrews to reveal this:

DSCF1378.jpg


MMMMMM yummy, this is the goo we came for:

DSCF1379.jpg


Now we get to the heart of the shock absorber:

DSCF1385.jpg


DSCF1386.jpg


DSCF1387.jpg


If we remove that nut, the shim pack comes off of the shaft:

DSCF1382.jpg


Top, disassembled and laid into the assembly order. Bottom, the other shock assembly, still together for reference!

DSCF1384.jpg
 
  • Like
Reactions: Markblaster
I like the Pipe and rod piece good idea! Only one thing came to mind, what if the shock still has nitrogen charge, can you open it up like that still or do you have to relieve the pressure? I've never done one but may try my elkas next year!
 
I like the Pipe and rod piece good idea! Only one thing came to mind, what if the shock still has nitrogen charge, can you open it up like that still or do you have to relieve the pressure? I've never done one but may try my elkas next year!

I'm going to be building a "proper" tool before I put them back together but I didn't have a piece of pipe large enough around to make the tool yesterday when I got a wild hair to pull them apart!

That is a tool one could make with a hacksaw, drill, and some patience, however it's not the right tool for the job. Pics of the right tool for the job (or at least my version of it) to come later!

These shocks had no charge left on them so I didn't cover that part. If they had any nitrogen left, I would have had to drain the nitrogen off via the schrader valve at the top BEFORE touching them. The nitrogen pressurizes the entire cartridge (no "bladder" in these) so taking the end cap off without depressurizing them could be disastrous.
 
Got to work on a proper tool:

Hole drilled in the side of the pipe 1/2" from the bottom:

DSCF1398.jpg


1/4"-28 grade 8 nut welded on the outside of a piece of steel pipe:

DSCF1400.jpg


With a piece of round rod welded on each side:

DSCF1401.jpg


Fit onto the shock:

DSCF1402.jpg
 
Last edited:
The tool was a real good idea.

The tool isn't exactly an original idea. Triple_B showed me a picture Saturday of "a tool" used to do the work.

I had already dreamed up a similar method (however only using one side to pull against and putting the "pin" on the opposite side) but didn't have any material laying around big enough to slide over the bumper so I whipping up my "pipe wrench" tool real quick. It wasn't pretty but it did work to get them apart.

The new tool should be even better for the application.
 
a lot fancier than my way of doing it......

DSCN3700.jpg


then throw the pipe wrench on and let it eat!


that tool looks suspiciously similar to the one that WORKS sells for around 40 bucks
 
a lot fancier than my way of doing it......

DSCN3700.jpg


then throw the pipe wrench on and let it eat!


that tool looks suspiciously similar to the one that WORKS sells for around 40 bucks

Your tool and my first look nearly IDENTICAL! LMAO!

Mine cost me ~$4. Thinking about powdercoating it neon green so I won't lose it in the toolbox ;)
 
SCORE!

I nabbed a 20cf oxygen bottle from my brother in law before he was taking it off to the scrap yard :eek: I know, what WAS he thinking?! I called Machine and Welding (my local distributor for welding gasses) and asked about trading it in and the guy didn't even blink before saying, "you can trade it in, no problem at al. The smallest N2 tank we have is 40cf so you'll need to pay the 'owner fee' difference between that cylinder and the N2 cylinder plus the price for the gas".

Difference in price for the bottle? $50
Price of 40cf of N2? $17
High pressure N2 welding purge regulator? $60

Setup for charging my own shocks!? $127 8-|
 
So, in conversing with a Works representative, I have discovered they have several recommendations for shock oil in these.

Bel Ray, Maxima, and Silkolene brands will all work.

One must wonder, however, if ATF will also work. Phragle recommended rebuilding the showa shocks using ATF and changing it regularly (versus using really high end shock oil and hardly ever changing it) figuring that the fresher ATF was actually better than old high end shock oil.

I may buy a bottle of one of them to do these with and see what the difference is all about!
 
Status
Not open for further replies.