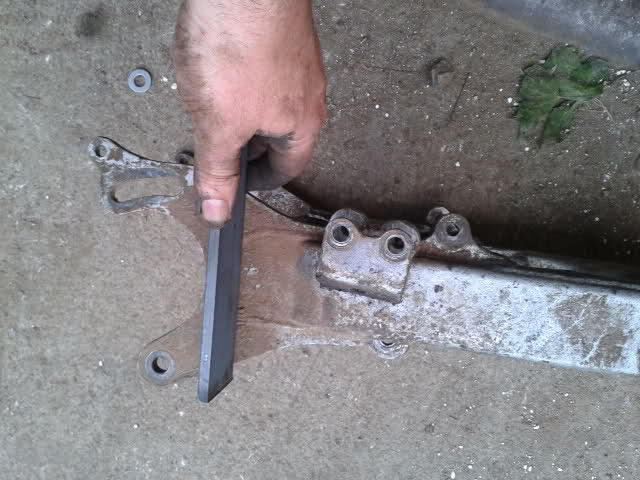
Did you bevel the ends of the plates and the ends of the swingarm before you welded them together??
<SNIPPED>
No I didn't, I got Triplecrown to do the beveling and the grinding.
")
That way if it breaks, I can blame him for it!
Beveled the sides, not the ends, and I burnt it in real good. That is why I used the stick in small stitches.
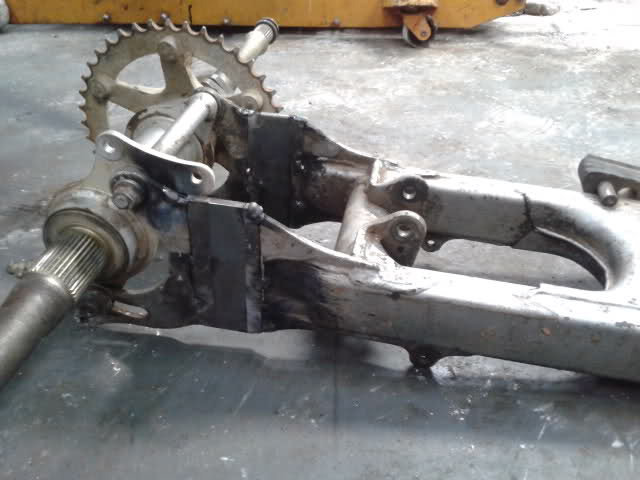
If done properly this can be a easy and light weight whey to extend a swingarm. If it was me i would weld some plates on the sides on the top and bottom on both sides of the swingarm... Or maybe some angle or some kind of gusset in the inside.. The only problem is the lack of room you have to work with because you have to have room for the carrier.
Well, I thought about just exactly what you suggest but weight out at the end of the swingarm is an issue for me.
The 1/4" steel is plenty strong in all axis except the side bending that many have suggested.
Boxing it may be a good idea, but if my figures are right, the 1/8" plate brace should be enough.
I had it figured that I could drill 2 x 1" lightening holes in each side with out reducing strength, but Triplecrown said:
"Dad, how much weight are you gonna save? Stop friggin' around and get'er done!"
Rich said:
Idk take it easy on it.Thats going to eventually brake.Better planning.Gusset interlock and reinforce that fabrication.SAFETY IS NO ACCIDENT.
Well Rich, I hear ya.
I didn't want this any heavier than necessary and I have it figured this should be just strong enough to do the job.
No over kill, no excess weight.
I'll test it pretty hard to see if it comes loose, hopefully it will give some warning, cracks, bends etc.
I'll report it if there is a problem so we all know, and there is room for more diagonal bracing if you want to do it.
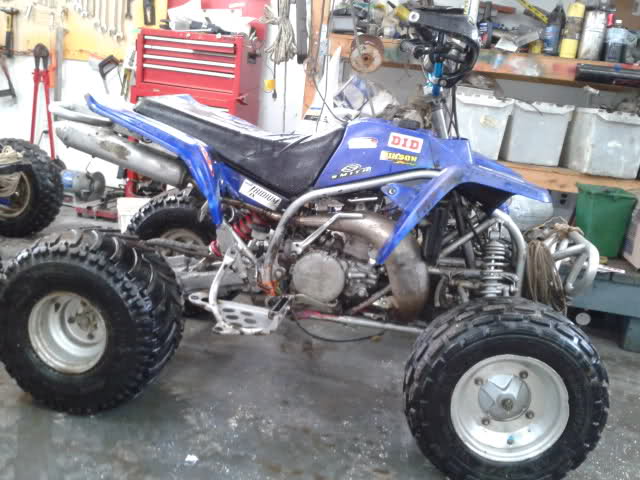
So how's it work? Pretty good so far!
Still lofts easily even on grass and I gave it the the old wood pile test, you know? Drive over the wood pile?
Yeah Shaun, that one there...
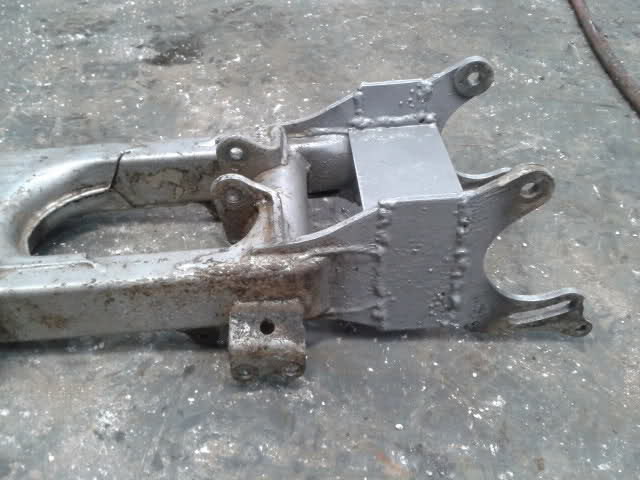
The beauty of this extension is that it is very easy to line up without a jig.
The cut is straight forward, the 5 inches of weld in 1/4" steel is easy to get right.
The cut and the plate are the same thickness on both sides. Line up the bottom edges. Get it straight.