Re-Jetting for Re-chambered head??

Alan 4Runner

New Member
Oct 21, 2010
23
0
0
Australia
Hey guys,
I've been lurking in the background here for a couple of years doing lots of reading and research, sooo much learning and valuable info I:I

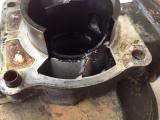
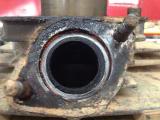
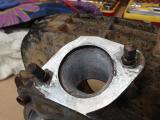
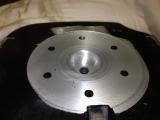
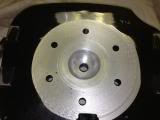
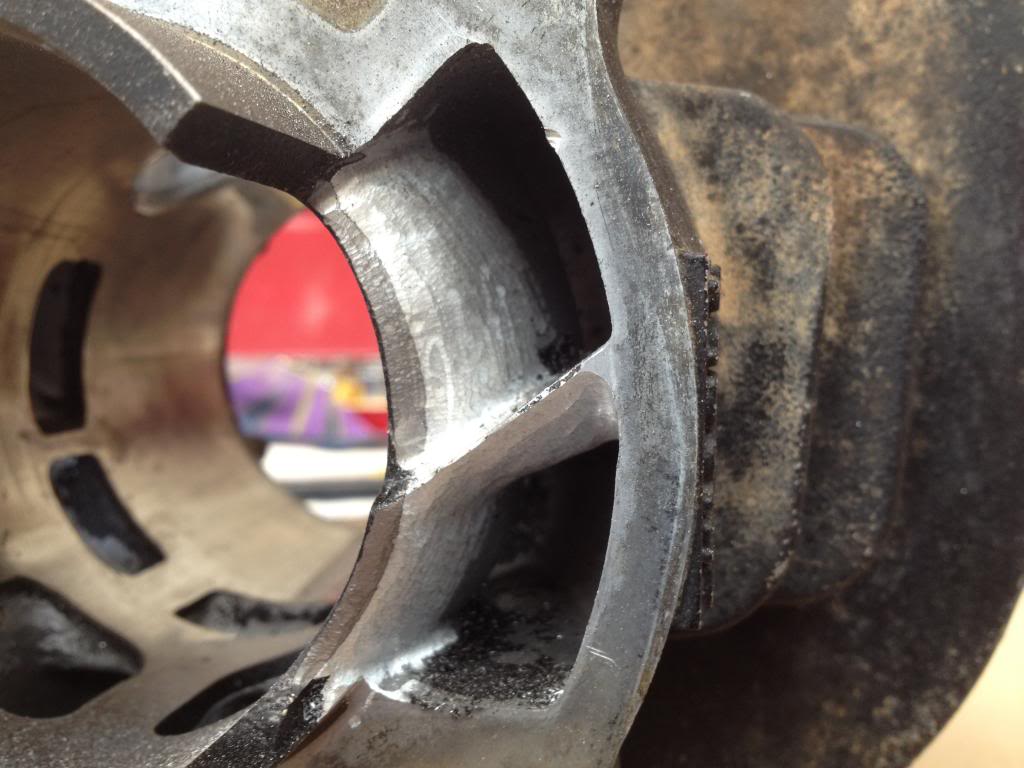
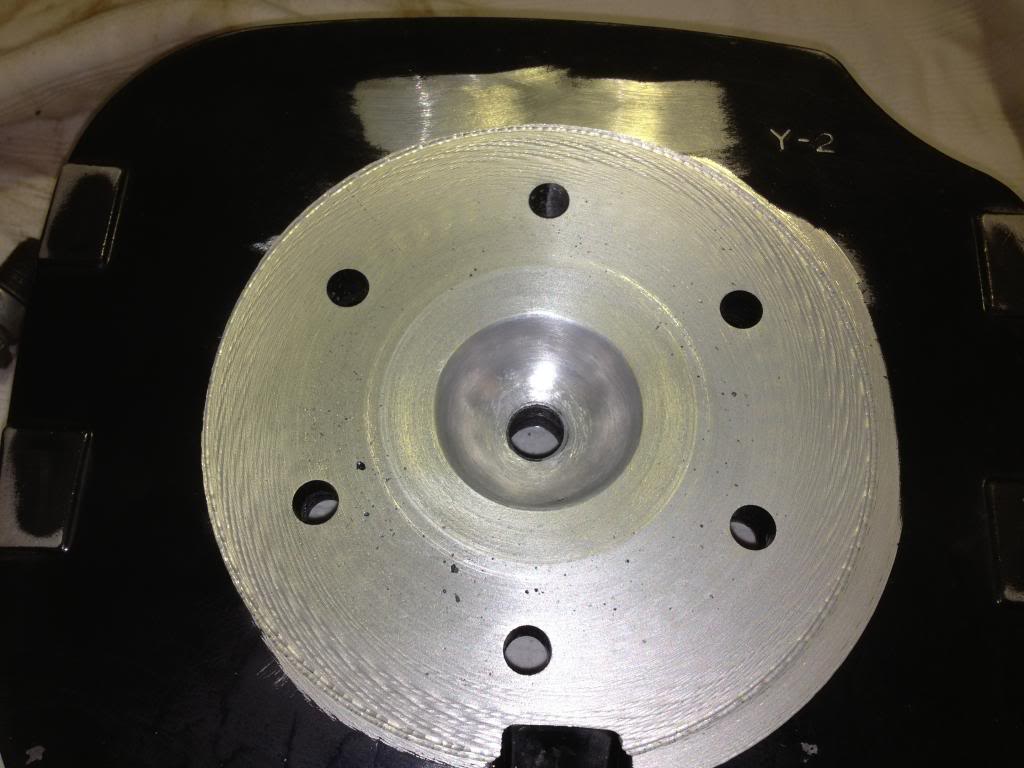
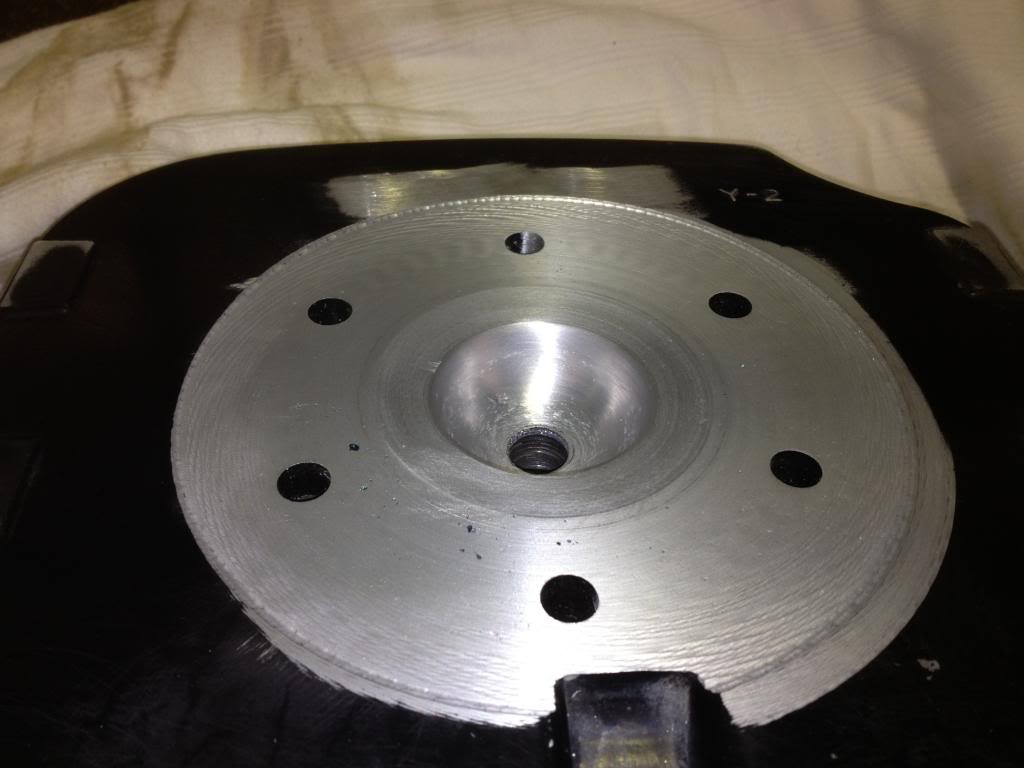
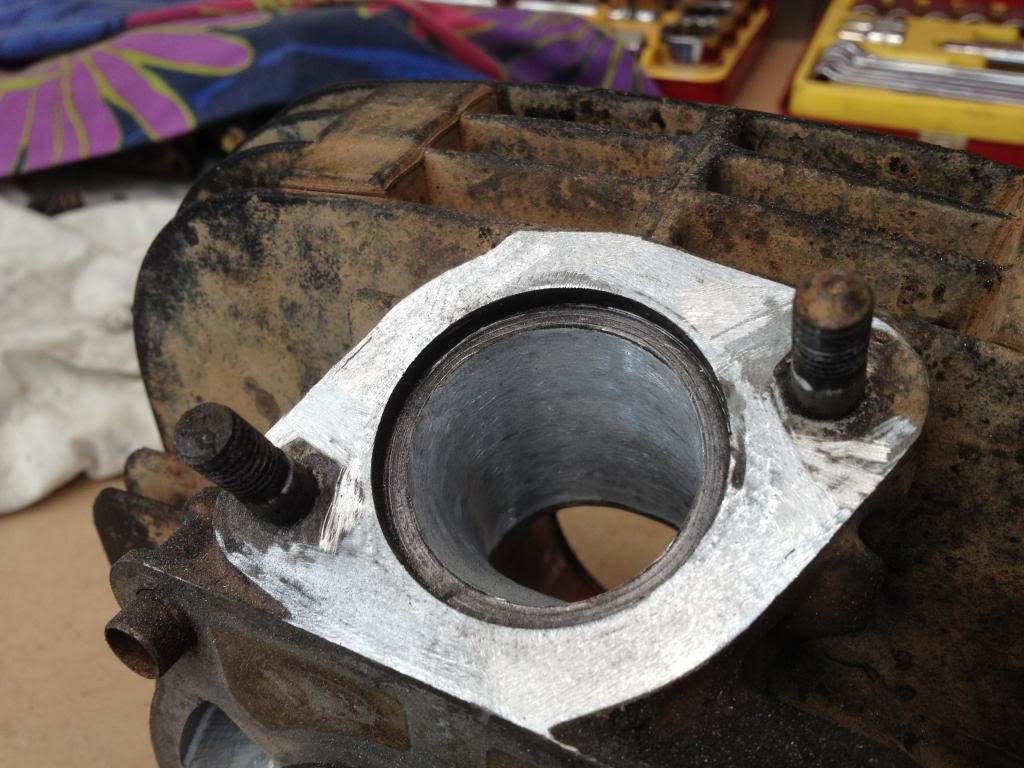
I've just finished rechambering my head here at work (11° with 50% squish and a nice toroidal chamber at ~20cc) and when I fly home next week will be bolting it up, measuring the squish gap and testing..
My question is will I need to re-jet to accommodate the new head without changing anything else??

I've been reading heaps on here but no-one seems to mention re-jetting in relation to rechambering their heads!!

If yes, richer or leaner?

I'm running a Stock bore / stroke with a FMF fatty & p/core 2 silencer, boyesen reeds, trail ported with a round slide Mikuni that measures ø33mm..

Cheers from down under :D
 
Running a Unifilter with drilled box lid..

yea 290 sounds about right but only a plug chop will tell, im running about the same setup with a 300 main jet, anyways to get back on topic im pretty sure you dont have to rejet with the modded head, but you might need higher octane gas if you shaved the head down? dont forget to leak test after you torque the head back on.
 
You have probably seen this thread? http://www.blasterforum.com/engine-13/head-swap-hemi-torroidal-50730/

No talk of rejetting in this one but Neil did do a lot of rejetting work when we originally put the Hemi head on his Blaster. There was no change required for the jump from Hemi to toroidal. He really likes the toroidal. Gutsy mid-range and loses little to the Hemi at max revs. Reading your plugs will be easier with these heads than the stock chamber.

Show us pictures of your head!
 
Cheers Best, have seen that one among others.. Good to know that the plugs will read easier too!
Haven't got any pics of the head right at the moment but will work on getting some and will post a couple of my port job also..
Just gotta figure out how to post pics on a forum, never done that before!!

Congrats on the re-chambered head!!! Its a nice feeling of accomplishment! Be proud of yourself! Hopefully some of the threads we've done on here helped out including the pictures. Did you see my video series on how to cut a squish band head? You might have watched that one as well. I wish the lighting was better in that one.

Anyway...we need some pictures ASAP! What kind of porting did you do?

Bottom line...your in for a treat when you get her fired up.
 
Right-o here goes.. First ever attempt at posting pics!!
First up is my Exhaust and Transfers before I touched them..

th_TransfersBeforejpg.jpg


th_ExhaustBeforejpg.jpg


Second pics are after I cleaned them up..

th_TransfersAfterjpg.jpg


th_ExhaustAfterjpg.jpg


And lastly a couple of pics of my rechambered head I:I

th_RechamberedHead2jpg.jpg


th_RechamberedHead1jpg.jpg


Had a little bit of chatter ont the outer part of the head but that's out past the bolt holes so I'm not bothered!!
 
Chatter on any part of the surface will raise the remainding surface to the highest point of chatter.

If the chatter is proud enough it may not allow the gasket to seal.

Just a point I needed to mention.

Chatter is caused by the tip of the tool digging into the work surface, but also when the chatter is released the tool often springs back above the set area causing less material to be removed, which can cause high spots.
 
Last edited:
The chatter stopped just before machining over the bolt holes and the finish is nice & smooth from there in..
Pretty certain it was mainly caused by my arbor not being as large as desired!! Work with what you have though. I will leak test it prior to running!

Cheers
 
Congrats man, Im following right behind you. Finishing my arbor tomorrow. Just a note use photobucket or some other photo hosting website to upload your pics and then copy and paste the url link in between <IMG> code so we get nice large pics to see all the beautiful detail.
 
Congrats man, Im following right behind you. Finishing my arbor tomorrow. Just a note use photobucket or some other photo hosting website to upload your pics and then copy and paste the url link in between <IMG> code so we get nice large pics to see all the beautiful detail.

Can you please explain a little more about the image size please? I'm better at engines than computers 8-|

I'm using photobucket and copied the URL into the address bar in the "insert image" icon that looks like a mountain!!

Cheers
 
When using photobucket you should see the option for "Image Code" along with other ways to link to the picture. You have to click on the picture and then when it loads you will see the link options on the right side of the page. Just click the "Image Code" one. It automatically does the copy for you. Then just paste it into the message box on the forum. No using the mountain or anything just copy and paste the code photobucket gives you.
 
How did you cut the combustion chamber?

Also looks like you need to work on the exhaust port a little more. Wet sanding works best. I worked 220, to 320, to 400 and that got it to near mirror finnish which is the whole point. Transfers look awesome. What kind of tooling you use there?