My 1st Blaster

Got some more done on it today. Did a little on the swing arm and A arms. Need to pop to engeering shop and get some bolts tomorrow,

A arm skids.
DSCN4491_zpsgfzvexo3.jpg


Not tightened them up yet.
DSCN4492_zpslow6dadg.jpg
 
  • Like
Reactions: Motocrossguy17
Made a set of frame plugs as the ones I brought are to loose. Also machined a little off the stem bushes.
DSCN4497_zpsptdkc04q.jpg


DSCN4501_zpswdyykxce.jpg


Bolted up the discs and sprocket.
DSCN4499_zpsbkixgvv4.jpg


Going to be starting on the A-arm and front shock install tomorrow.
DSCN4502_zpsmha2mvo5.jpg
 
  • Like
Reactions: Blaster2001king
After getting playing with grease for a bit I got the front hubs on.
DSCN4504_zpsx6hibs32.jpg


Upper A-arms and tie-rods sorted.
DSCN4509_zpslrapmtal.jpg


Then played with more grease and got the lower A-arms installed and the shocks.
DSCN4505_zpsyc2z6992.jpg


Rear shock installed.
DSCN4511_zpshsaa9ul0.jpg


Grab bar number plate bracket bend to angle. Fuel cap installed. :)
DSCN4510_zps99hgusss.jpg


Good clearance for the skid plates at full drop.
DSCN4508_zps3xgvv7q0.jpg


DSCN4507_zpskg6fqj4y.jpg


Got the brake calipers out ready to rebuild tomorrow and will also throw the upper A-arms on. Really sick of playing with grease. lol. :)
 
Forgot to say I dropped the seat off to a shop that builds v8 trikes in my town and they are going to recover my seat for me. They build there seats there and cover them. :) Yeah could have done it myself but I have done one in the pass on a CR125 and hated doing it.

ENGINE: 350 Chev – Vortec, HORSEPOWER: 330 @ 5000 rpm, TORQUE: 380 @ 3800 rpm
http://www.jamesd.co.nz/
 
Last edited:
Had a sh*t day today working on the bike.

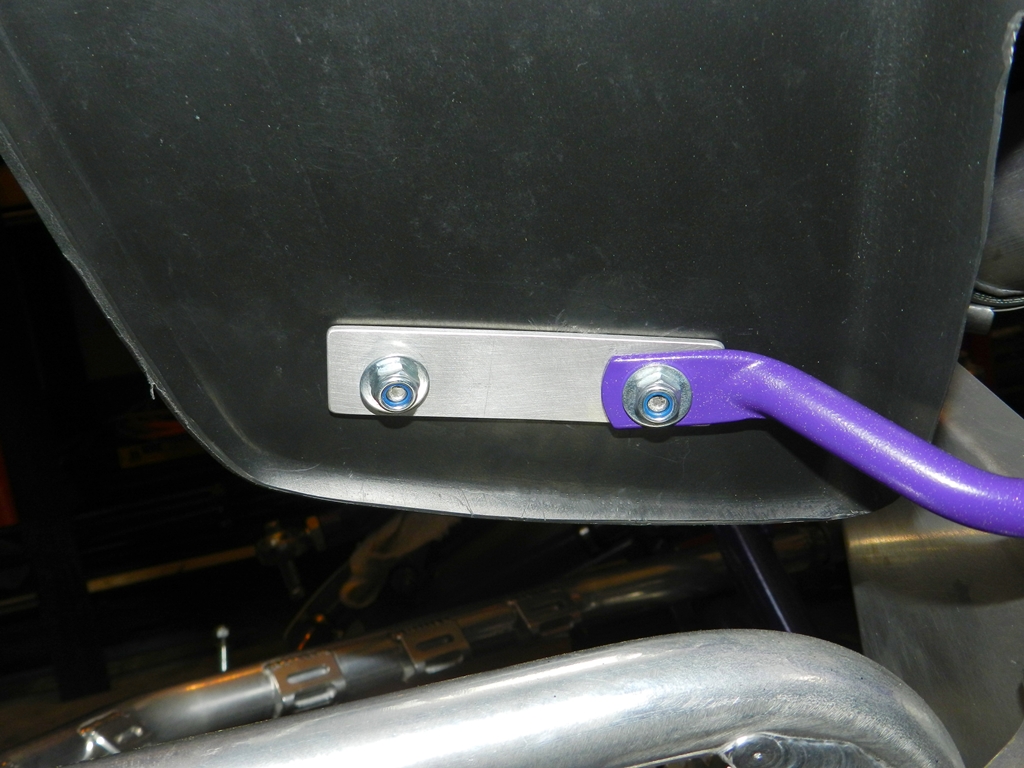
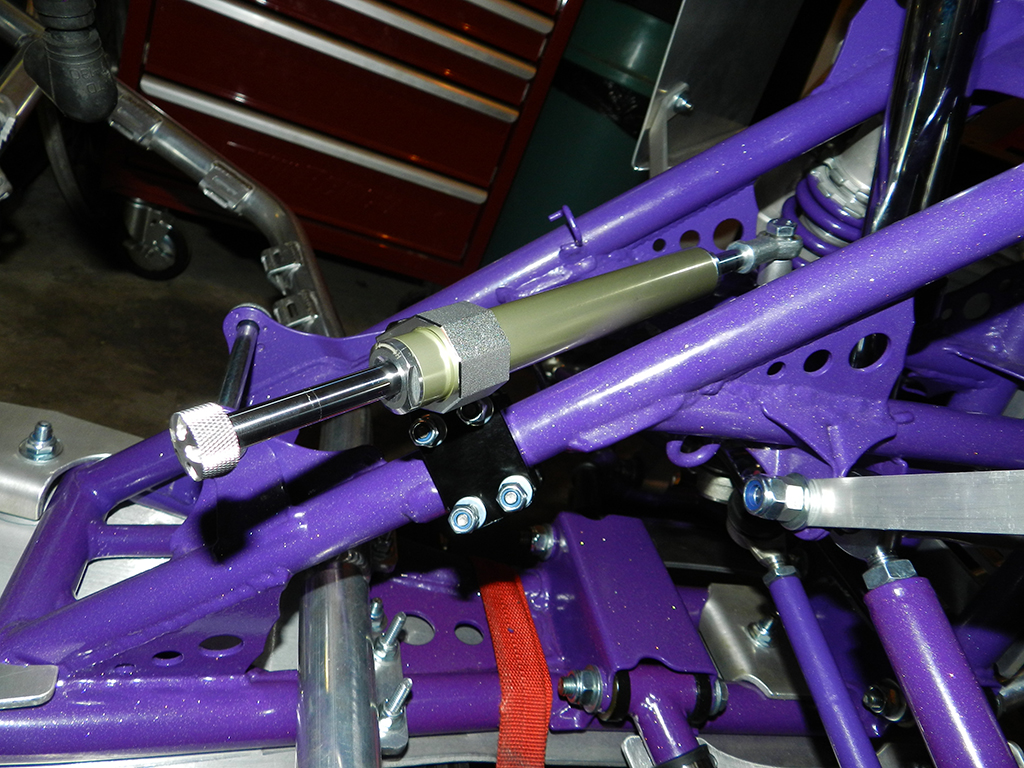
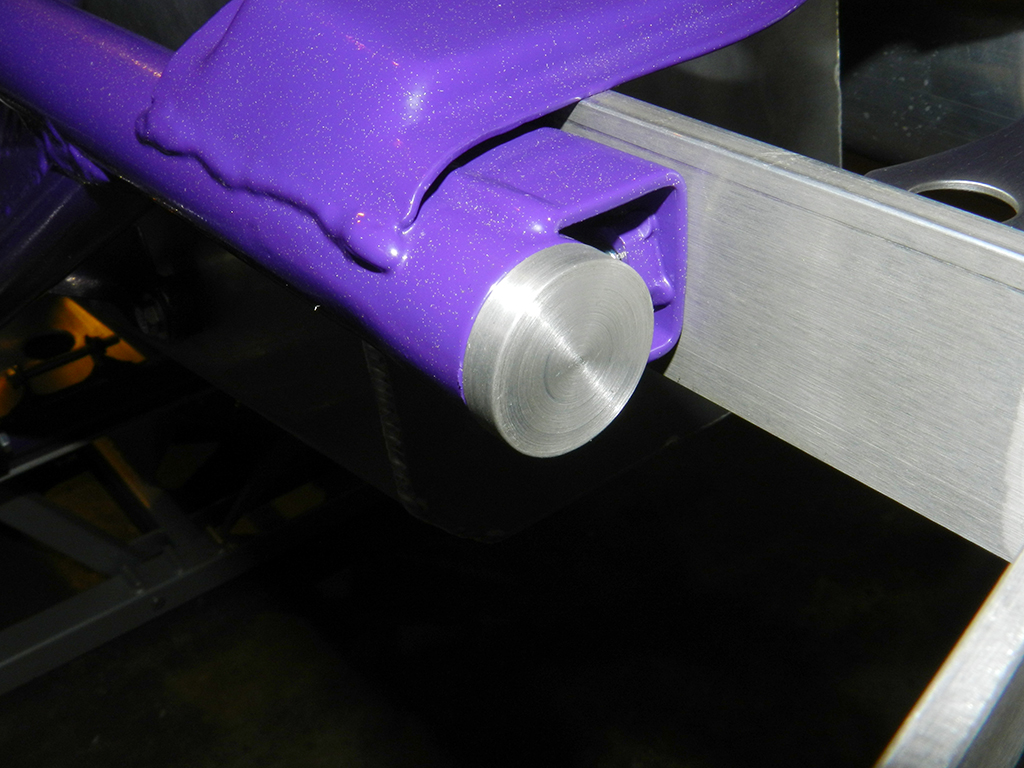
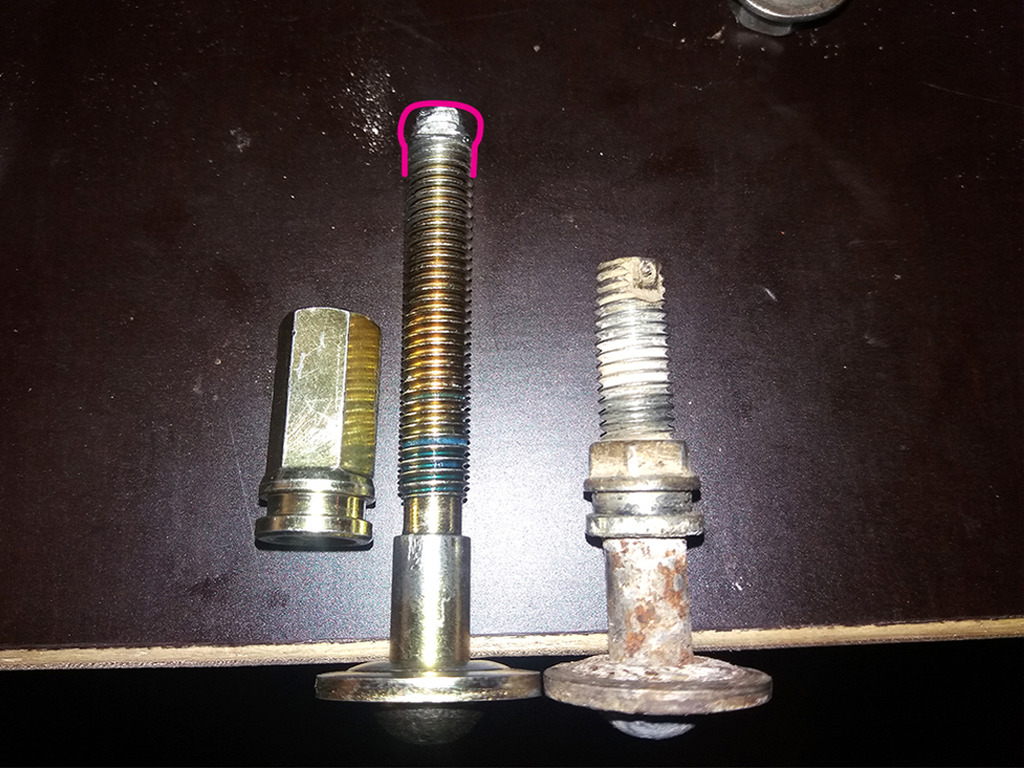
I started off rebuilding the rear master cylinder. 1st the end of the shaft was mushroomed out so you could not thread a nut on so had to grind it back a little then I seen the shaft is to long. :( 
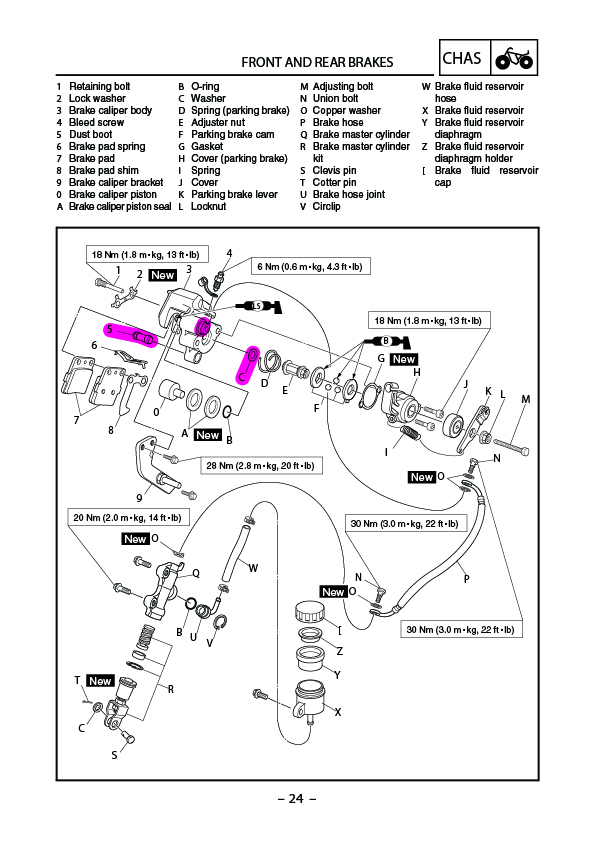
grrrrr. Ended up using the old shaft and clean it up looked like new after and used the washer off new one. Got it together and onto the bike. Pink line in the photo is how the end of the shaft was.

20170112_121417-01_zpsmkq4bymi.jpg


DSCN4519_zpsly46mxmt.jpg


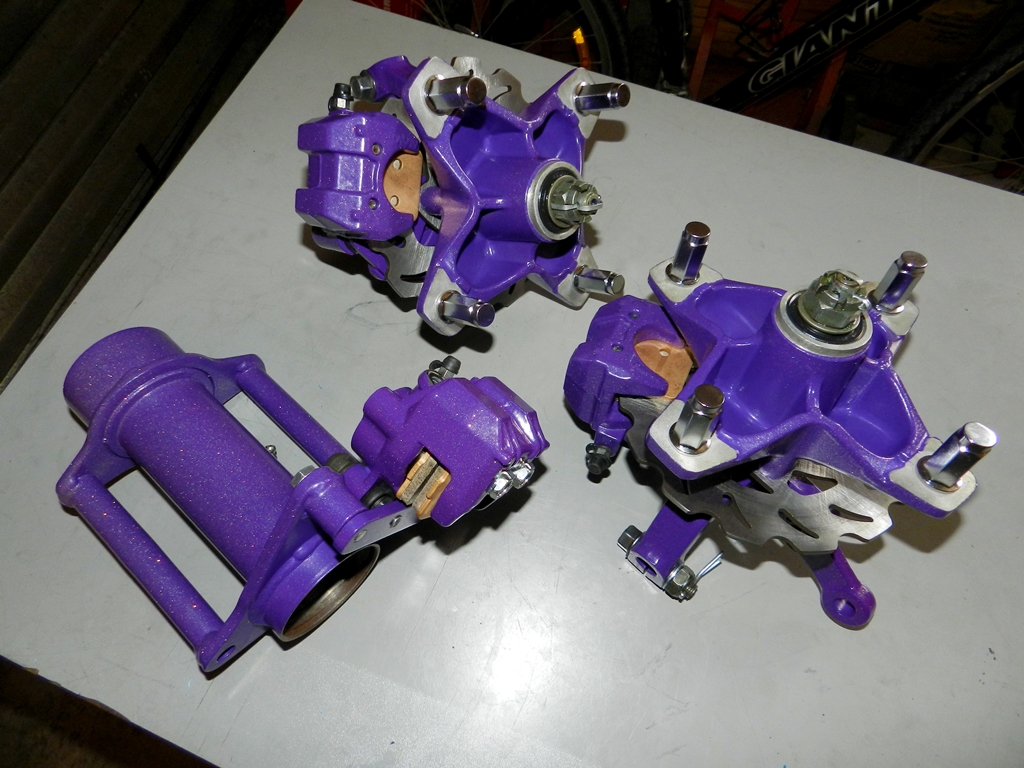
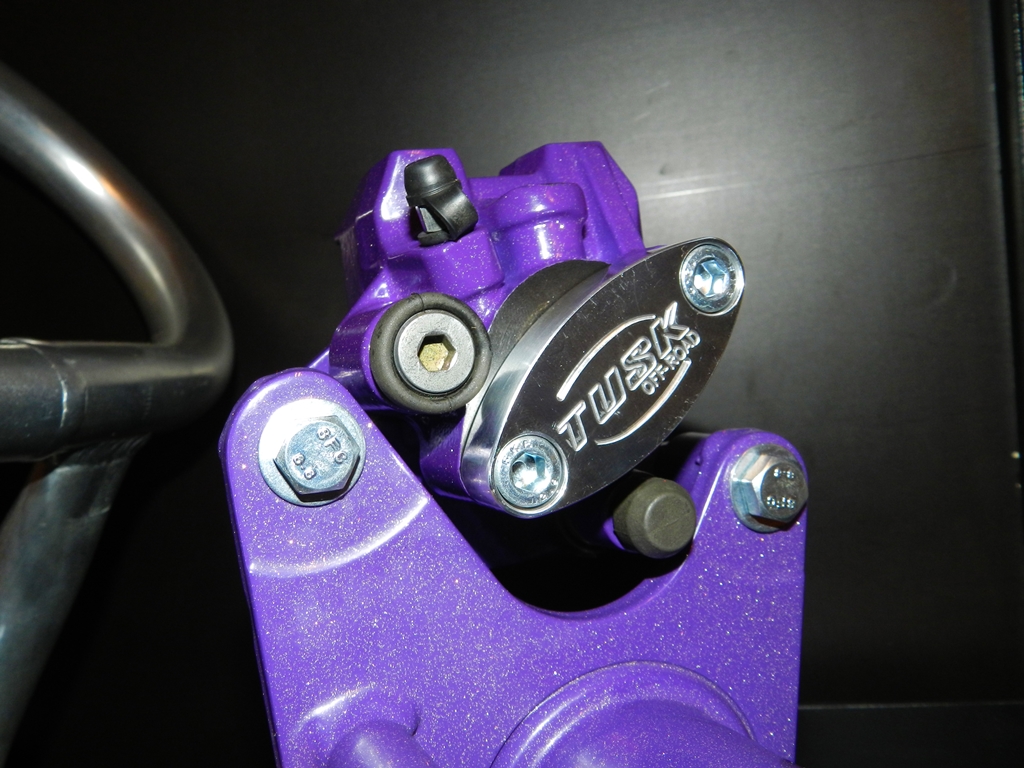
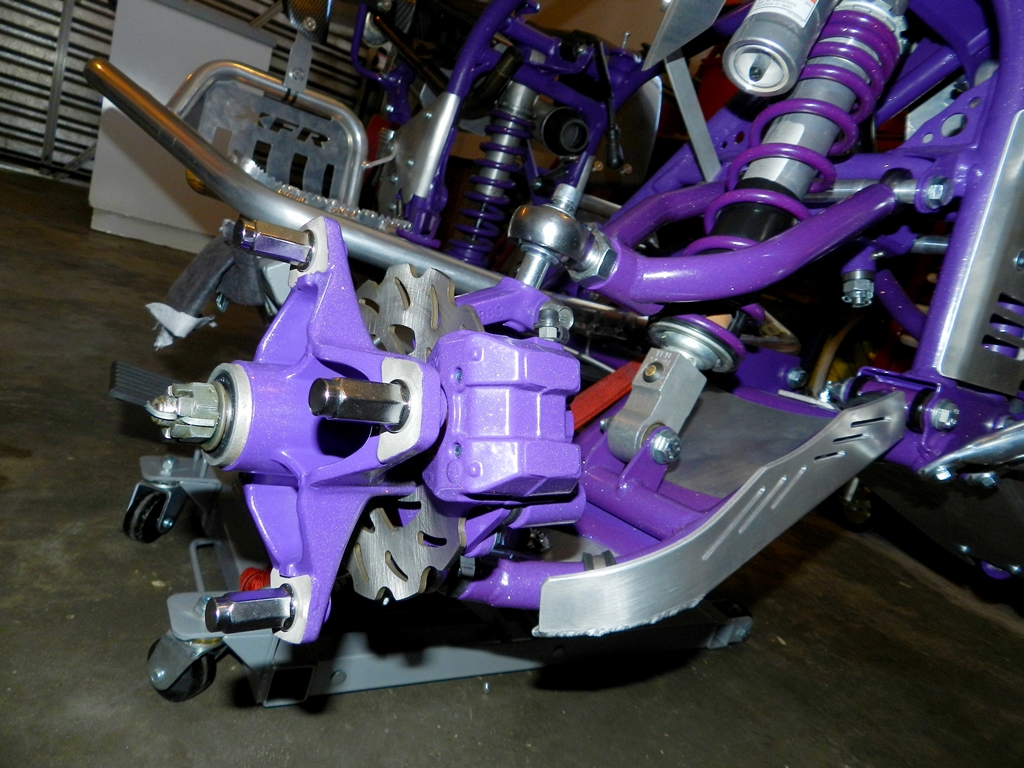
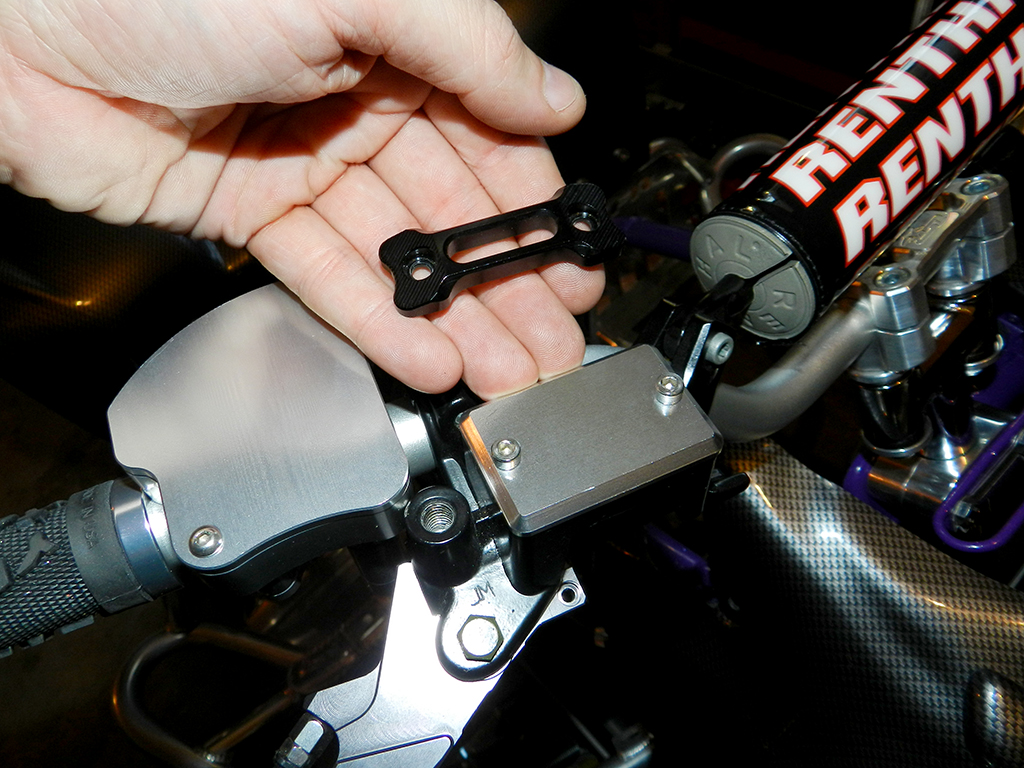
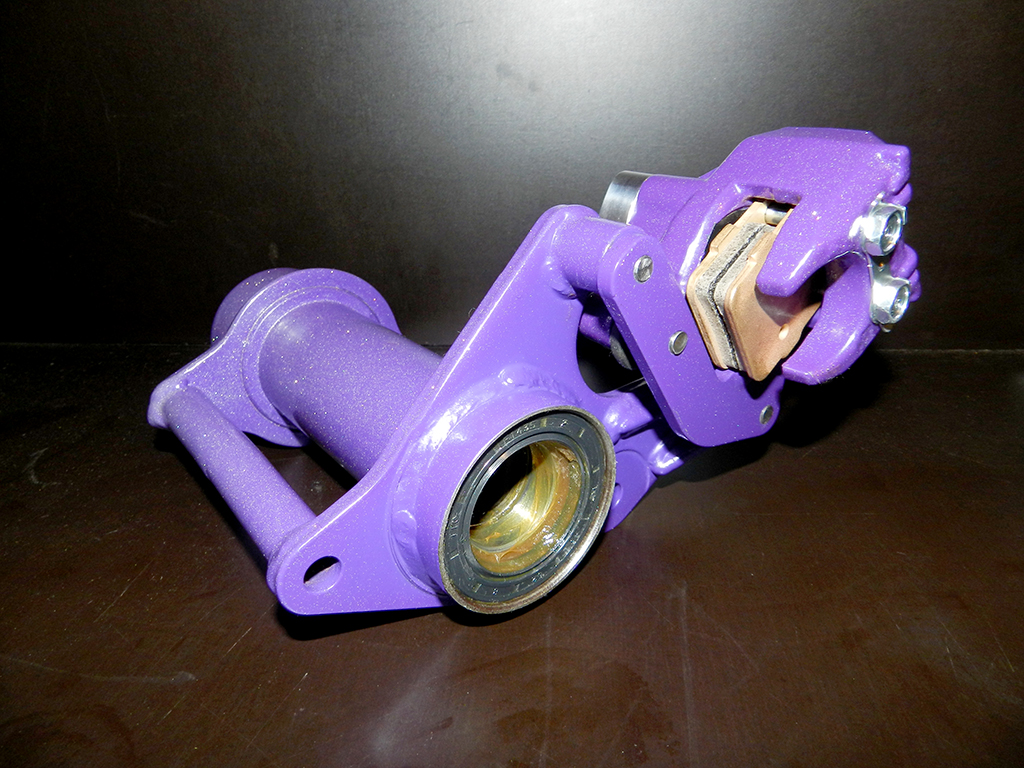
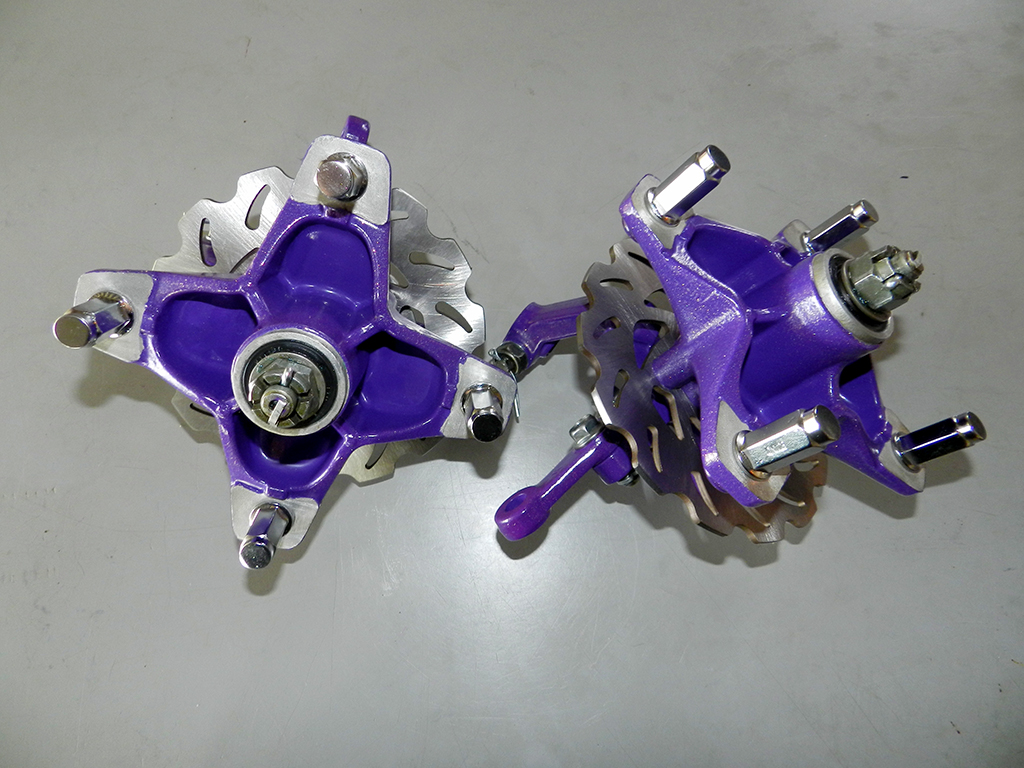
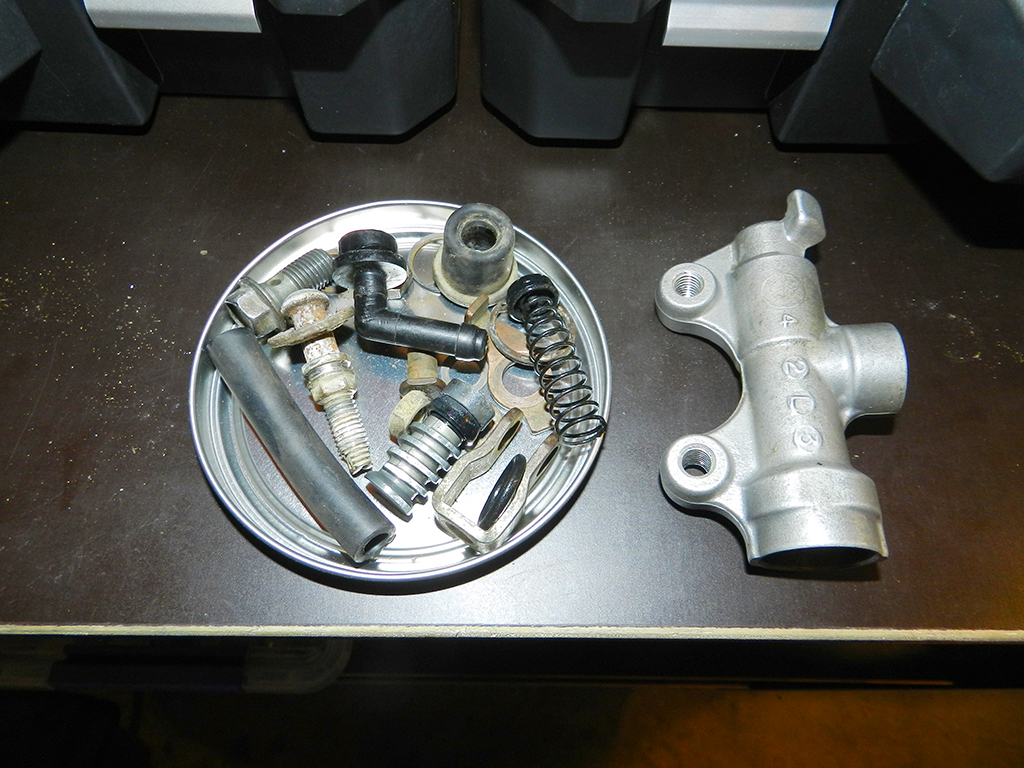
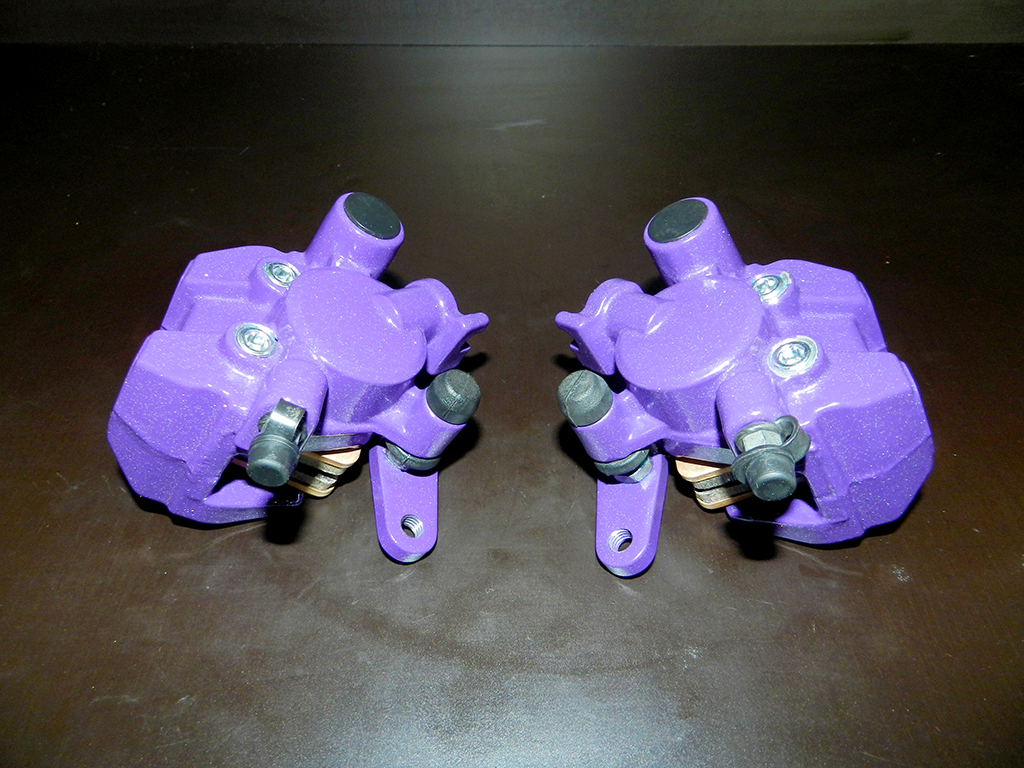
Then moved on to rebuilding the rear brake caliper. Oh crap 2 rubbers are not included in the rebuild kit. So had to clean the old ones and use them. 2 Parts in pink not part of the rebuild kit but they are included with the front caliper kits. Also the o-ring in the caliper is also not included and I could not get the old one in so had to go buy a new one from automotive shop. In the end I got the caliper together with park brake block off plate installed.

Yamaha%20Blaster%20YFS200R%20Supplementary%20Service%20Manual-01-01_zpsruqy3c2v.jpg


So at this time I was pissed off and moved onto the front calipers. Rebuild kits for the front calipers are perfect.

DSCN4521_zps2y9i78wk.jpg


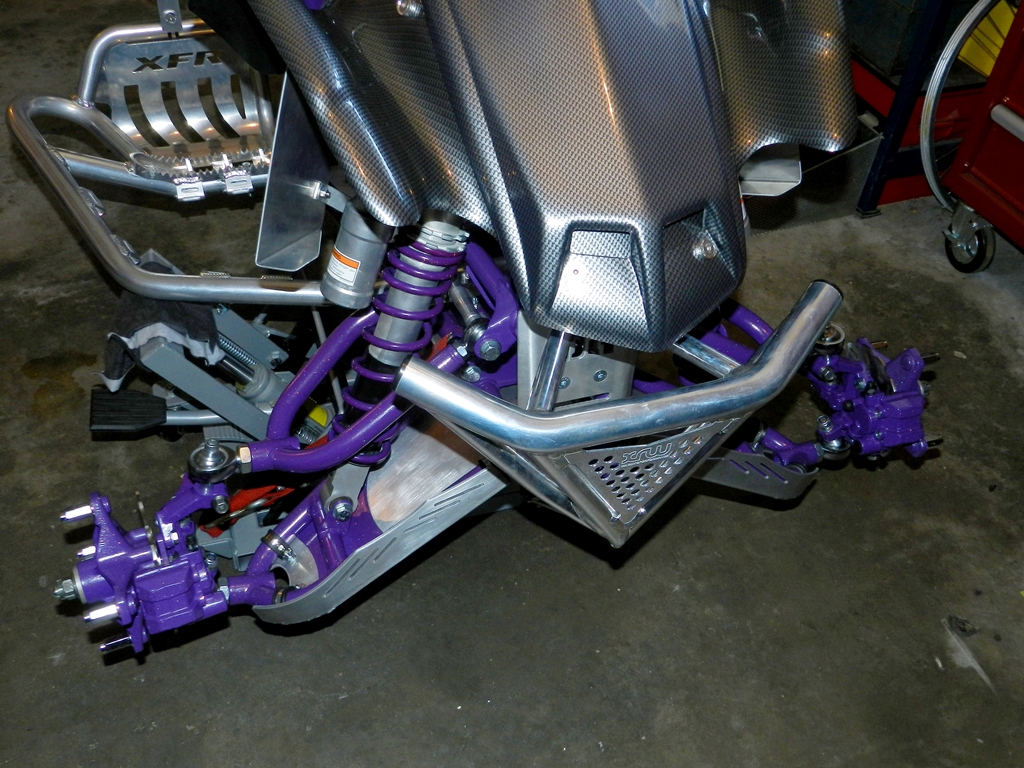
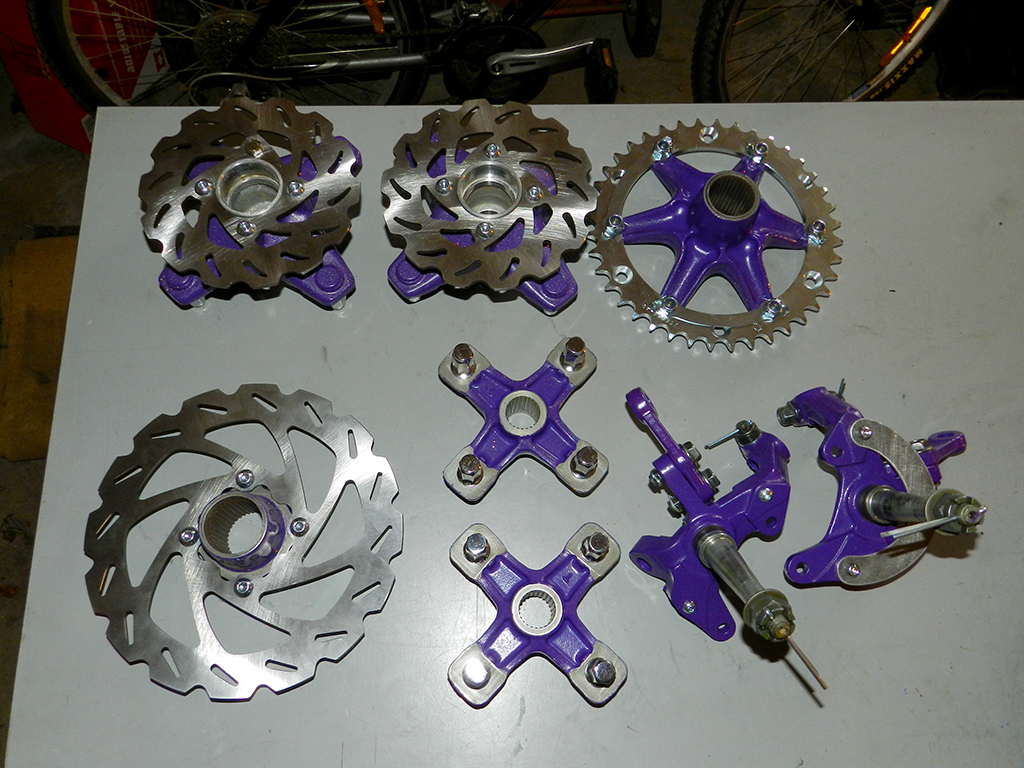
Next I installed the front calipers onto the hub/steering knuckle's. Spin the hub on the right hand side to make sure it spins and all good. Spin the hub for the left side and bang. oh crap what now. The magnet bolt is hitting the caliper bracket. After a look at photos and remember the bolt holes on the stock discs are stepped but after market ones are not so the bolt sticks out more. So I just remove the magnet and install stock bolt an removed the speed sensor bracket. Speedo dash is not getting installed now. May look into installed in on the rear when I come to putting it together.

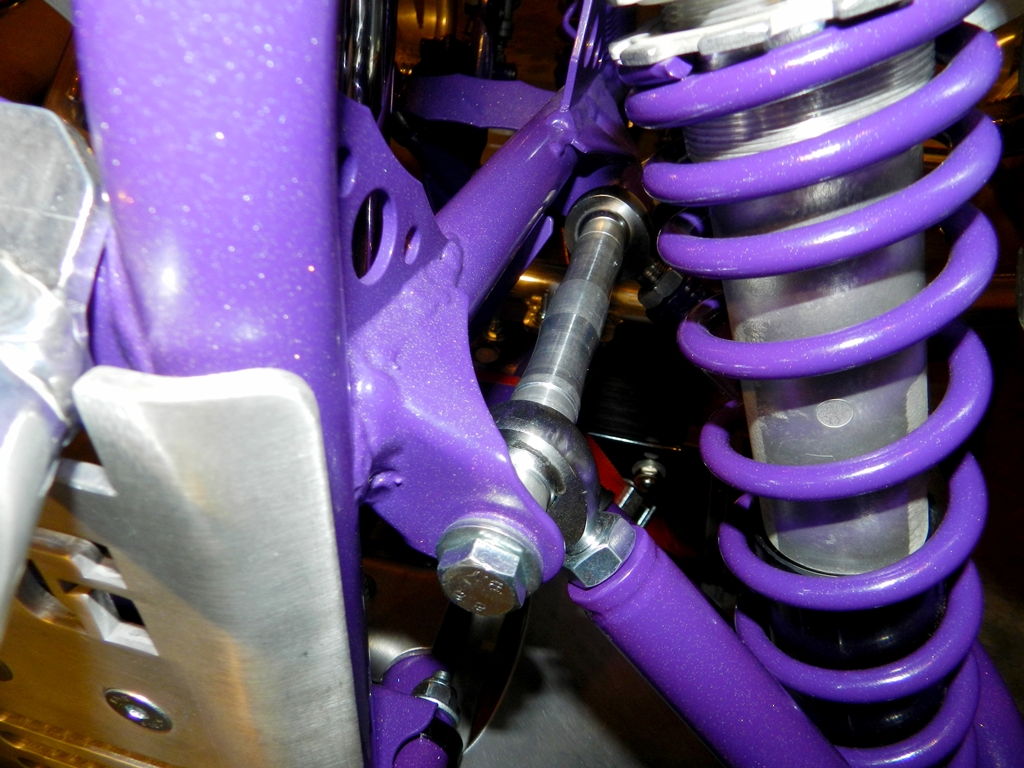
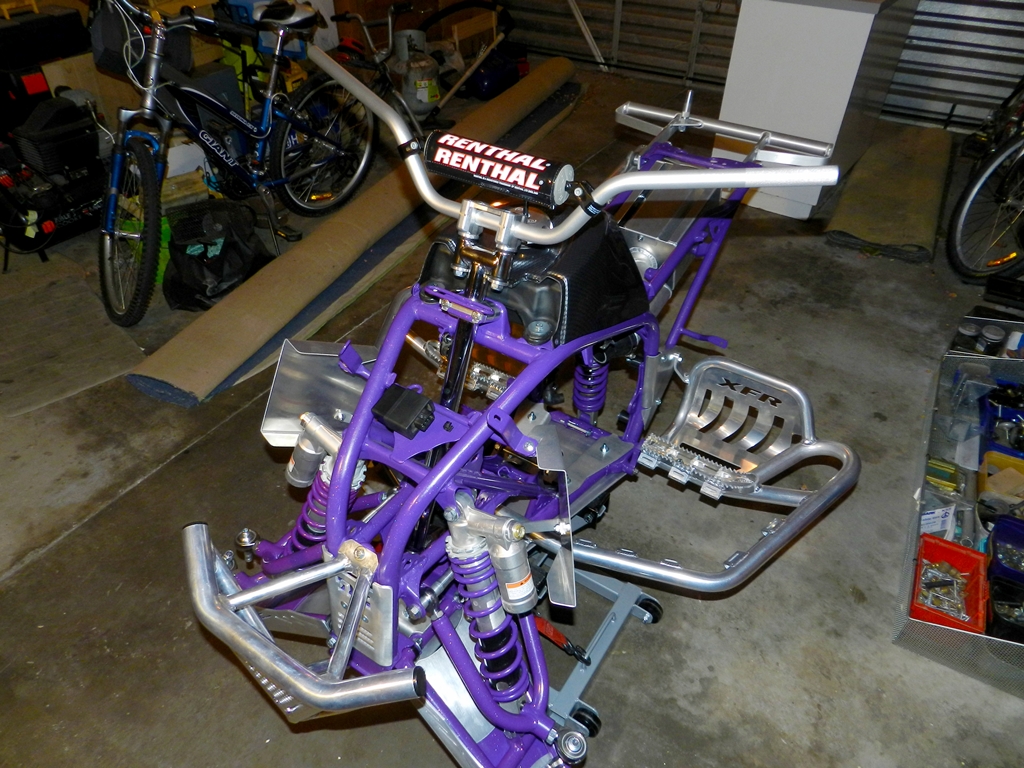
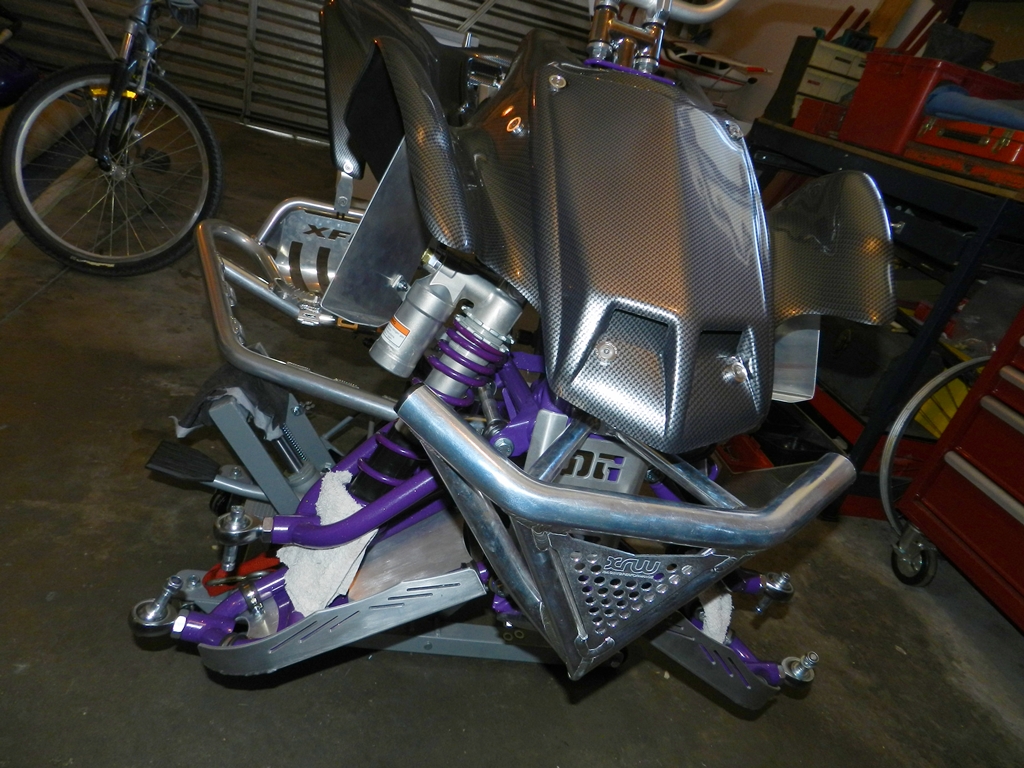
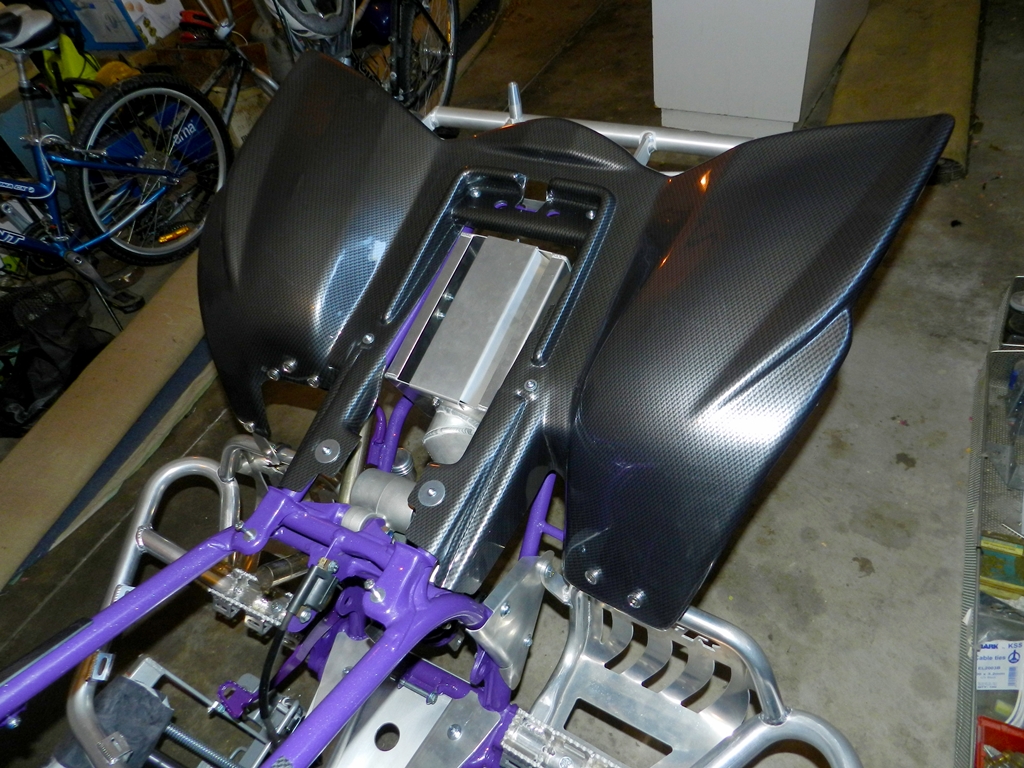
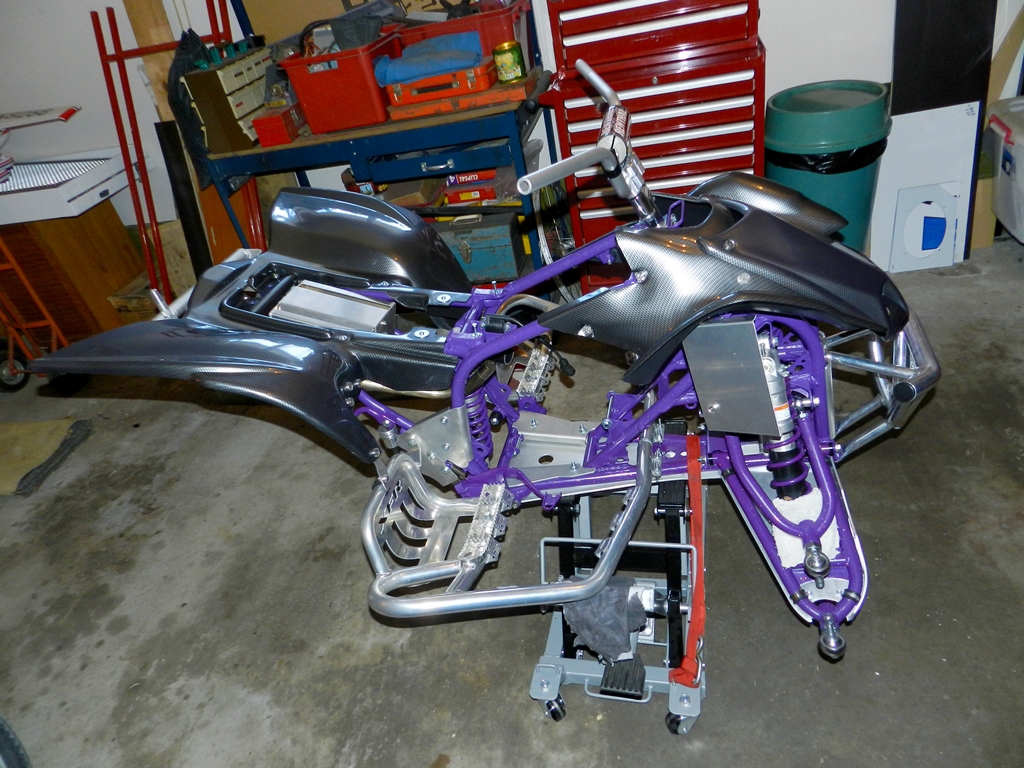
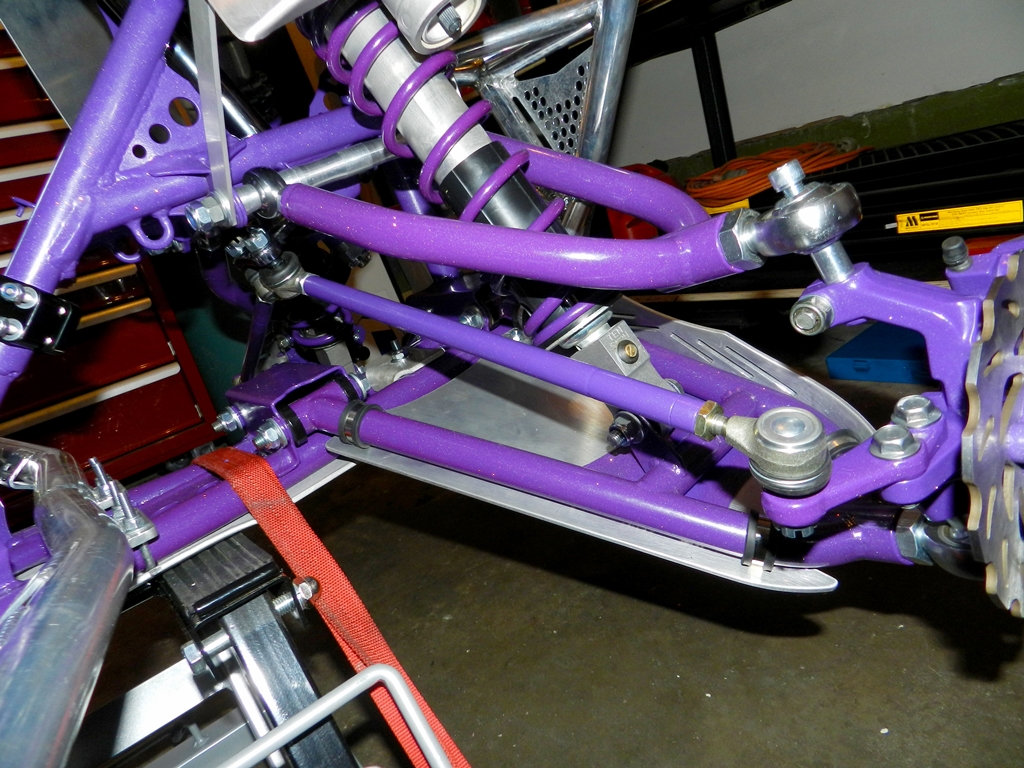
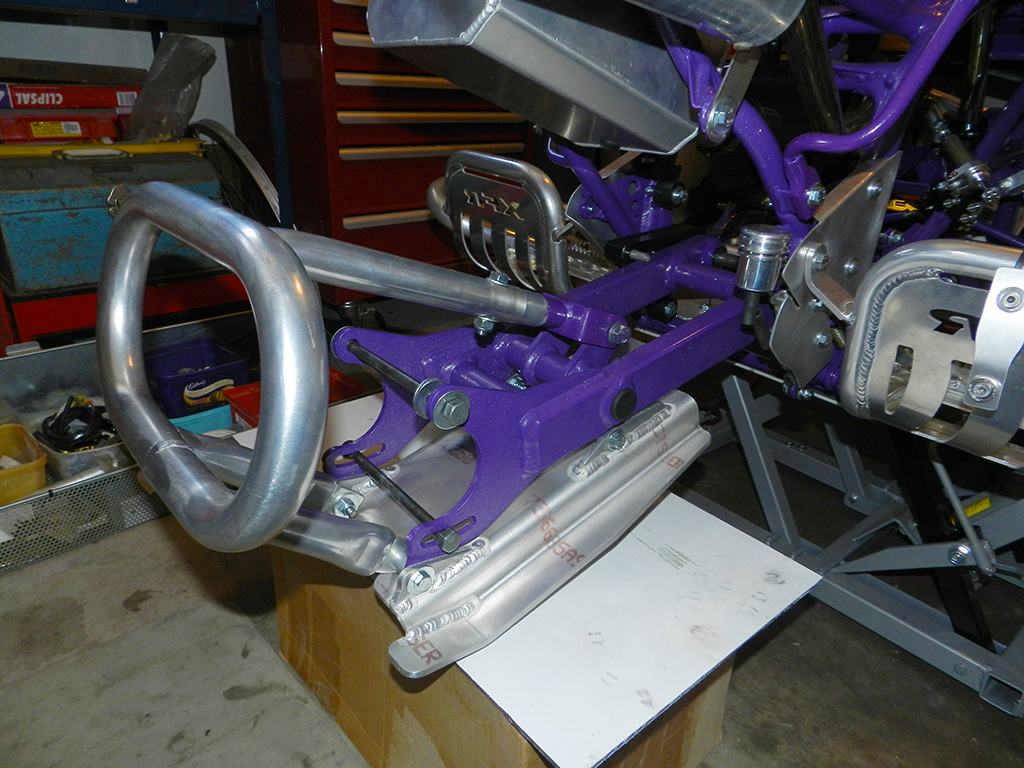
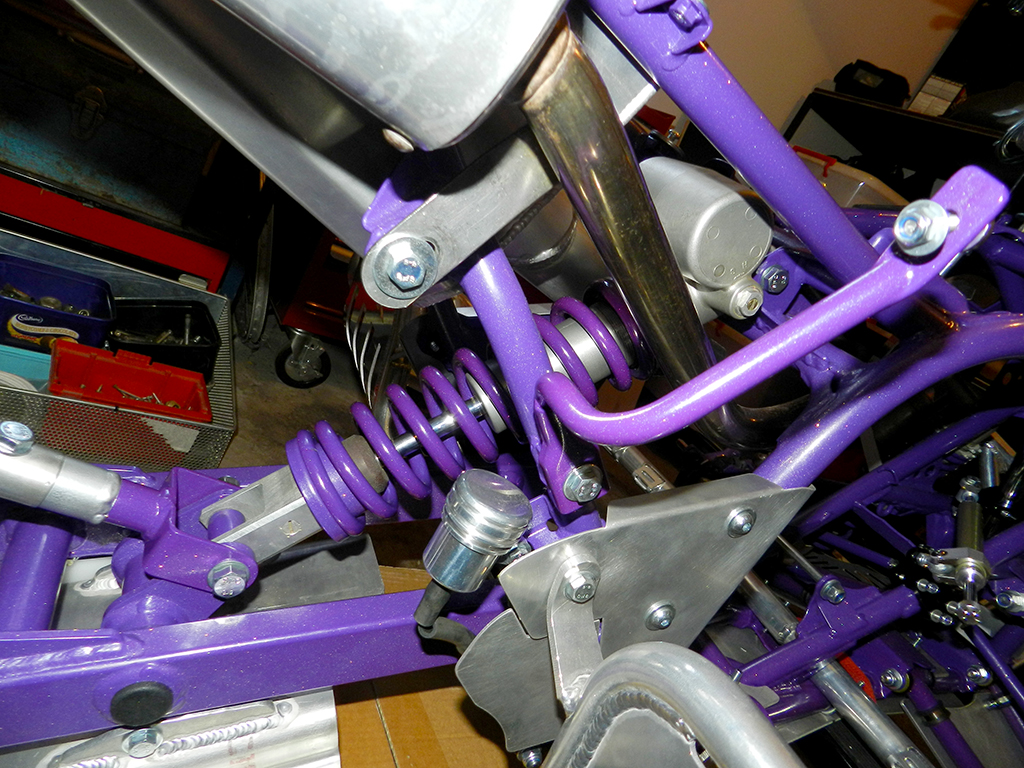
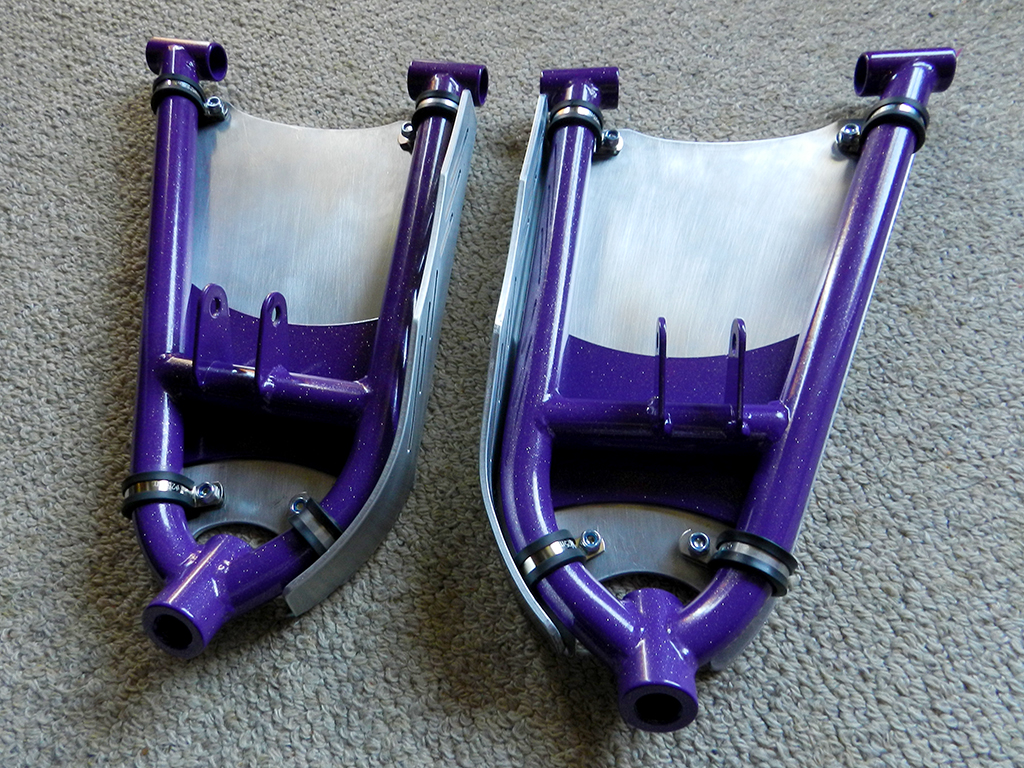
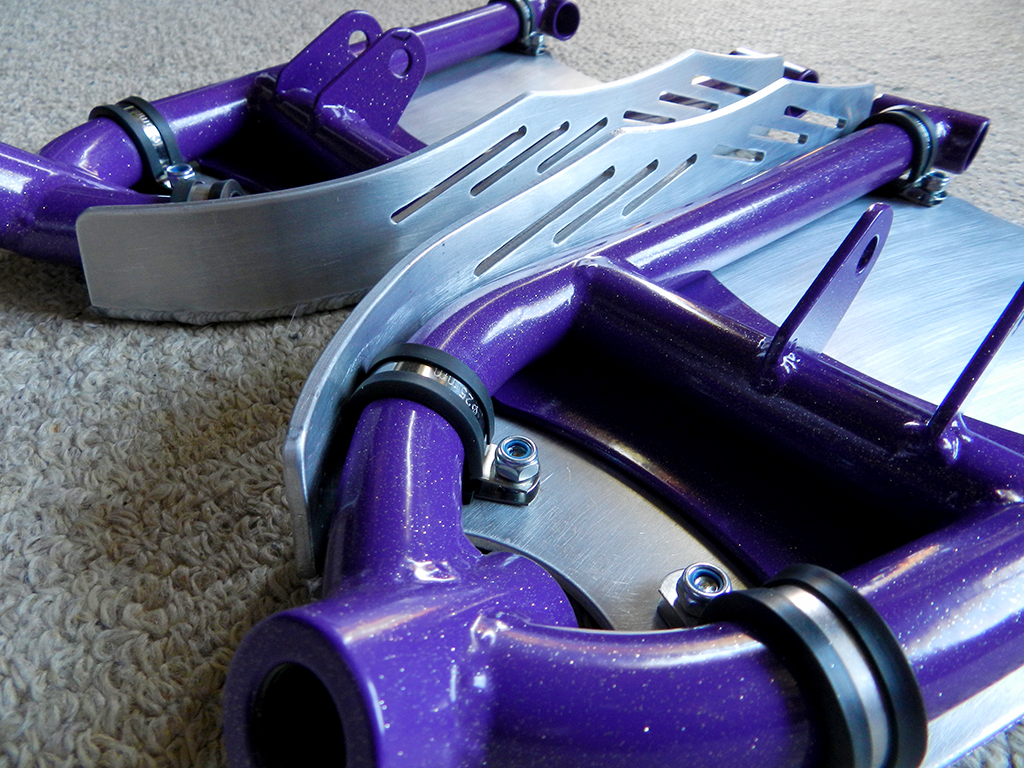
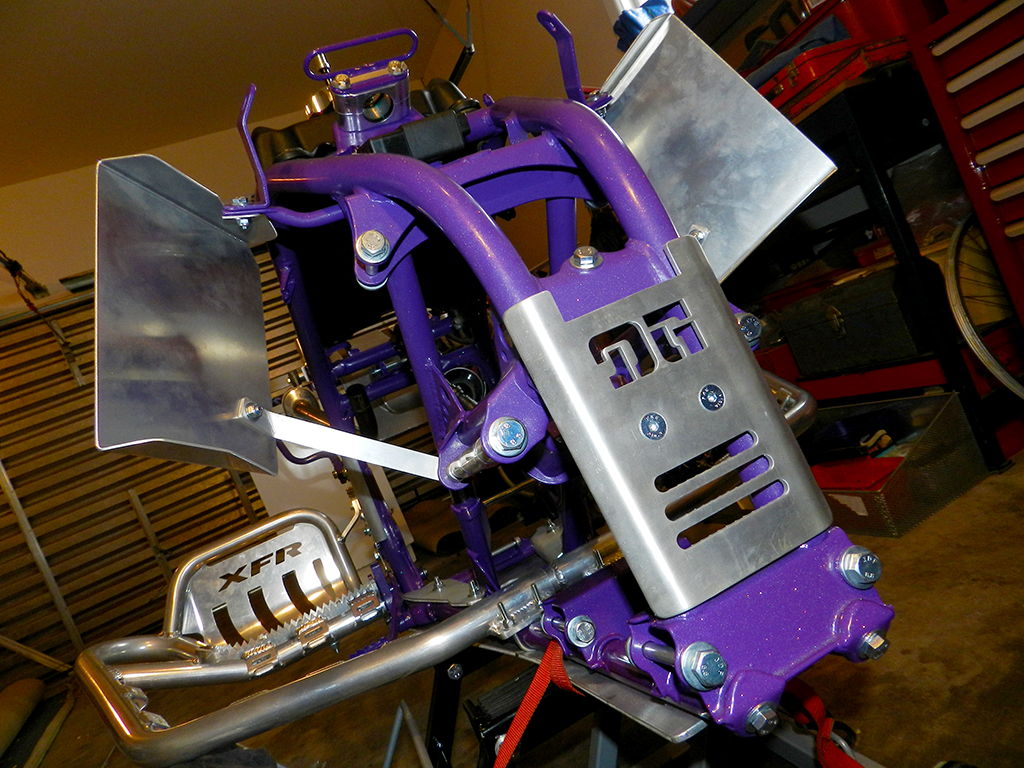
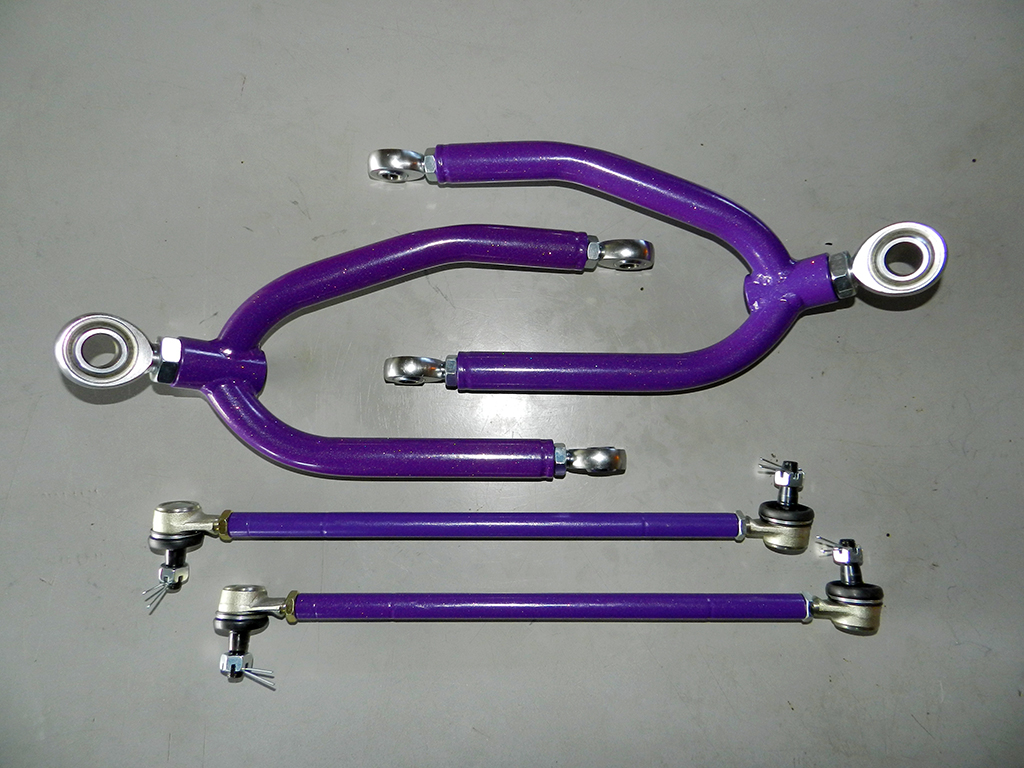
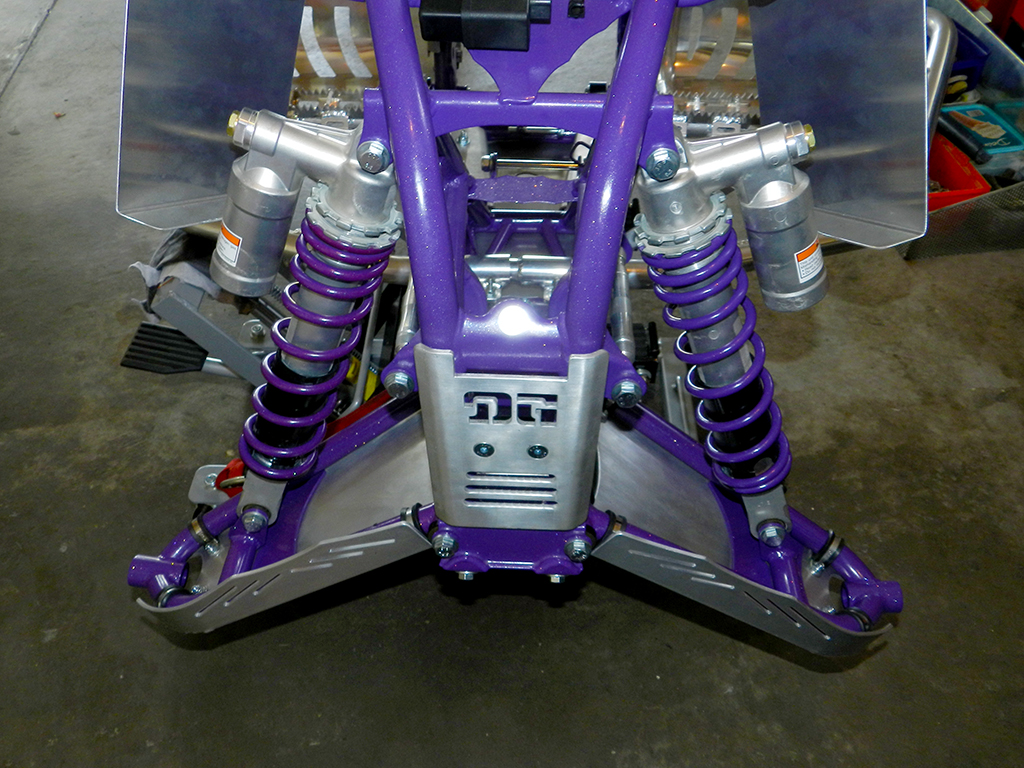
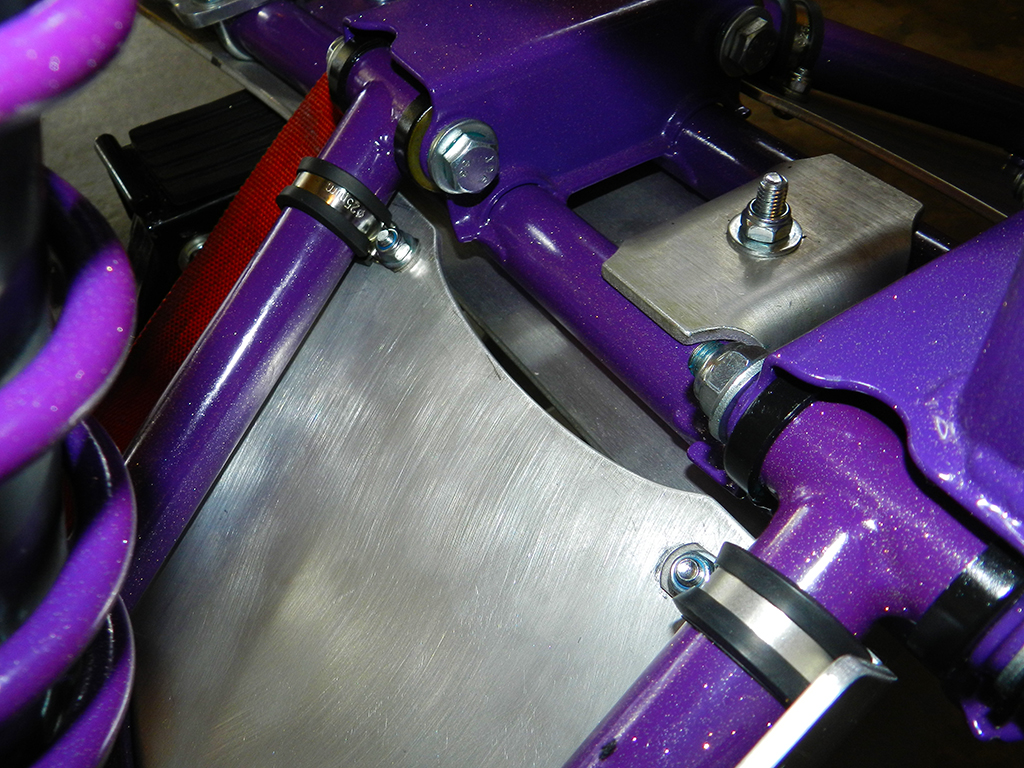
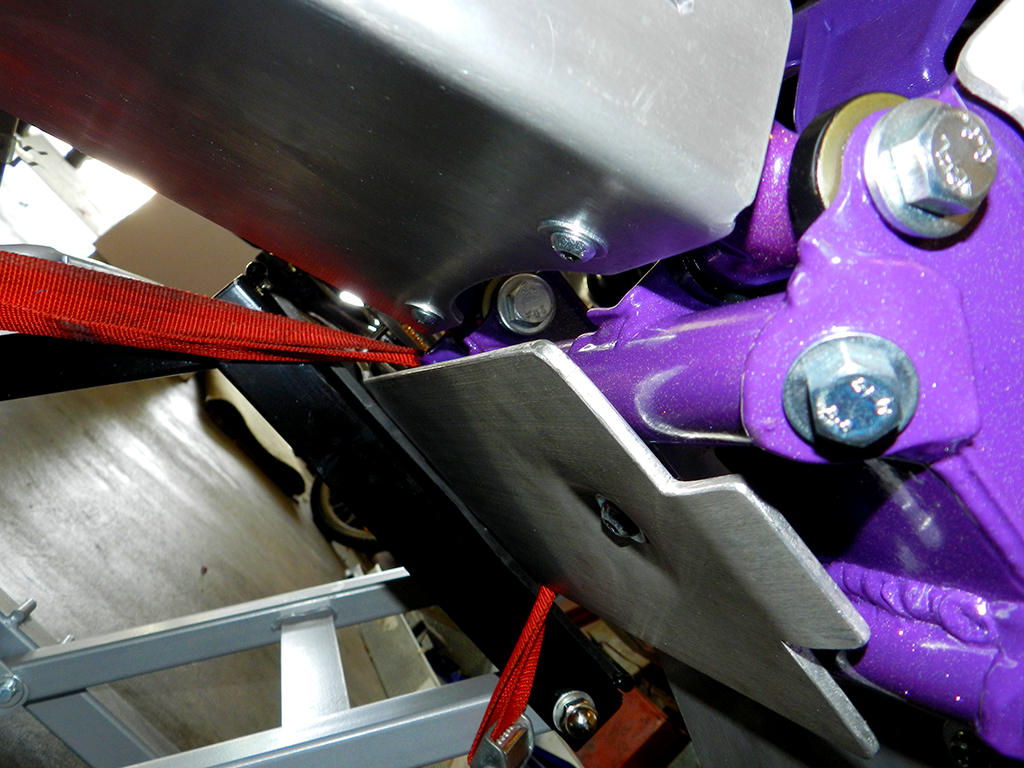
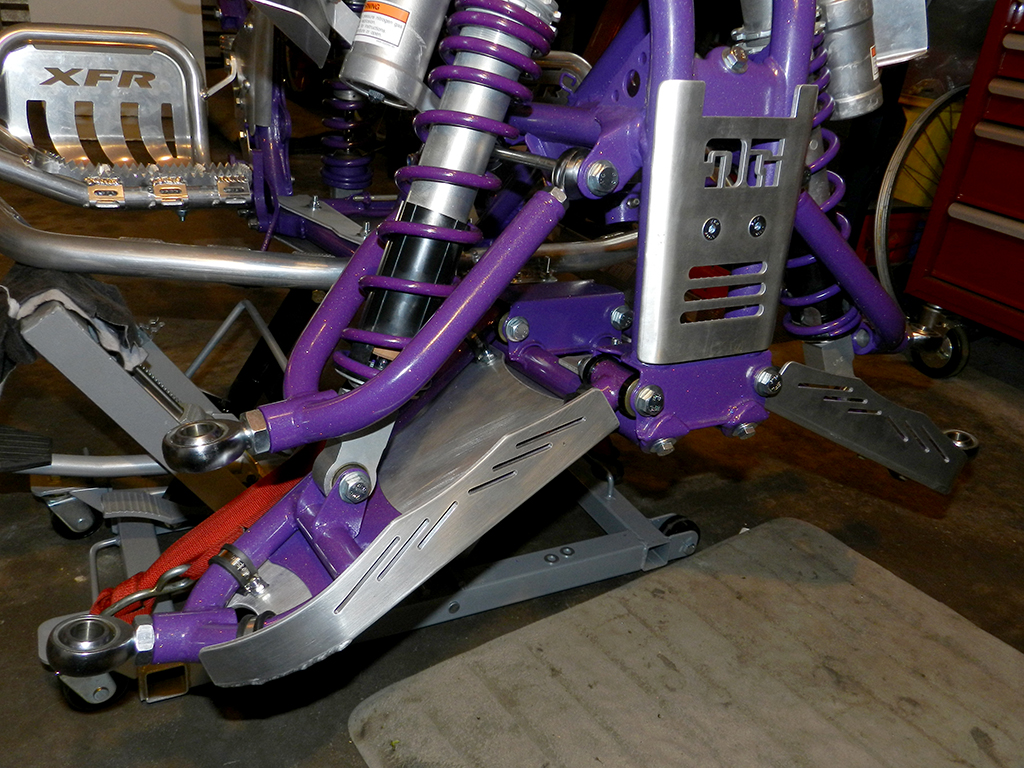
So after doing all this crap I did some easy stuff and installed the upper A-arms. Will need to be adjusted when I get the hubs and wills all on that's why the middle spacer in not installed as its a pain to get in.
DSCN4517_zpsqbgdjbbt.jpg


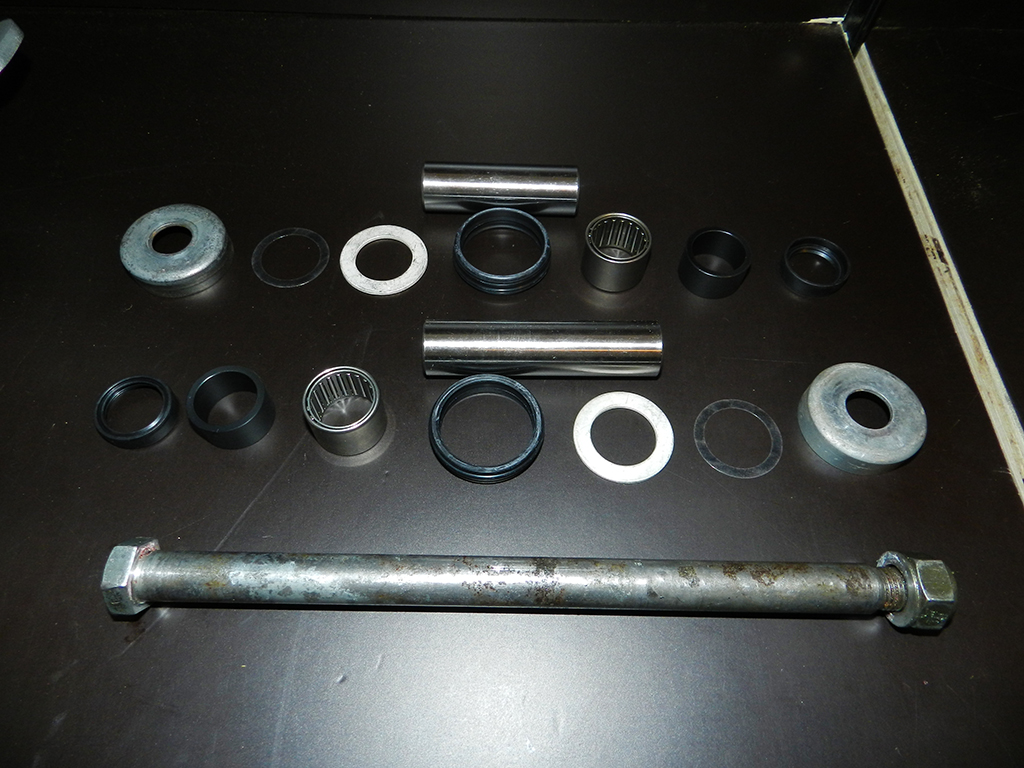
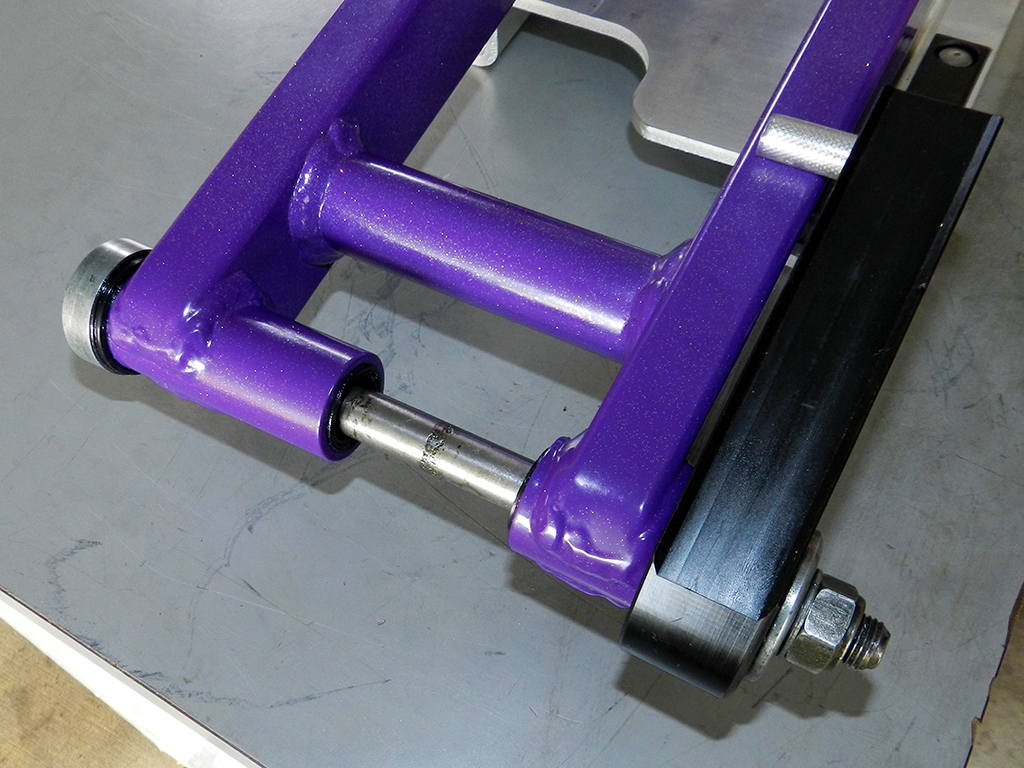
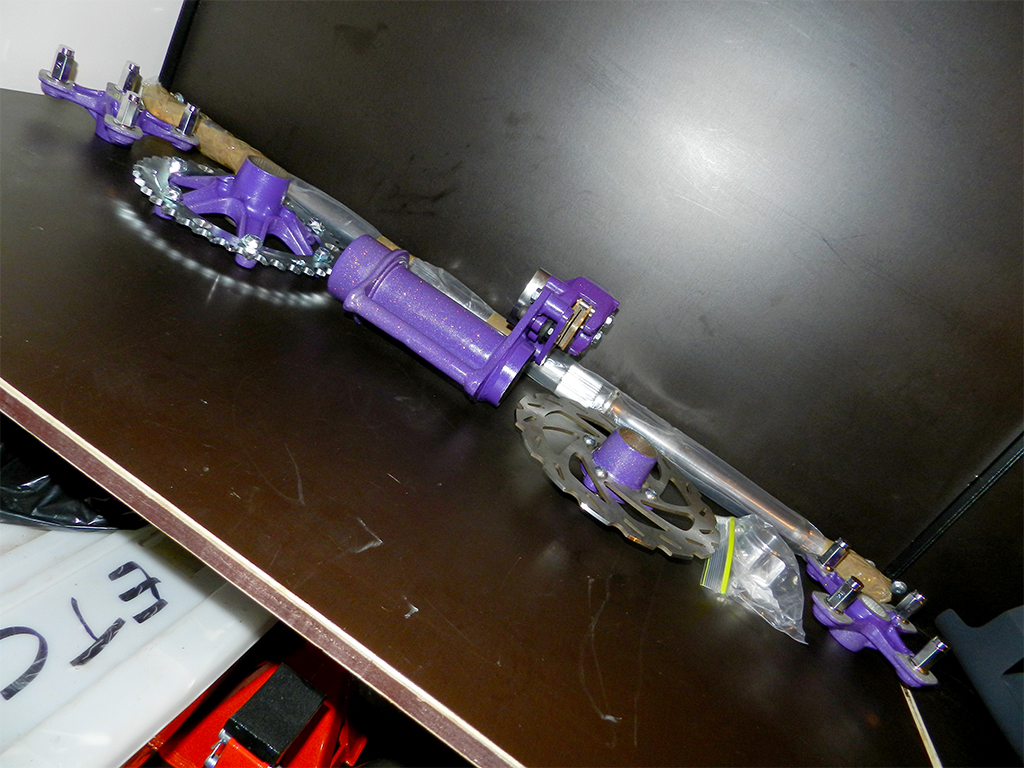
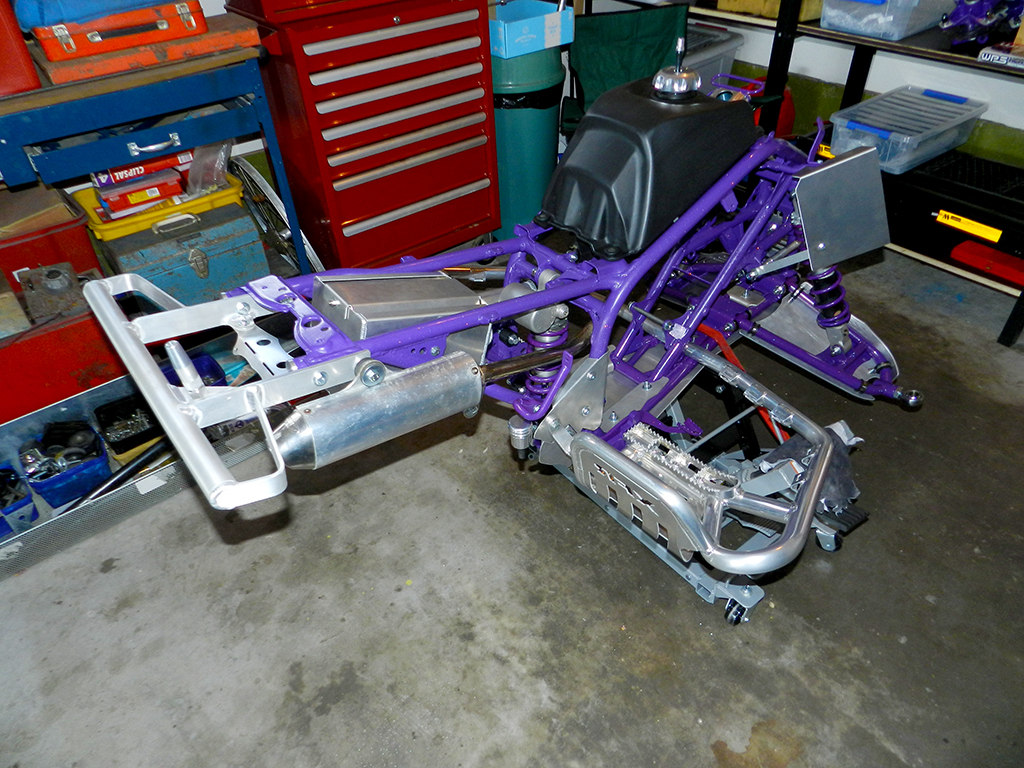
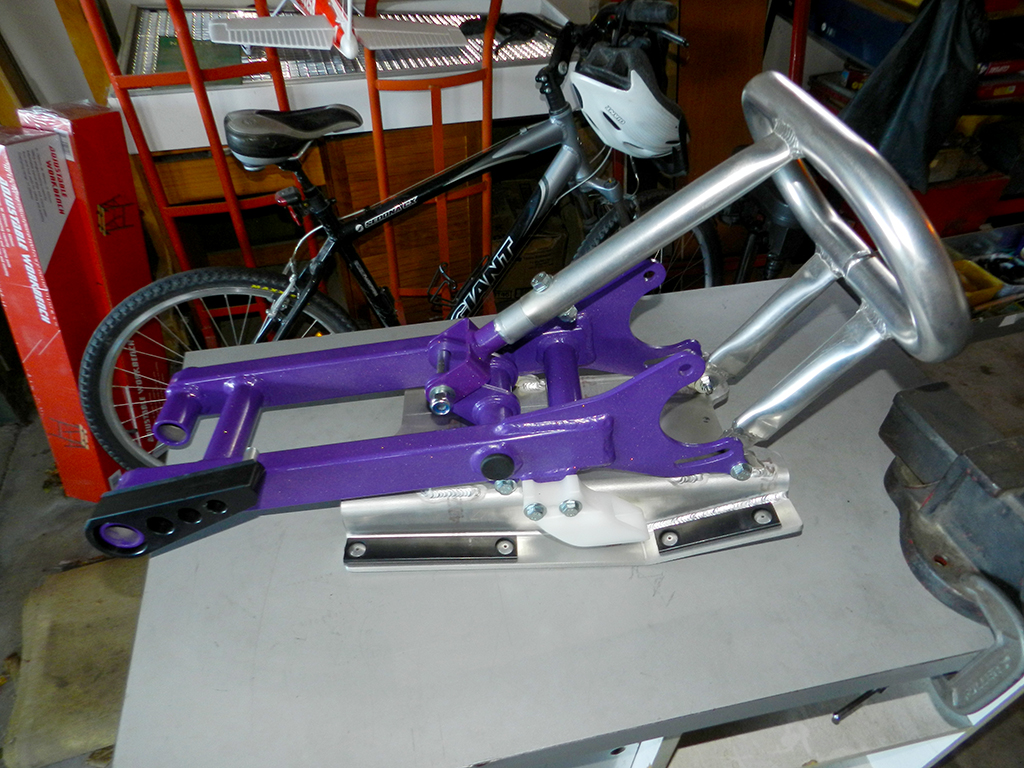
Also put some parts together on the swing arm.
DSCN4522_zpsti7vcjtp.jpg


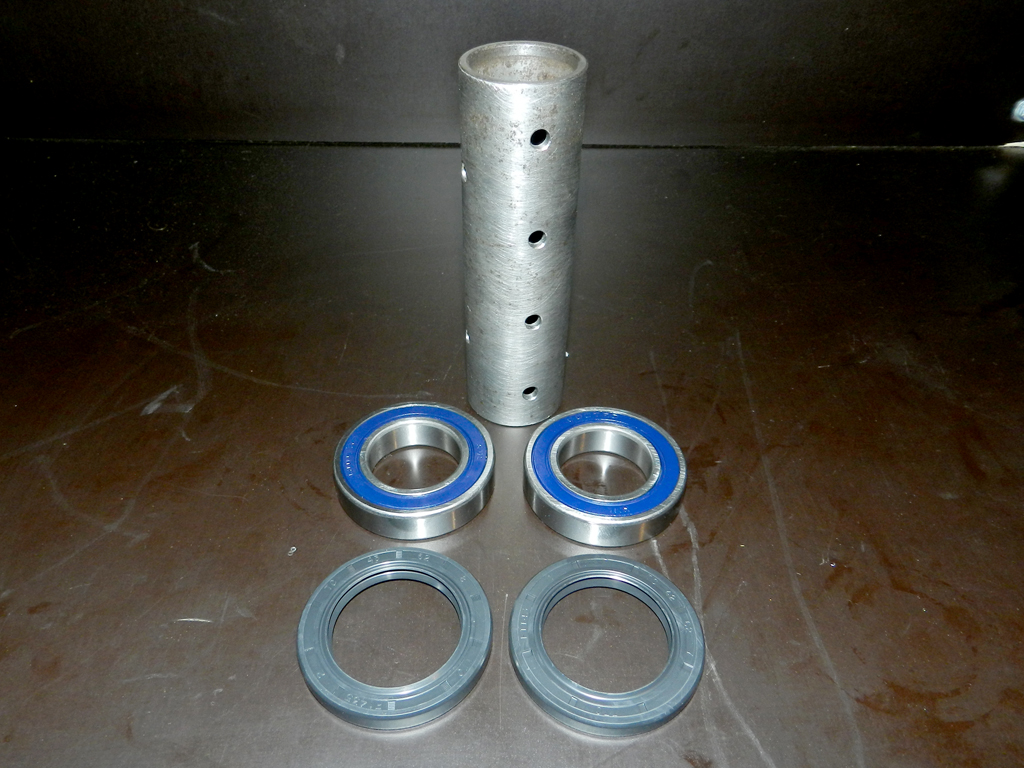
After that I gave up and went on computer listening to music. Think tomorrow I will install the bearings and seals in swing arm. Hopefully tomorrow is a better day.
 
Last edited:
Looks like my blaster has a name: Twilight Sparkle. (From My Little Pony) Thanks to my boss after I showed him a photo of my blaster.

So I did a Photoshop.

Twilight Sparkle.jpg
 
  • Like
Reactions: MR_Effing_Rose
i would finish putting that together in a room in your house so you can preserve it for life.And need to dissassembly to even be removed from a door frame:eek:
sick work! Lots of money involved.
PROPS
 
  • Like
Reactions: Markblaster
Mark, I am loving this build. I like the color. If I was building one, I'd do orange as the main color. Still love it. I've been following this build for a year. I'm sitting on the porch now with a dip in and just reading through the forums. Bad ass build mark.
 
  • Like
Reactions: Markblaster
Thanks dude. I did a YFZ450 frame safety bright orange about 5 years ago with black fenders.

Oh just to top it off my hair matches the frame. :oops:
20170113_175633.jpg
 
Did a little over the last 2 days. Bee relaxing as I go back to the slave driver called work on Monday.

Calipers mounted.
DSCN4555_zps0tsj6ejt.jpg


DSCN4566_zps4oe3nwsm.jpg


Spacer is a lot easier to install after shaving a little off it. Don't need to beat it with a hammer now.
DSCN4563_zpseda1yatl.jpg


Steering stem and handle bars back on for 3rd time lol. Shaving a little off both the lower steel bushes worked perfect.
DSCN4564_zpsgl9rb0w3.jpg


To give you a idea of the frame colour with the fender colour.
DSCN4556_zpsgteqplkq.jpg


Now that the steering stem is in and I have the tank and tank cover mounted I have found another problem. The stem clamp mount hits the tank cover. Will have to do some cutting on the cover tomorrow. This is not even at full lock.
DSCN4567_zpsemxvetgw.jpg


DSCN4568_zpsaz6rvbhn.jpg


Video of the stem hitting tank cover.
 
Last edited:
Hot day here 31c. Been in shed most of day working on Twilight Sparkle. :rolleyes:

Had a look at the tank cover and its got a thick end on it and I don't have a heat gun or gas touch to bend it so went and cut it to a curve. Parts I removed.
DSCN4581_zpsnnifbore.jpg


Mounted the front fender to make sure I had no fitment problems and all good. Also sorted out the new bolts for it.
DSCN4571_zps93ufoquw.jpg


DSCN4577_zpsrajizpls.jpg


Then moved onto the read fender and fitment perfect no adjusting needed.
DSCN4572_zpsci2kicve.jpg


For where the old heal guards mounted I made up some aluminum brackets. All bolts loose at moment as I will be removing fenders to install wire harness.
DSCN4573_zps6vkqrtve.jpg


DSCN4574_zps2te4ezbv.jpg


DSCN4576_zps8lqgxovd.jpg


Rubber mounted P clamp around Nerf bar same as the ones I used on A-arm skids.
DSCN4575_zpsasbeqg4v.jpg


Coffee time.
DSCN4570_zpslib8tedi.jpg


Loosely mounted the steering knuckles to arms.
DSCN4578_zpsthzpz15q.jpg


DSCN4579_zpssgvdlyv1.jpg


Also mounted the tie rods.
DSCN4580_zpsxumzh7qf.jpg


Relaxing now. Work tomorrow.
 
  • Like
Reactions: Awk08
Mounting parts on handle bars and steering.
DSCN4582_zpskr5njdlg.jpg


DSCN4587_zpsfjmyfjls.jpg


Removed the dog bone shape aluminum part off the top of the brake res.
DSCN4586_zpsdhzzar8h.jpg
 
  • Like
Reactions: Awk08
Time to play with more grease. :) Install swing arm bearings and seals.

DSCN4590_zpswamwfnj1.jpg


DSCN4592_zpsmuhuigwh.jpg


DSCN4593_zps7ehsh18l.jpg


Installed rear shock.

DSCN4594_zpsnzkq2kyt.jpg


DSCN4595_zpsn5monln0.jpg


Haven't been doing much on it lately. Need to get the axle carrier together.
 
Yesterday at mates we media blasted the chain adjusters and I painted them last night.
DSCN4598_zpsybbg5p56.jpg


Got the axle bearings / Seals installed tonight. Another greasy job done. :D
DSCN4596_zpsii7mxt1e.jpg


DSCN4597_zpsjkvh0nxh.jpg


Already to got together.
DSCN4600_zpsdlvga7ce.jpg