How to put HIDs onto your blaster

mac2mac

Member
Jan 31, 2011
529
7
55
New York
Blaster HIDs are coming thanks to MAC2MAC........ lol

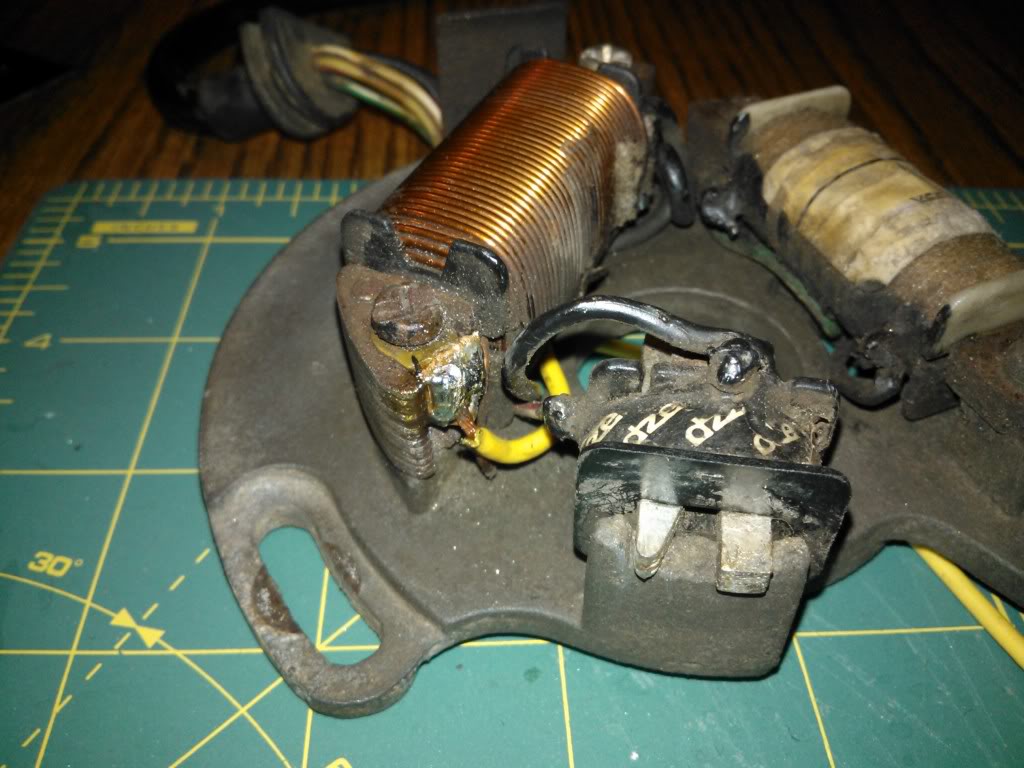
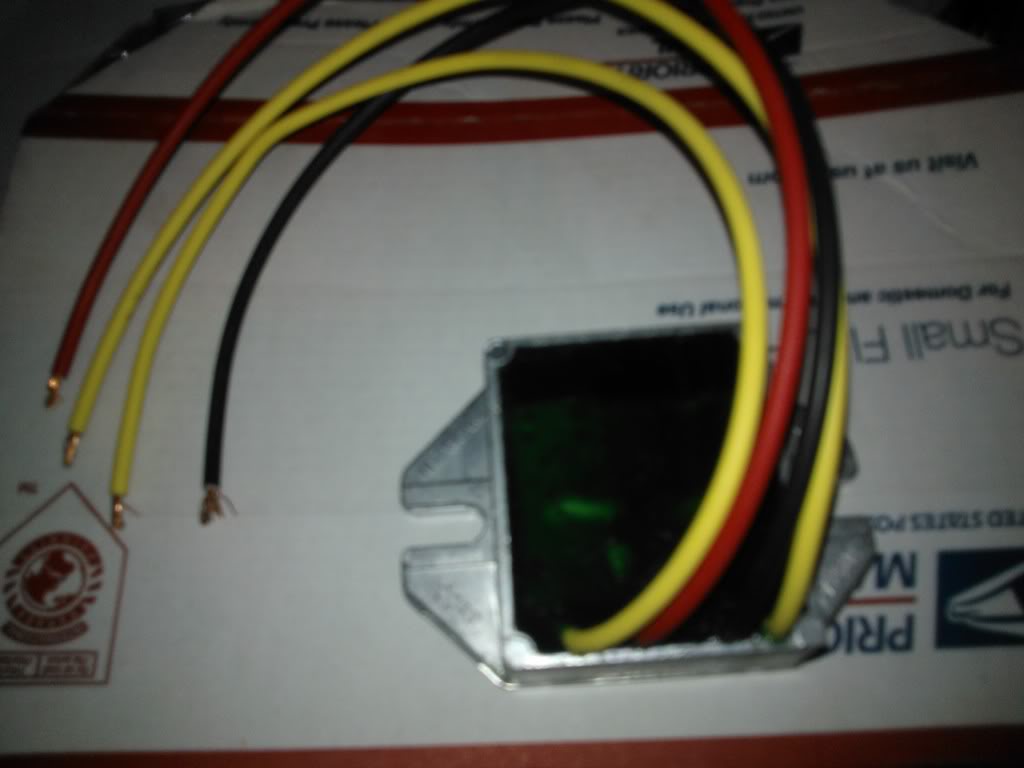
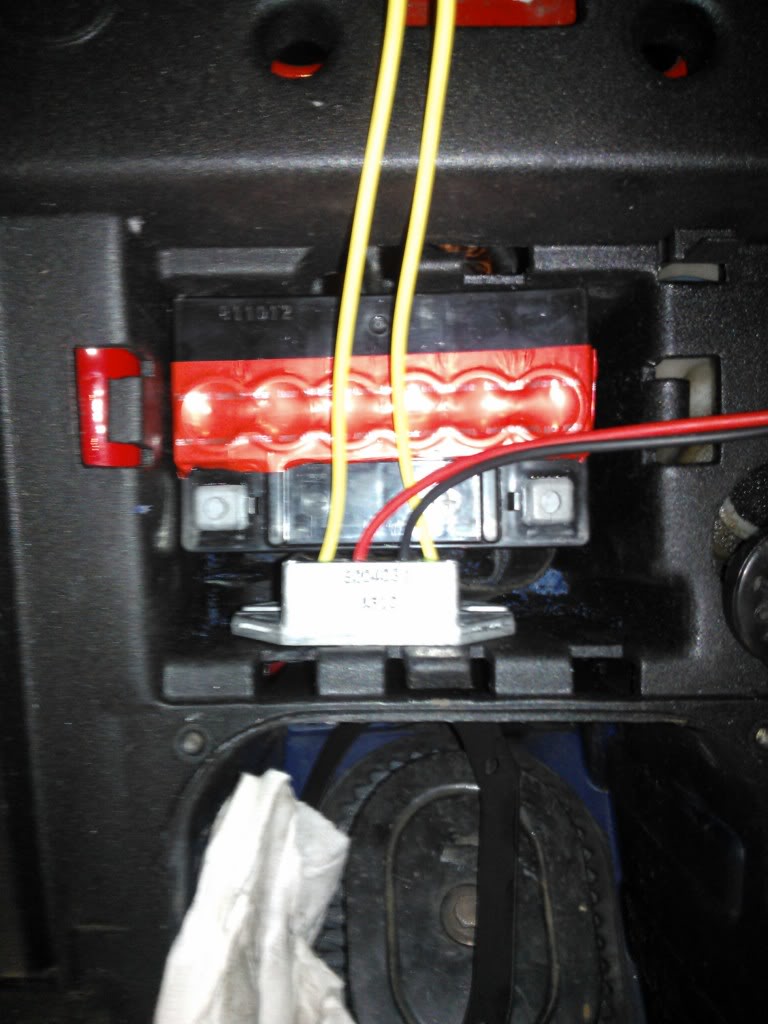
First thing you need to do is get some hids.I went to http://ddmtuning.com/ They are cheap and come with a Lifetime Warranty.Order now cause they take a month to get to you. They are nice tho here is a pic http://i1237.photobucket.com/albums/ff473/mac2mac2/03212011424.jpg next you need to go to ricky stator Ricky Stator here is a pic http://i1237.photobucket.com/albums/ff473/mac2mac2/03212011425.jpg here are the instructions that it comes with http://i1237.photobucket.com/albums/ff473/mac2mac2/scan0001-1.jpg All you need now is a battery I didn't pick one up yet but I know I want one like this Duralast/6 7/8 in. L x 4 in. W x 6 1/8 in. H CB series motorcycle battery (CB16-B FP) | Motorcycle Battery | AutoZone.com
 
A 16 group battery might be a little big for a blaster. It weighs 16.7lbs by itself. Shoot for the 5B maybe.

Like this:

Advance Auto Parts: Power Sports Battery - 1 Piece by Autocraft - Part 5L-BS

Also, the ricky stator regulator rectifier will work for a DC conversion system but the instructions leave a whole lot to be desired. The trail tech regulator rectifier has MUCH better instructions with it. Heck they even have a pictures of a banshee conversion to help with any confusion.
 
good info mac and civic, i may have to look into this, if a battery will fit in my cfm box ????
but i'm confused as to which lights or just a stock replacement bulb mac will be using ?????
 
I did leave out a lot of details. I do have to check again on the battery. I seen it when I was in autozone and I had a tape measure. i found one that would fit under the sit in the trunk part. All you would have to do is cut out the divider.Wait I do have a pic of the battery http://i1237.photobucket.com/albums/ff473/mac2mac2/02102011352.jpg .. Another thing why will need is a 75 watt stator like this one Ricky Stator it even comes with an adjustable timing plate.... and yes I have the hole hid system I just didn't show the bulbs or the other ballast. You will have to try and make this bulb work. I got an h7 bulb because it has a lot of meat I can trim off to make it work in a newer style housing.
 
A 16 group battery might be a little big for a blaster. It weighs 16.7lbs by itself. Shoot for the 5B maybe.

Like this:

Advance Auto Parts: Power Sports Battery - 1 Piece by Autocraft - Part 5L-BS

Also, the ricky stator regulator rectifier will work for a DC conversion system but the instructions leave a whole lot to be desired. The trail tech regulator rectifier has MUCH better instructions with it. Heck they even have a pictures of a banshee conversion to help with any confusion.

I like the one from trail tech but it is not a simple as the one from ricky.. I don't even know if it would work on a blaster. I don't know to much about electrical. plus it has an extra wire . http://www.trailtech.net/7003-RR150.html I'm just going to stay with this one from rickys , they already told me it is going to work on a blaster.
 
Both will work on the blaster. You stick with the one you feel comfortable with and you'll be fine.

The extra wire is a voltage sensing circuit so the regulator doesn't burn up their small batteries (under 4Ah). The other wires are the same purpose and even color code.

The instruction sheet:

http://www.trailtech.net/media/instructions/lights/regrec/010-ELV-71.pdf

You do not have to upgrade the lighting coil. You can do the DC conversio using the stock 55watt coil BUT instead of putting out over 5 amps, it'll only put out a little more than 4 amps. Obviously, the 75 watt lighting coil is advisable for the extra amperage...
 
Well just ahead and mail me a set... I could certainly use it.

I was thinking about doing the DC conversion with the stock lighting coil JUST so my headlight and taillight can be run without the quad being revved up. I night ride at busco when we go down and it sure would be nice to have the headlights work below 2K rpm...

Oh, I was also going to say... the stock plastics battery box area would be a good place to store the battery but back there isn't a good palce to run the regulator/rectifier. If you've already cut the factory plastics out, the best bet is to run the battery and regulator/rectifier up front. The front end of the blaster could certianly use the ballast up front and the regulator/rectifier would be far happier up front under the hood (stock regulator location would be great)

You could make a battery box to stick inside the front bumper or frame just behind the bumper using insulated mounts for the battery box.
 
Both will work on the blaster. You stick with the one you feel comfortable with and you'll be fine.

The extra wire is a voltage sensing circuit so the regulator doesn't burn up their small batteries (under 4Ah). The other wires are the same purpose and even color code.

The instruction sheet:

http://www.trailtech.net/media/instructions/lights/regrec/010-ELV-71.pdf

You do not have to upgrade the lighting coil. You can do the DC conversio using the stock 55watt coil BUT instead of putting out over 5 amps, it'll only put out a little more than 4 amps. Obviously, the 75 watt lighting coil is advisable for the extra amperage...


Nice I didn't know that. I would of maybe gone with the trail tech. I wanted to get a temp gauge too from them. What is the difference between the trail tech rated 150 watt and the ricky 250 watts?
 
Thanks everyone for not telling me the headlight bulb is an h6 in the newer style llights.. I got an h7 I was going to make work . I guess I'll order the h6..
 
Sorry I haven't posted anything in a year but here is how you start.

First you need to remove your stator out of the bike.
The next step it to float a ground.
You are going to need aleast a two foot wire . You don't need a heavy gauge wire just try to match the other wires that are on there. I think its like 16 or 18 gauge I'm not sure.
On the lighting coil you will see one wire on the of end of the coil. You are going to want and solder that wire to the other end.(I used a yellow wire in the pic)
Now run the wire along with the other wires already on the stator.
Here is a picture to make it very easy to do instead of following my instructions
WP_000125.jpg
 
also you will need to buy a battery and mount it where you want. I picked up one from sears but you can pick up one where ever you want. I will post the number that is on my sears battery if anyone wants to do it like I did. I put mine under the seat. You just have to trim out the divider in the trunk I also mounted my Rectifier/Regulator there to I:I

temporary-1.jpg
 
Cool Mac daddy! How do ya get the floated ground wire through the grommet that goes in the case Or am I missing something?
 
I think I'm missing something too ... if the yellow wire is the new floating ground it seems to be grounded to the case which is what you want not to do ... i think you remove that end of the winding wire from the tab to the screw and solder the yellow wire and the coil wire together so they don't ground to the case. I may just be misunderstanding :)

BTW: Wuz lookin at your sig ... got any more pics of that rear shock assembly?