First off, many thanks to YFS101.
I embarked on a project today... I have a set of cases which had a piston explode inside and had been broken out in a few places. Most of the stuff inside was fine and survived rather well but the cases would have to be replaced if the engine was going to be used, or so I thought.
YFS101 mentioned that harbor freight sells "welding rods" for aluminum and he's used them before to fix oil drain plug holes which had been stripped out. In this thread:
http://www.blasterforum.com/engine-13/so-im-bit-pickle-36987/
I decided to see if the welding rods would work for more than just a drain plug.
I bought these rods:
Pack of 8 Alumiweld Aluminum Welding Rods
From the local harbor freight. I used the information provided in the posts listed in that other thread because, in typical HF fashion, there were NO instructions with the welding rods.
The first impressions were not impressive. The rods are in a little plastic tube, they are off color (looks oxidized), and there's just not much to them. I also bought a stainless wire brush per the alumiweld website.
I got out the propane torch and began by melting a little bit of the rod to see how much heat it took. The website specifically warns against directly melting the rod. I was just testing and then I cut that little piece off. With the propane torch it took about 6 seconds to melt the rod with the center of the flame on the rod. Even when it melted it didn't really melt, it sort of got soft and then drooped until a little pool fell off.
I can tell everyone already, a propane torch isn't enough heat to do this efficiently... I went and got out the oxy-acetylene torch and a #2 welding tip. It worked a LOT faster (what you could expect to be a normal amount of time). The welding rods are also not truly welding rods either, they're more like brazing rods. The rod takes to the material without melting the base aluminum.
I can also say that you need quite a few more tools than just a wire brush. I know the website says not, but that's not realistic. You need a dremel tool with a carbide burr and a small diameter sanding drum, MANY stainless brushes, a set of welding gloves, and some gas welding goggles.
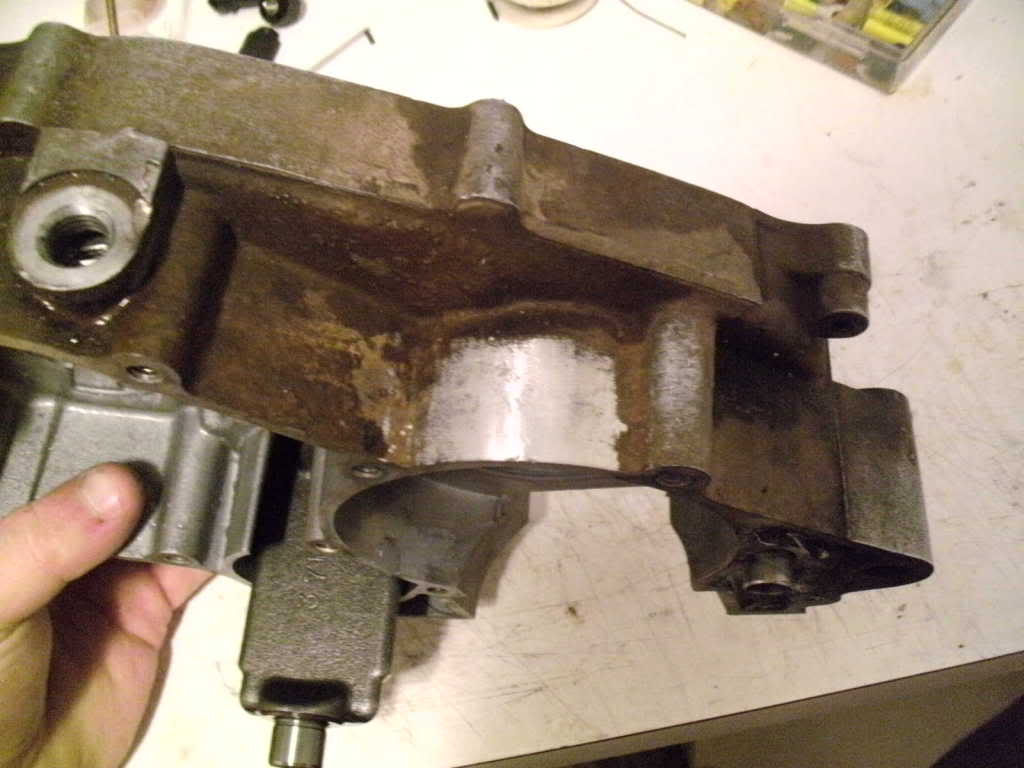
The case set I have has several types of breaks, chunks missing, and mushed areas so we have plenty of testing to do.
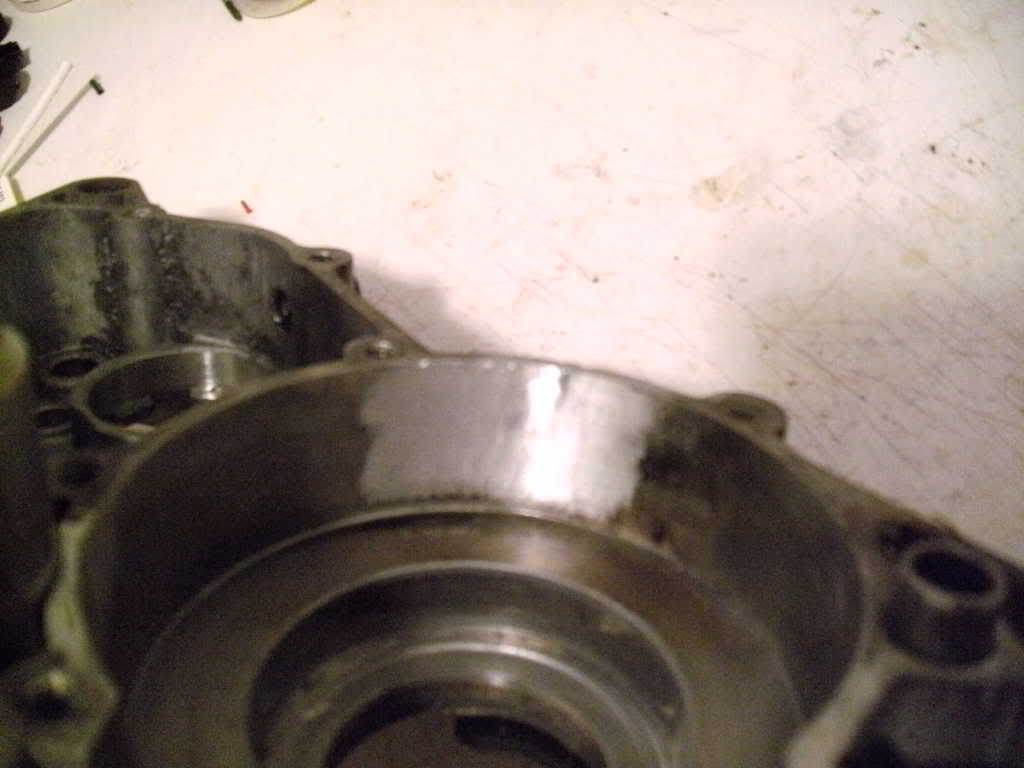
I started with the least damaged side. It had a piece broken out and missing about the size around of a pen and then a crack at the very bottom of the case about a half an inch long. I took the dremel tool and burr and cut a groove out so there was room for the material to fill into. I also sounded the outside of the case so that the "broke" part was flush with the rest of the case with a groove cut down the break.
I started heating the case with the oxy-ace torch and melted a big glob of welding rod into the hole which didn't stick to a darn thing. I nearly got discouraged and stopped but decided to watch the video again to see what they did to get it to take. I figured out I needed more heat on the material to be welded and less on the rod and to use the brush to get it some of the welding rod to take to the material and then add some fresh to fill it in.
I decided to work on the crack and let the other blob cool before I tried to pull it out.
I worked the crack very hot (hotter than I would felt heating aluminum unless I was trying to weld it)
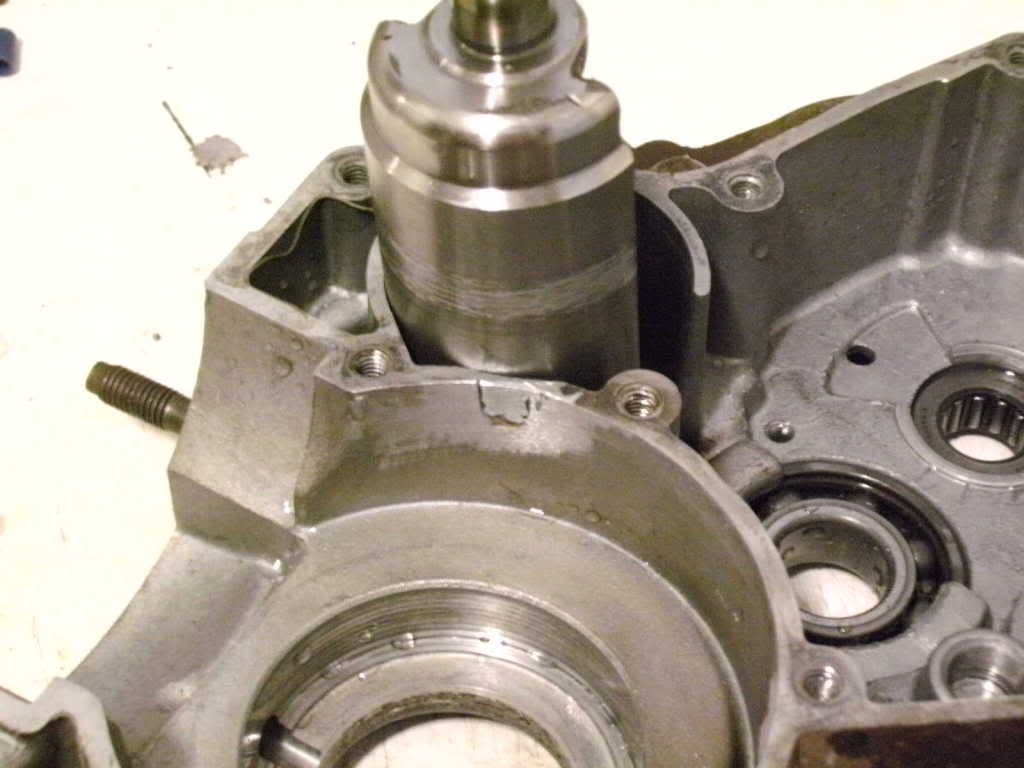
I got the case so hot welding the crack I sweated the bearing out of the case, it just fell right out.
I worked the crack over and over getting the heat and wire brush balance worked out to get the welding rod to take to the case. I wire brushed the welding rod back out of the crack many times just to get some practice before I tried to attack the missing chunk head on. I think the end results speak for themselves:
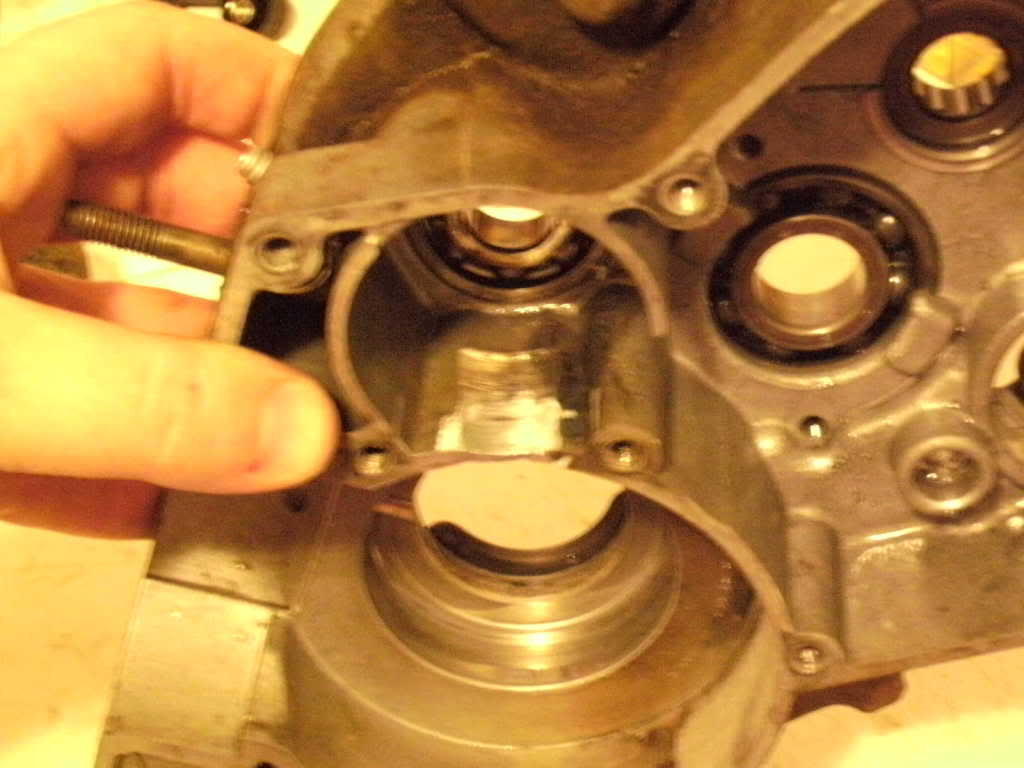
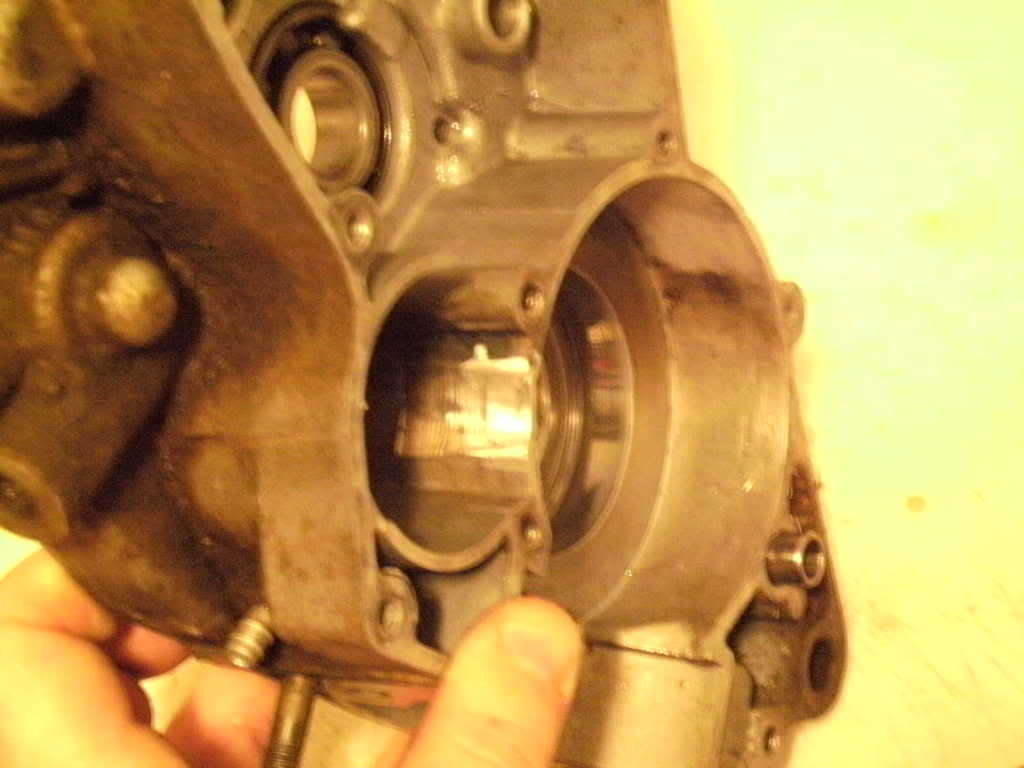
The hole is located in the worst possible place too... right between the crankcase and the balancer shaft (right where the case gets thin)
In order to build up enough rod to "make" some case, I needed a backer plate so I cut a thin piece of steel and clamped it inside the crankcase with a pair of vise grips.
I think the weld there turned out VERY well too. I didn't even weld the inside of the crank case, only the outside and then drum sanded the inside clean. You can see the extent of the damaged area on the "inside" picture. It's about as big around as a sharpie marker:
I am a convert... I'm going to work on the other side maybe tomorrow. I'm going to take "before" pictures before welding on the other side.
I embarked on a project today... I have a set of cases which had a piston explode inside and had been broken out in a few places. Most of the stuff inside was fine and survived rather well but the cases would have to be replaced if the engine was going to be used, or so I thought.
YFS101 mentioned that harbor freight sells "welding rods" for aluminum and he's used them before to fix oil drain plug holes which had been stripped out. In this thread:
http://www.blasterforum.com/engine-13/so-im-bit-pickle-36987/
I decided to see if the welding rods would work for more than just a drain plug.
I bought these rods:
Pack of 8 Alumiweld Aluminum Welding Rods
From the local harbor freight. I used the information provided in the posts listed in that other thread because, in typical HF fashion, there were NO instructions with the welding rods.
The first impressions were not impressive. The rods are in a little plastic tube, they are off color (looks oxidized), and there's just not much to them. I also bought a stainless wire brush per the alumiweld website.
I got out the propane torch and began by melting a little bit of the rod to see how much heat it took. The website specifically warns against directly melting the rod. I was just testing and then I cut that little piece off. With the propane torch it took about 6 seconds to melt the rod with the center of the flame on the rod. Even when it melted it didn't really melt, it sort of got soft and then drooped until a little pool fell off.
I can tell everyone already, a propane torch isn't enough heat to do this efficiently... I went and got out the oxy-acetylene torch and a #2 welding tip. It worked a LOT faster (what you could expect to be a normal amount of time). The welding rods are also not truly welding rods either, they're more like brazing rods. The rod takes to the material without melting the base aluminum.
I can also say that you need quite a few more tools than just a wire brush. I know the website says not, but that's not realistic. You need a dremel tool with a carbide burr and a small diameter sanding drum, MANY stainless brushes, a set of welding gloves, and some gas welding goggles.
The case set I have has several types of breaks, chunks missing, and mushed areas so we have plenty of testing to do.
I started with the least damaged side. It had a piece broken out and missing about the size around of a pen and then a crack at the very bottom of the case about a half an inch long. I took the dremel tool and burr and cut a groove out so there was room for the material to fill into. I also sounded the outside of the case so that the "broke" part was flush with the rest of the case with a groove cut down the break.
I started heating the case with the oxy-ace torch and melted a big glob of welding rod into the hole which didn't stick to a darn thing. I nearly got discouraged and stopped but decided to watch the video again to see what they did to get it to take. I figured out I needed more heat on the material to be welded and less on the rod and to use the brush to get it some of the welding rod to take to the material and then add some fresh to fill it in.
I decided to work on the crack and let the other blob cool before I tried to pull it out.
I worked the crack very hot (hotter than I would felt heating aluminum unless I was trying to weld it)
I got the case so hot welding the crack I sweated the bearing out of the case, it just fell right out.
I worked the crack over and over getting the heat and wire brush balance worked out to get the welding rod to take to the case. I wire brushed the welding rod back out of the crack many times just to get some practice before I tried to attack the missing chunk head on. I think the end results speak for themselves:
The hole is located in the worst possible place too... right between the crankcase and the balancer shaft (right where the case gets thin)
In order to build up enough rod to "make" some case, I needed a backer plate so I cut a thin piece of steel and clamped it inside the crankcase with a pair of vise grips.
I think the weld there turned out VERY well too. I didn't even weld the inside of the crank case, only the outside and then drum sanded the inside clean. You can see the extent of the damaged area on the "inside" picture. It's about as big around as a sharpie marker:
I am a convert... I'm going to work on the other side maybe tomorrow. I'm going to take "before" pictures before welding on the other side.
