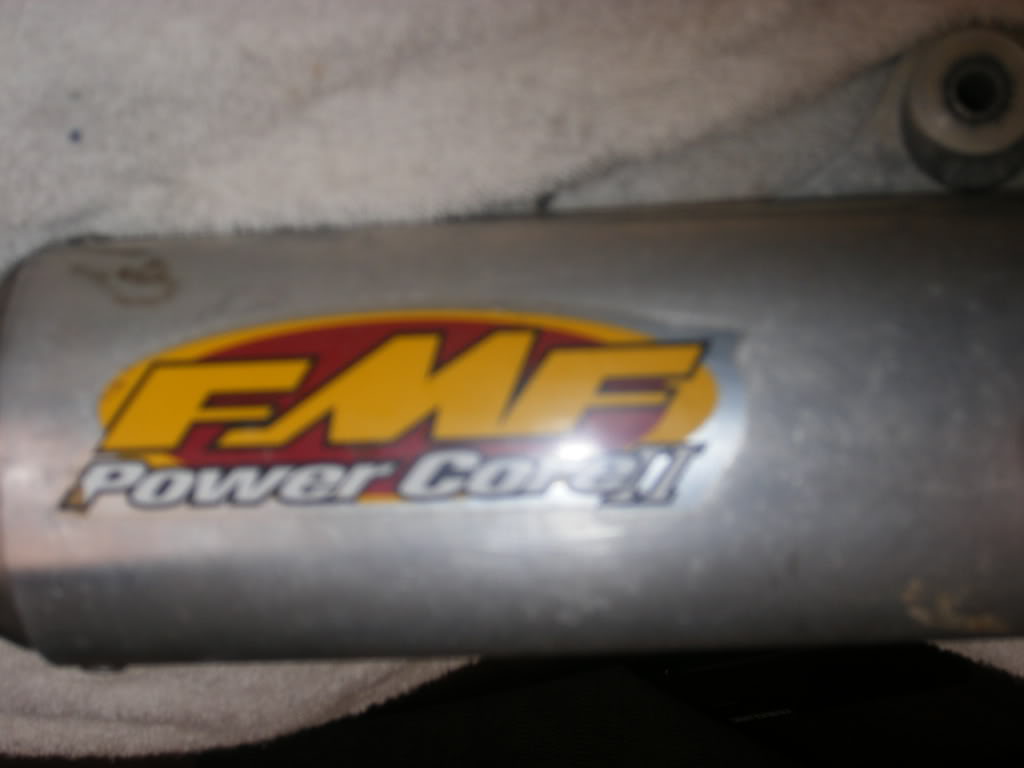
Polishing something isn't that difficult if you're willing to put the time into it. Here is a step by step walk through to help those of you who (like me) can't afford to have something chromed or bought new.
What you need:
1. Sandpaper
- Multiple grits and a bowl of water
2. Rubbing compound
3. Mothers
4. Patience
Sandpaper: Used to sand aluminum to remove small to medium scratches
- 150 grit (for medium to deep scratches)
- 220 grit
- 400 grit
- 1000 grit
- 2000 grit (finishing sand)
The sanding is to remove scratches from your aluminum. Deep scratches may not come out but you can deffinetly make it look better. The depth of your scratches will determine the grit of sandpaper you start with. I actually had to start w/ 80 grit on one side.
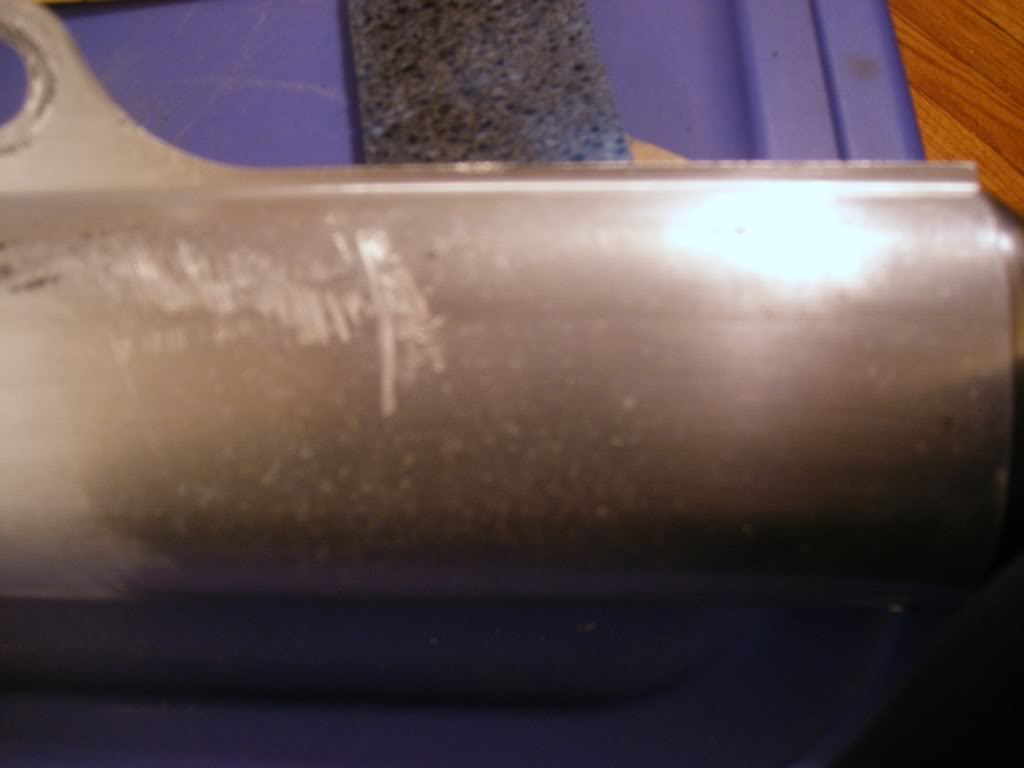
Step 1:
Starting with the coarsest sandpaper, you want sand your entire scilencer. Make sure you sand in a straight line w/ light pressure. The more pressure you apply, the deeper the sandpaper will scratch your scilencer. Once completed with the first sand your scilencer will be slightly shinier but you will notice the scratches left by the sand paper. Continue this step until a majority of the imperfections have been removed.
Step 2:
Step 2 is the same as step 1 only you are going to use a finer grade sandpaper and sand in a different direction. You're second sand should intersect the previous at a 90 degree angle. This can be fairly difficult when it comes to the corners or around rivets. Be patient and thourgouh. Continue this step until all of the scratches from step one seem to be gone.
When this step is complete, your scilencer should look very similar to the way it did right after the first sand but the scratches should be slightly shallower.
Step 3:
Once you get done with the first two coats you want to move to the 400+ wet sand grits. Wet your scilencer or the sandpaper it's self and get to work.
Once again, like step 2, you want to sand at a 90 degree angle to your previous sand. Keep your sandpaper wet and keep your scilencer clean. So, from time to time you want to wipe your scilencer down. It will look nasty but no fear, it's supposed too.....
Continue to repeat these steps working through your different levels of sandpaper. With each pass, your scilencer will begin to look smoother and smoother. Remember, each pass is 90 degree to the previous pass. Additionally, once you're into the 400+ sandpaper, KEEP IT WET!
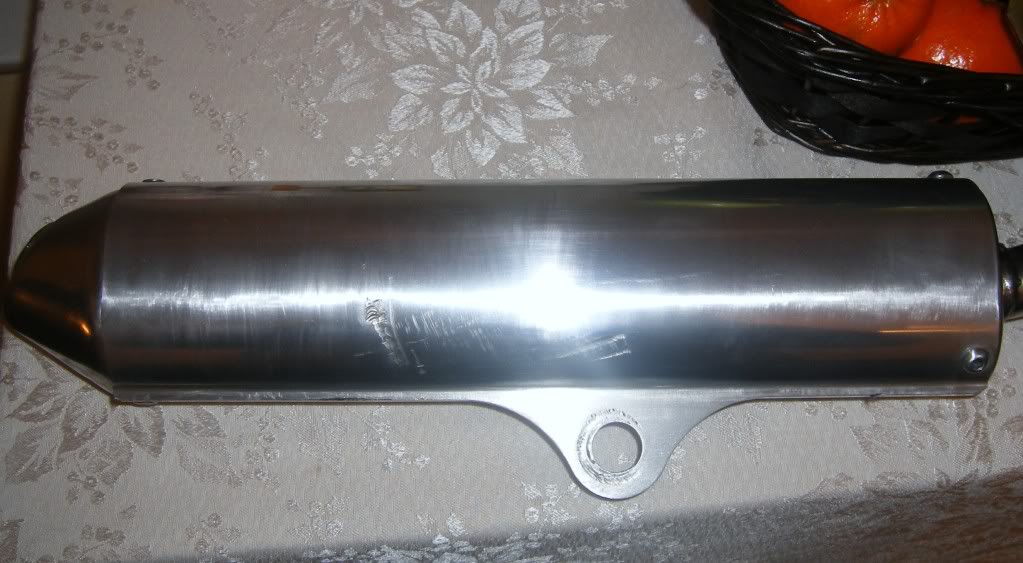
When you get to the 2000 grit your scilencer won't be very shiny but we are about to fix that. While it isn't shiny, it should be smooth and have a clean aluminum look.
Step 4:
Clean your piece w/ soap and water with a soft cloth or chamoise. Make sure you clean it very well. You don't want any aluminum dust left as you begin to polish it.
Step 5:
Grab your rubbing compound an applicator pad or old sock (what I used to use to polish the ole Army boots I:I). What every material you use to apply and clean off the rubbing compound, make sure it's SOFT. When applying the rubbing compopund, do so in a small circular motion using medium pressure. Do small sections, maybe 2 by 2 sections at a time. Once you have worked the compound in for a moment you'll see it turn to a black-ish grey color. Wipe it off and move to the next section. Do this until you have completed the whole scilencer.
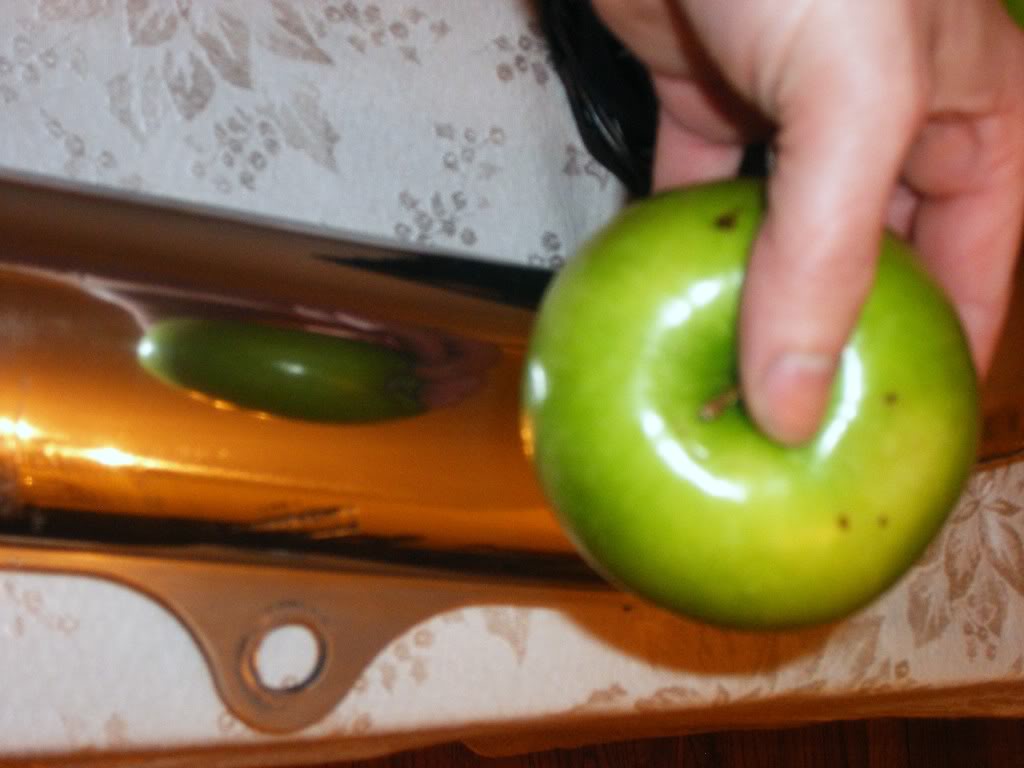
Step 6:
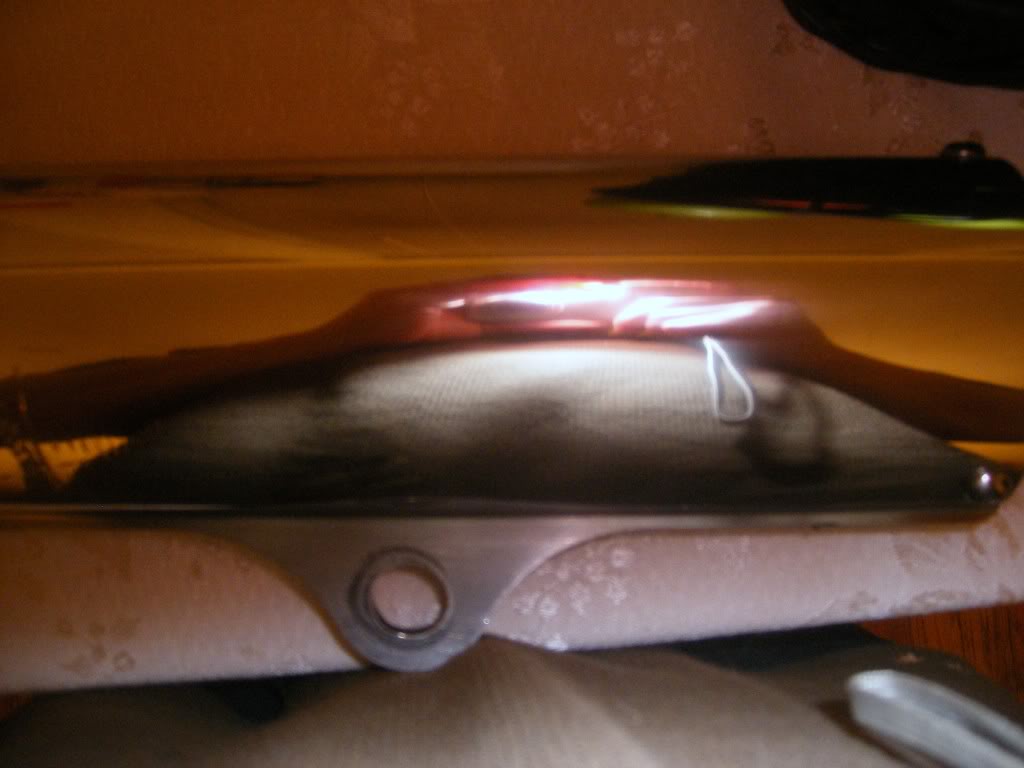
Like applying the rubbing compound, you need two peices of cloth to apply your Mothers Polish. You're best bet is to purchase a buffing cloth from any auto parts store or wally world. Work in small circular motion applying light pressure. Once again, only polish a small section at a time and wipe off before it has a change to dry. Your Mothers will start to turn black which is an indicator you need to buff it off. I continue to work it in until it almost looks like the residue is shiny. Once again, complete your entire scilencer and repeat if necessary. At this point your scilencer should have a mirror finish!
Good luck and have fun!I:I
What you need:
1. Sandpaper
- Multiple grits and a bowl of water
2. Rubbing compound
3. Mothers
4. Patience
Sandpaper: Used to sand aluminum to remove small to medium scratches
- 150 grit (for medium to deep scratches)
- 220 grit
- 400 grit
- 1000 grit
- 2000 grit (finishing sand)
The sanding is to remove scratches from your aluminum. Deep scratches may not come out but you can deffinetly make it look better. The depth of your scratches will determine the grit of sandpaper you start with. I actually had to start w/ 80 grit on one side.
Step 1:
Starting with the coarsest sandpaper, you want sand your entire scilencer. Make sure you sand in a straight line w/ light pressure. The more pressure you apply, the deeper the sandpaper will scratch your scilencer. Once completed with the first sand your scilencer will be slightly shinier but you will notice the scratches left by the sand paper. Continue this step until a majority of the imperfections have been removed.
Step 2:
Step 2 is the same as step 1 only you are going to use a finer grade sandpaper and sand in a different direction. You're second sand should intersect the previous at a 90 degree angle. This can be fairly difficult when it comes to the corners or around rivets. Be patient and thourgouh. Continue this step until all of the scratches from step one seem to be gone.
When this step is complete, your scilencer should look very similar to the way it did right after the first sand but the scratches should be slightly shallower.
Step 3:
Once you get done with the first two coats you want to move to the 400+ wet sand grits. Wet your scilencer or the sandpaper it's self and get to work.
Once again, like step 2, you want to sand at a 90 degree angle to your previous sand. Keep your sandpaper wet and keep your scilencer clean. So, from time to time you want to wipe your scilencer down. It will look nasty but no fear, it's supposed too.....
Continue to repeat these steps working through your different levels of sandpaper. With each pass, your scilencer will begin to look smoother and smoother. Remember, each pass is 90 degree to the previous pass. Additionally, once you're into the 400+ sandpaper, KEEP IT WET!
When you get to the 2000 grit your scilencer won't be very shiny but we are about to fix that. While it isn't shiny, it should be smooth and have a clean aluminum look.
Step 4:
Clean your piece w/ soap and water with a soft cloth or chamoise. Make sure you clean it very well. You don't want any aluminum dust left as you begin to polish it.
Step 5:
Grab your rubbing compound an applicator pad or old sock (what I used to use to polish the ole Army boots I:I). What every material you use to apply and clean off the rubbing compound, make sure it's SOFT. When applying the rubbing compopund, do so in a small circular motion using medium pressure. Do small sections, maybe 2 by 2 sections at a time. Once you have worked the compound in for a moment you'll see it turn to a black-ish grey color. Wipe it off and move to the next section. Do this until you have completed the whole scilencer.
Step 6:
Like applying the rubbing compound, you need two peices of cloth to apply your Mothers Polish. You're best bet is to purchase a buffing cloth from any auto parts store or wally world. Work in small circular motion applying light pressure. Once again, only polish a small section at a time and wipe off before it has a change to dry. Your Mothers will start to turn black which is an indicator you need to buff it off. I continue to work it in until it almost looks like the residue is shiny. Once again, complete your entire scilencer and repeat if necessary. At this point your scilencer should have a mirror finish!
Good luck and have fun!I:I
 (Not the "her" as in my quad but my wife)