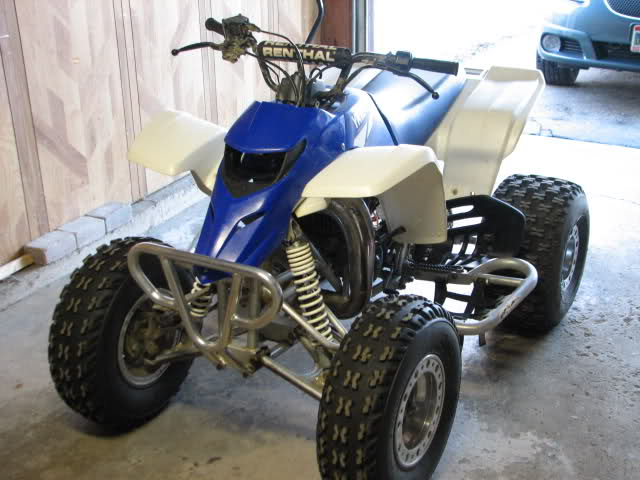
I have that same bumper on my warrior.I:I
Lot nicer than the that huge stock lump.
I have that same bumper on my warrior.I:I
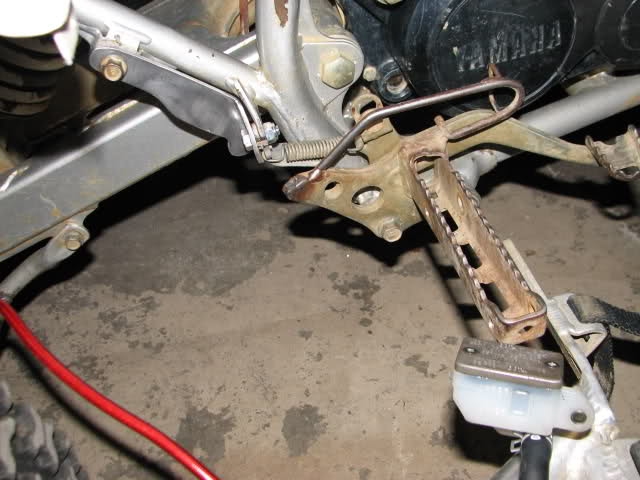
I personally wouldnt want to just leave it there. I am assuming that you are talking about the head of the screw being stripped.A couple things you could try to do is if you have a die grinder, you could use it to cut a slot it the screw head to fit a large straight blade screw driver and try to unscrew it. Another option would be to drill the screw out. Sounds a little scary if you have never done it before but it is pretty easy. Take the one screw that you got out and find a drill bit that is ONE size bigger than the threaded part of the screw. If you have access to a drill press it is better because it will keep your bit straight but a hand drill will work. Drill into the center of the screw where the screwdriver would normally go. Nice easy slow pressure. Once you get through the head, the head should pop off and you should be able to pull the pump off the screw shaft. Then just use vice grips to remove the screw shaft. Hope this helps. Good luck.
A tool that makes life with Philips head screws (Star) easier is an impact driver. Buy a good one, there are lots of cheap soft chinese copies out there. You hit the driver with a hammer to impact the Philips screw out without damaging it. It will also get many damaged a stripped Philips screws if they are not too bad off. Then I replace them with Allen head socket screws so I never have the problem again.
If they are too far gone and cannot get visegrips on them, you have to drill them out as explained, but I have a different twist... For about $20 down at "Auto Zone" or equivalent, you can set a set of left hand drill bits. Set the drill on reverse and just as the drill is breaking through, it will turn the screw out enough for you to extract it.
Nice write up (Blaster and your work) I enjoy this sort of thing, thanks!


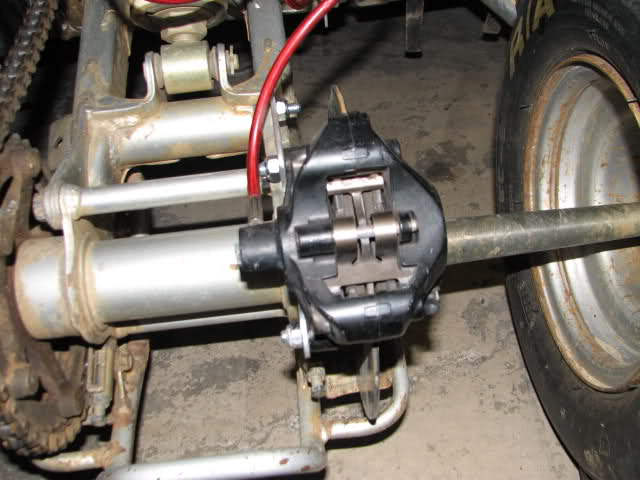

gsxr brake setup looks great!! yea thats how long the gsxr line comes im pretty sure a bit longer then we need lol i just got a gsxr setup from awk tonight, should have it here in a couple weeks.


Thanks man. Kicking around a couple different blues. Was going to use the same blue on the rear hubs but I found a Mettalic Cobalt Blue that I really like.looking gd!! i love those rims!! the white plastic blue frame sounds very nice, what colour blue are you going to use?
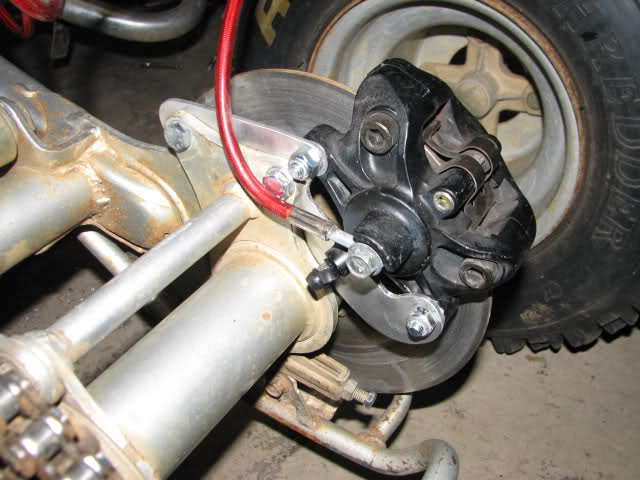
good job on the brakes bro !!!!!! looks like you got the alignment of the master to pedal extension perfect, i too have fiddled with putting the rezzie inside the frame like that on my earlier setups, but was in a hurry when i did my sons, and just went straight back, it held up good for a whole season and just seemed to make my kits easier for those with less fabbing skills, either way works. i even lengthened my line and have my rezzie under the seat
and yeah, that brake line is even way longer than any gsxr stock line i have seen, the stockers need looped around a little, but that one will reach the whole way back to your buddies bike following you, hahahaaaaaa
the whole builds lookin good !!!!!!!!!
whoa, those lines can be had, made to any length on ebay for like $25
and you have to undo the little clamps and grab that rezzie line with pliers to get them to spin sometimes
but good job, wait till you get to test them out !!!!!!!
let me know when you get the hood on and everything i want to see pics on how it will come out on ur bike