custom intake (mikuni 32 into stock airbox)

ilm121209

Member
Jan 28, 2014
112
11
54
34
phila pa
i posted this in my build thread but i though it was cool enough to deserve its own thread. ill explain what all was done too.

i needed to make my mikuni 32mm carb attach to the stock air box so her it goes. all i needed to build this was a few inches of 2 1/4 exhaust pipe, a small piece of sheet metal, some automotive grade seam sealer (im sure you could use caulk too but the seam sealer will hold up better) and a large radiator hose i found at autozone.

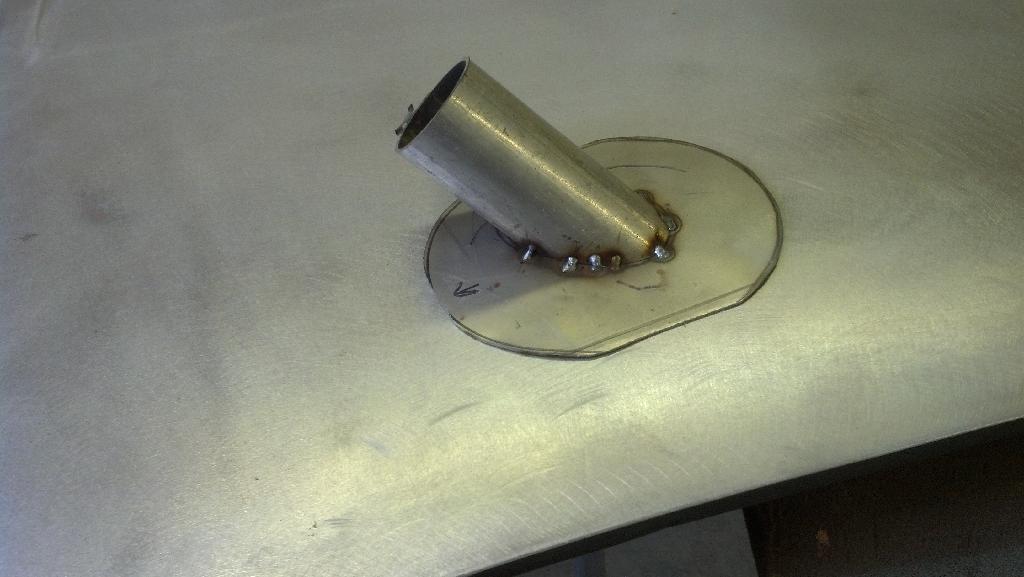
basically, i realized that the 58mm inlet on the mikuni 32 was about the same size as a piece of scrap exhaust pipe i had laying around the shop. i tried stretching the factory boot but it ripped apart so out of necessity, i started this build. i cut the sheet metal to the shape of the opening to the air box and cut an angle into the exhaust pipe. after some measuring and marking, i welded the pipe onto the sheet metal


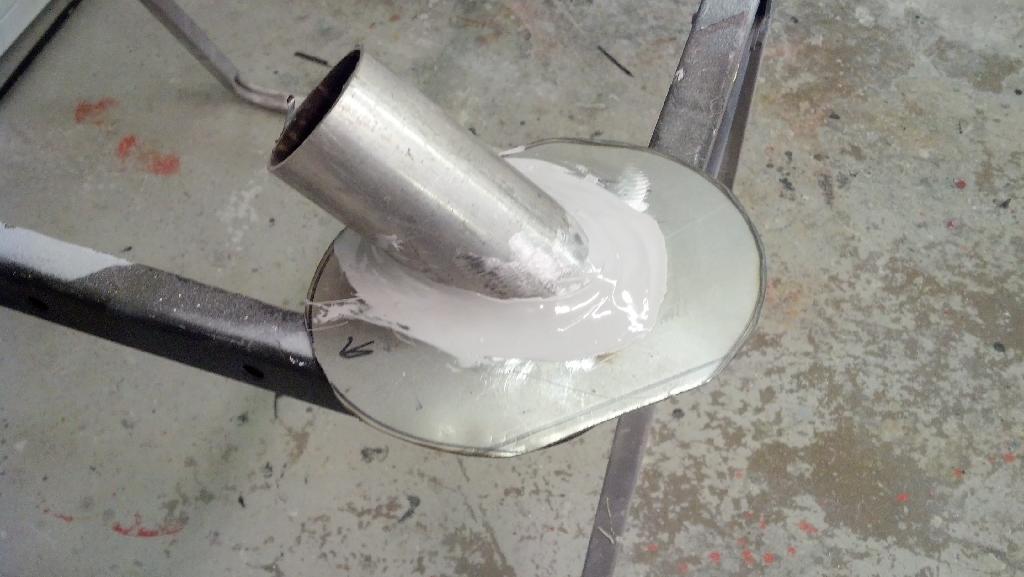
once i was convinced the welds were strong enough i spread some automotive grade seam sealer over the whole seam to be sure it was air tight.


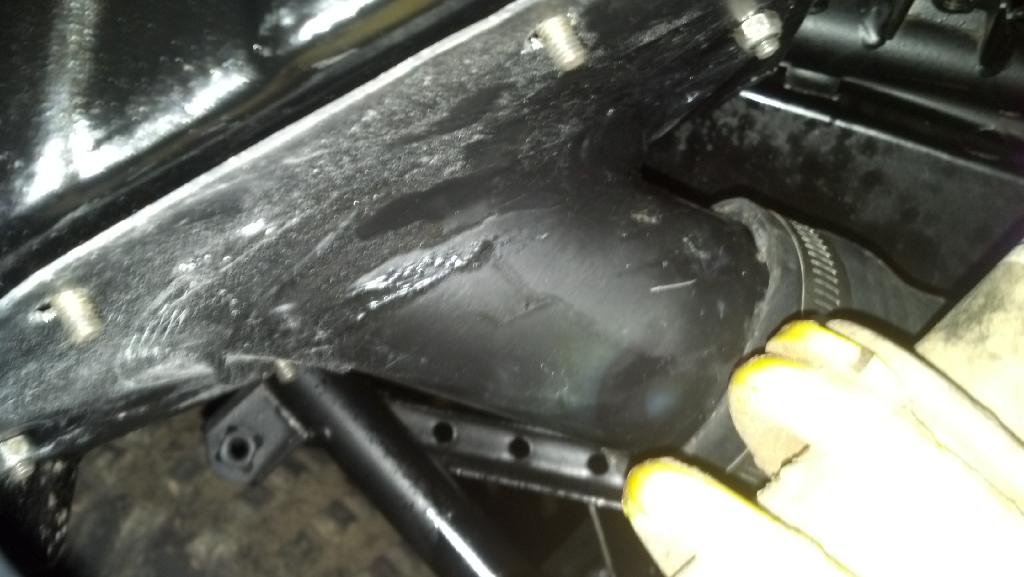
then it was just a matter of drilling the mounting holes and spraying some primer on there to keep the metal from rusting.


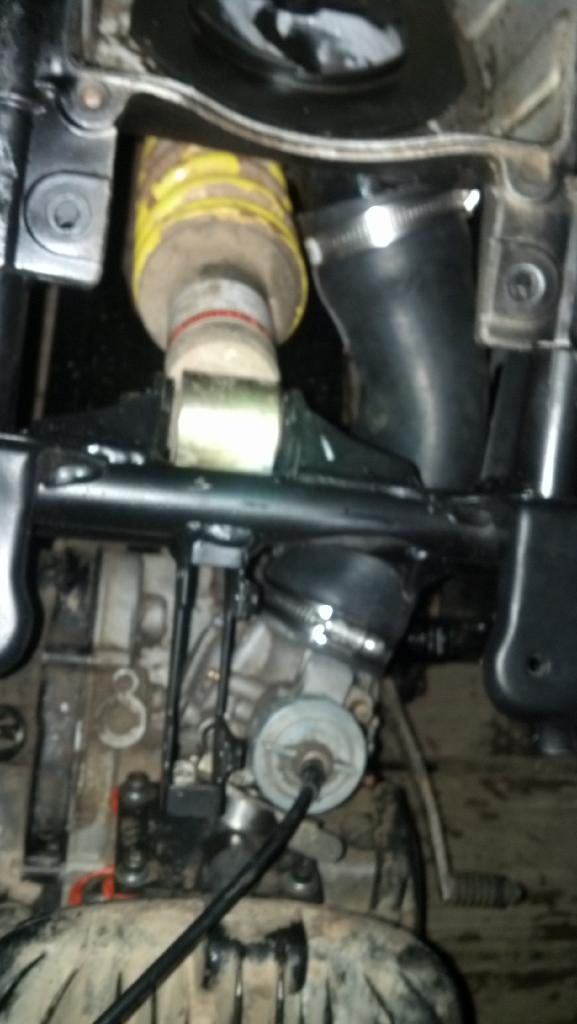
but it gets worse, the radiator hose wouldnt stretch enough so i had to grab the die grinder and open it up a little bit. after about 20 minutes i had it all together and ready to go.


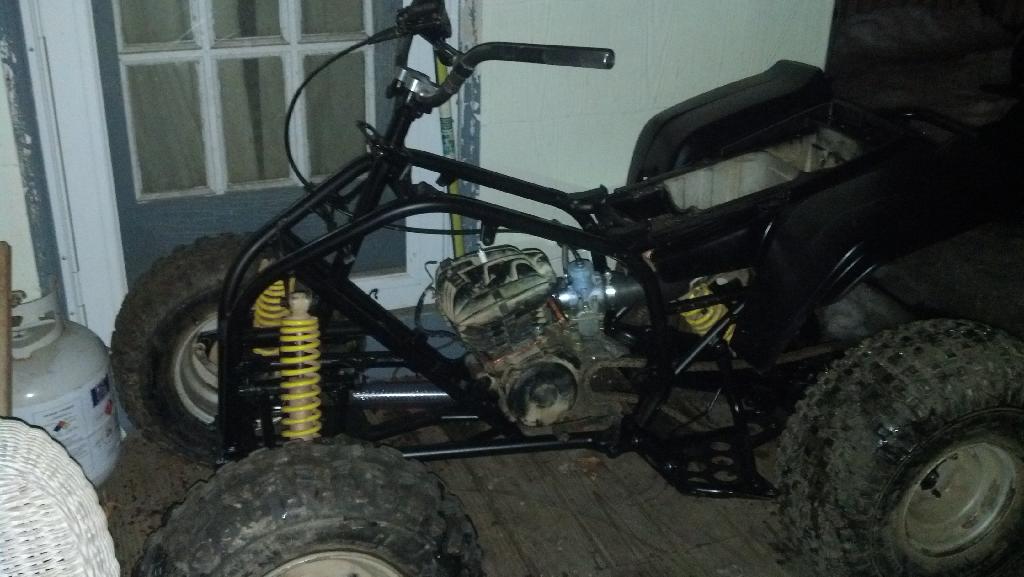
i got it all done in a few hours with mostly parts i had laying around and a $20 radiator hose. not bad in my book. hope everyone likes it. my advise, make sure your carb fits before youre committed to it, my carb "disappeared" so i had no choise and i had to retain the air box because i ride in a lot of mud and water.
 
  • Like
Reactions: Herpderplol
I would probably also just tack and seal, as warpage would cause serious sealing issues.
I would have used an epoxi to seal it though.(just me)

Nice one bud!
 
I would probably also just tack and seal, as warpage would cause serious sealing issues.

To make myself more clear, I deal with steel distortion from welding on a daily basis. To correct thin metal after welding is basically simple.

To use a sealer as a filler on something that creates a great deal of vibration and is subject to the elements, the sealer can crack or separate from metal regardless if it the surface was prepped correctly. Welding completely ensure a superior bond, simple leak testing by using a good penetrating oil on the backside of the weld area. A leak can be easily identified and repaired.


i agree, the sealer comes apart in little pieces that can be ingested down the carb and into the engine
 
i see a problem with sealing to the cylinder using such thin sheetmetal for the flange,
just my .02
 
its actually pretty thick sheet metal the pictures dont do it justice. i could have welded the whole piece without warping, i weld whole 1/4 panels onto cars all the time at work. i did add more welds than the picture shows but theyre about 1/2" apart tacks, not fully welded. the seam sealler i used is a urethane based seam sealer that costs $40 a tube. trust me, it stays flexible and holds up. we used it to seal a crack in the concrete floor at the shop and its been 3 years of walking over it every day and its still water tight. so... ill take my chances.

blaaster, thanks for the links but when i need something welded without warping i do it a little differently. at work we butt weld 1/4 panels on 8+ft seams (old mopars). i was taught to do it differently. we run a series of spot welds about 2 inches apart. then we start over, running the next series of spot welds against the first. and the third against the second and so on. eventually you bridge the gap between the original spot welds and have a full weld. im not saying its quick, but it works. if you cool the panel between series, you get practically no warpage.
 
Sounds like we amatures jumped the gun with welding sheet metal advice.
Just looking out for ya with the pic info we had.
Keep us posted on how it works :)
 
haha im sure i still have plenty to learn, but thats one thing i do know. im just waiting on jets for my carb now.... anyone in the philadelphia area want to come over and teach me how to properly tune a 2 stroke? haha
 
but opening it up makes taking it on and off to tune easier haha. and yeah i will let you know how it works. if i made another i would have added a small clearance near the rear shock. it doesnt hit but it gets close enough to make me want to take it off and smack it with a hammer to give it more clearance haha.
 
Yeah. I got my k&n and over tightened it and the d... Intake mount cracked. Any chance someone has an extra? (the piece the filter bolts to)

Anyway, she's running great. still need to install a smaller pilot jet but she's aliveeeee. Can't keep the tires from spinning, even at low rpms. I'm going to try a different sprocket combo to get less torque.
Before you fit a new set of sprockets and new chain, please take the time to fix the jetting.

Many an engine has been destroyed because of impatience.
 
I believe its 13/40. I'm going to get better tires and see if that helps too. But i just got a new car that needs some work so i might not be working on the quad for a few weeks. 02 is300 that won't start. The best part, i paid $0 and i have another motor in the shed =)
 
YEAHHHH BABYYYYY!

Is300 needs valve cover gaskets, a radiator and a fuel pump. Gave the fuel pump a few firm taps and she started up but ran rough because the pump is sticking. That's awesome.

So next week I'll order parts for that. And the following week ill have money for quad parts.

In the mean time I'm going to rebuild my carb and get the jetting perfect. here's my question. If she's a torque monster now, and she's running a little rich... Won't she only run stronger when i get the jetting tuned in?