Wally Lights Install *tons of pics*

blaster

New Member
May 28, 2009
34
7
0
Texas
Mods feel free to move this if it doesn't fit here....

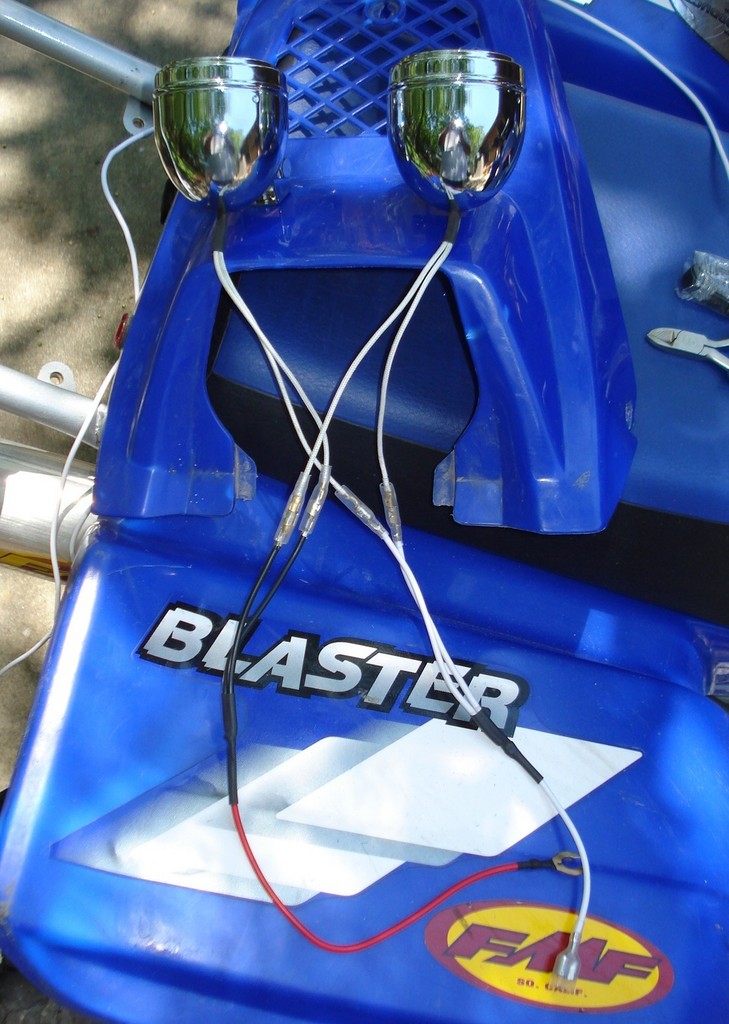
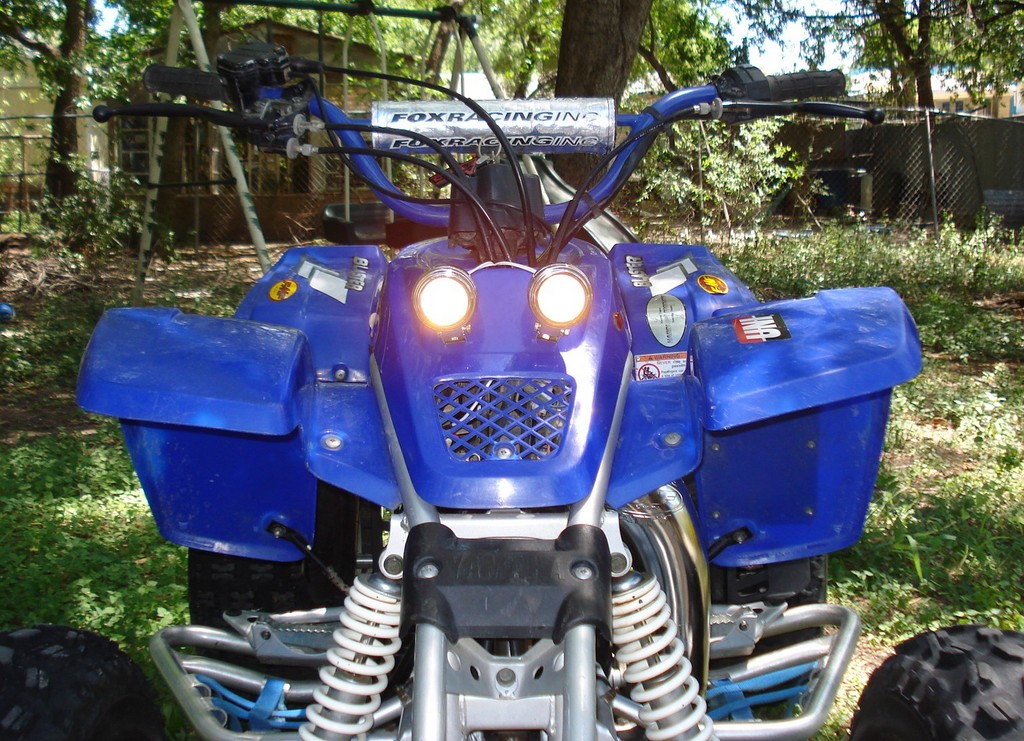
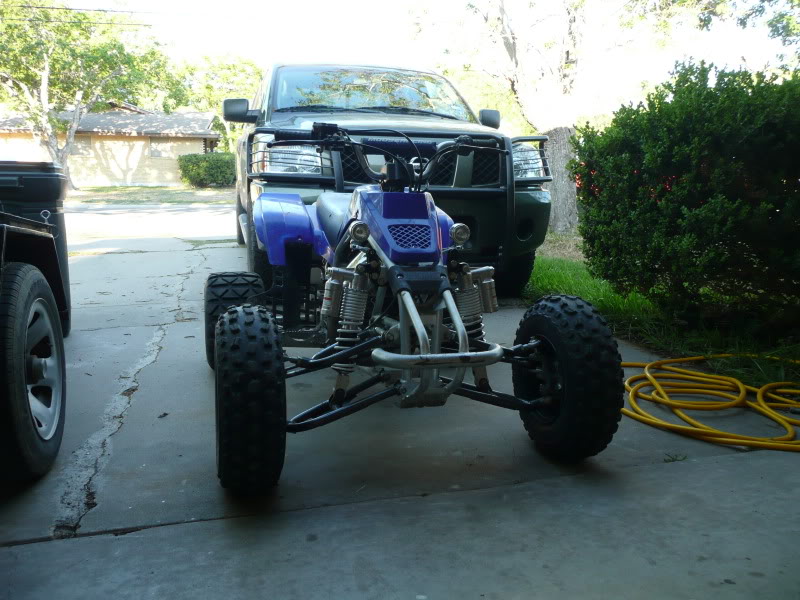
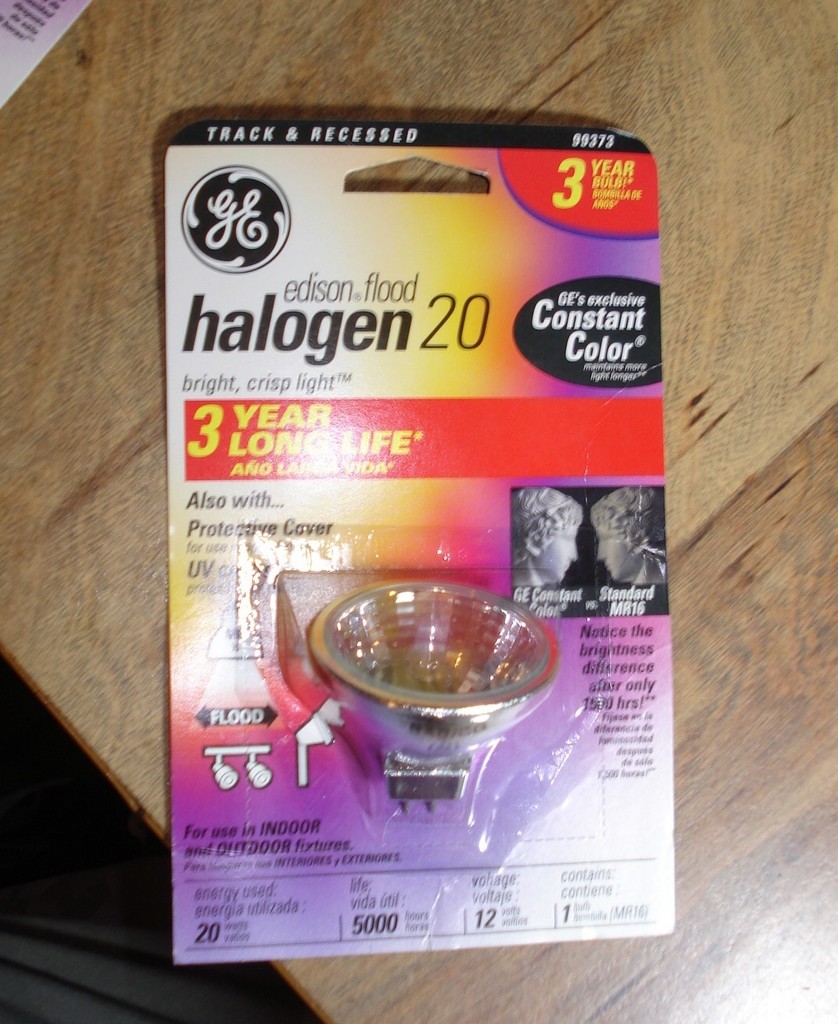
with my blaster having no headlight when i bought it and me wanting one for those late trail runs i had to add something. i searched here for some answers as to what works and what i could use besides the stocker light. i found a cupple threads on mounting a set of lights from walmart and i thought the set looked very cool so i went with it. problem is the lights come with a 50 watt bulb and for the stock stator they would be too much. luckily you could switch the bulbs, so i again searched for replacement bulbs. i found a bulb (not in the automotive section, but in the household dept.) that was 20 watts and went for it.

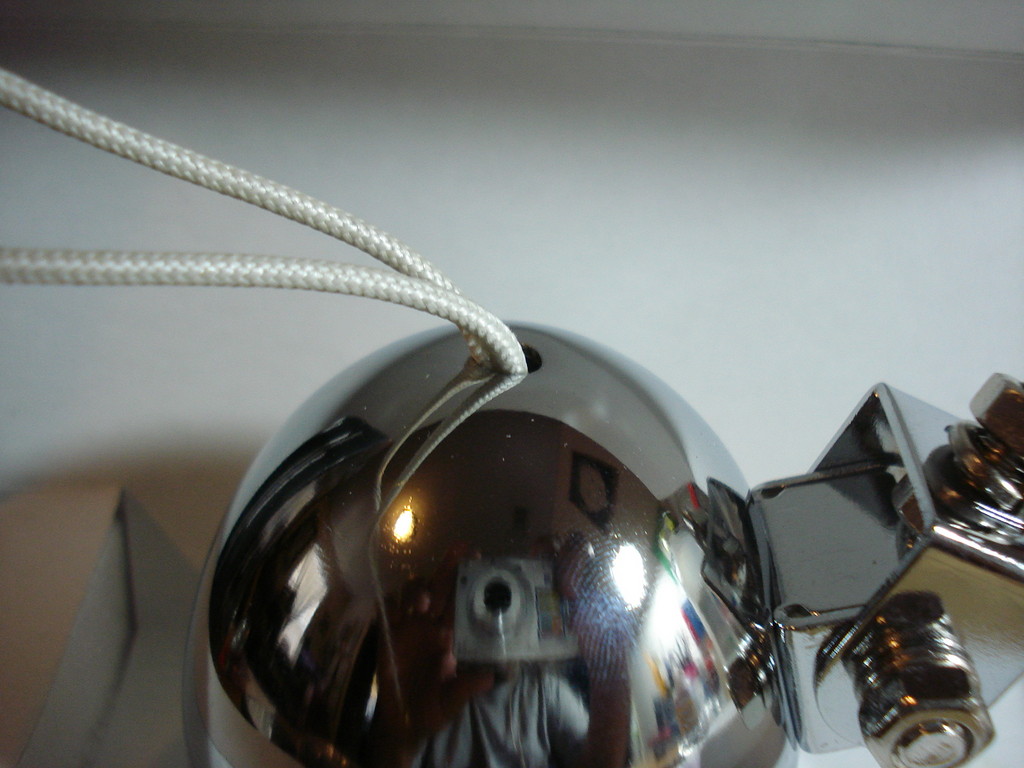
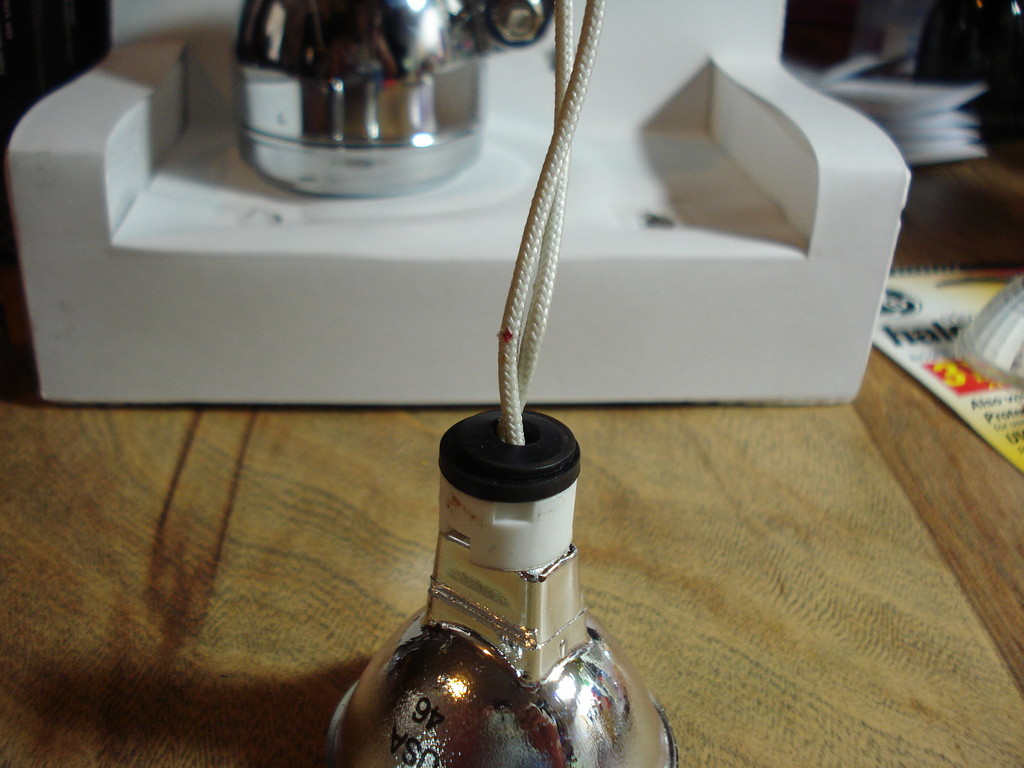
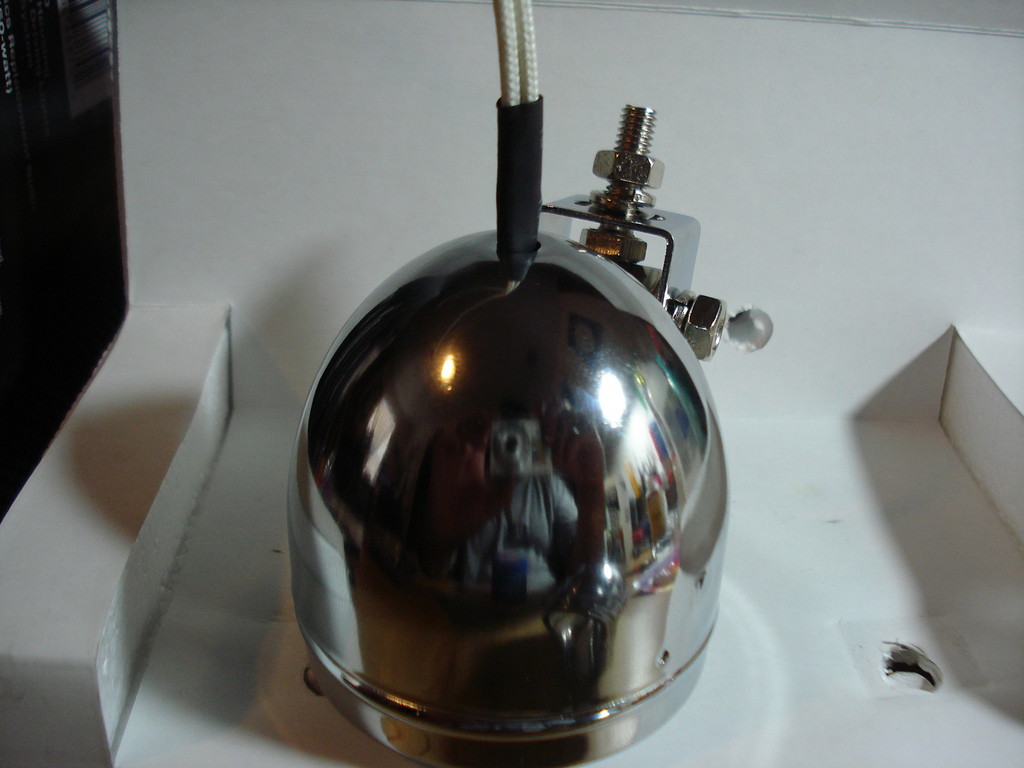
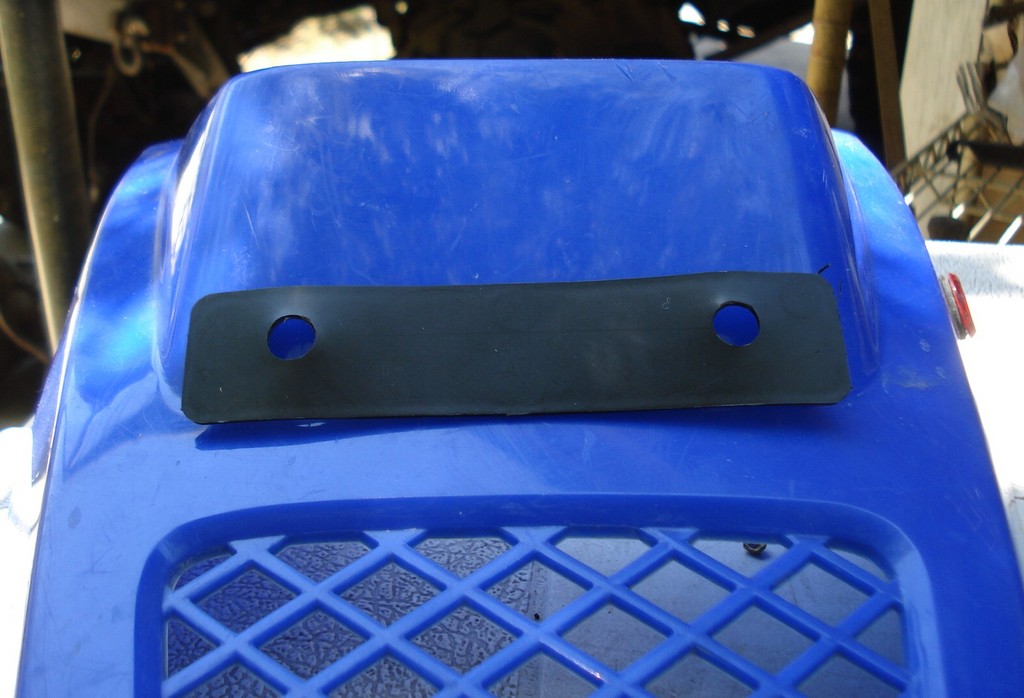
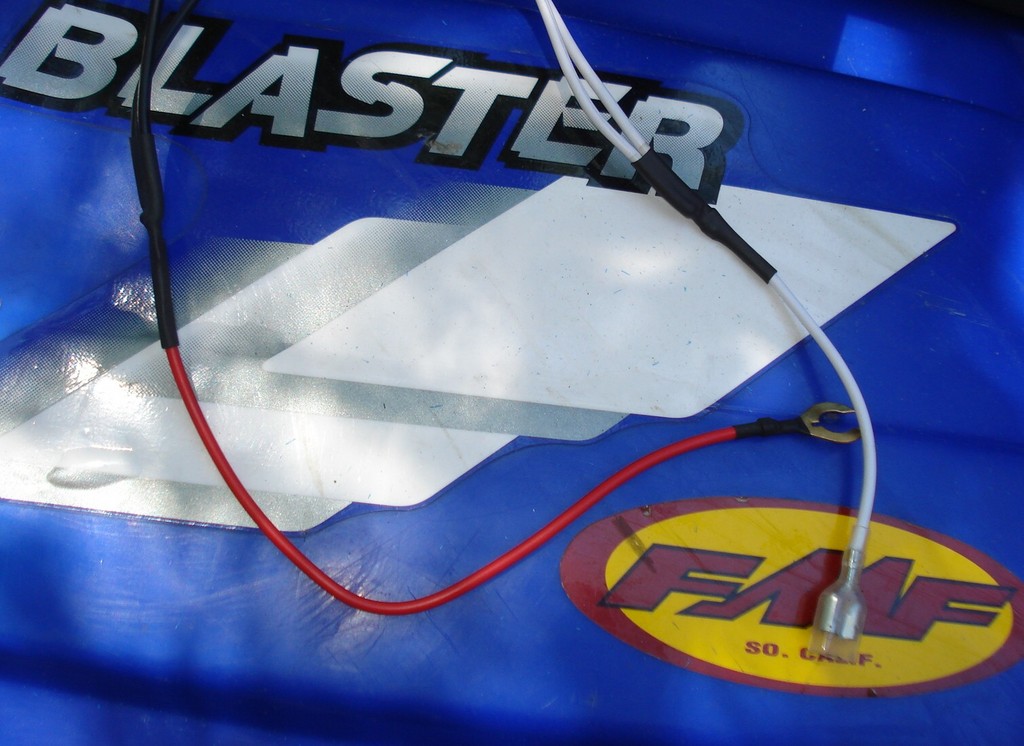
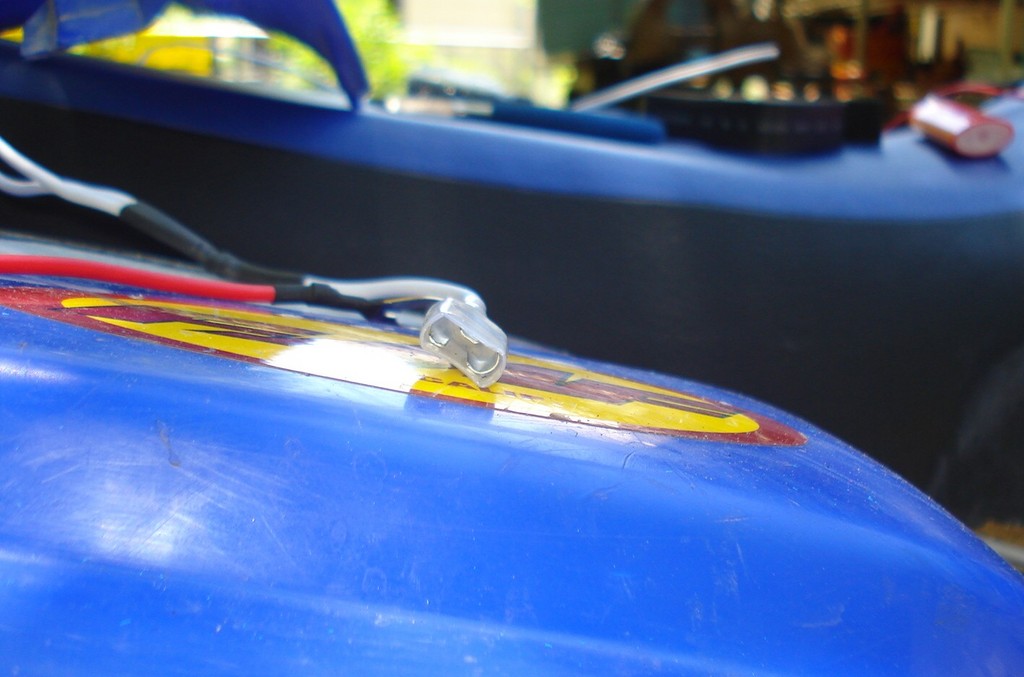
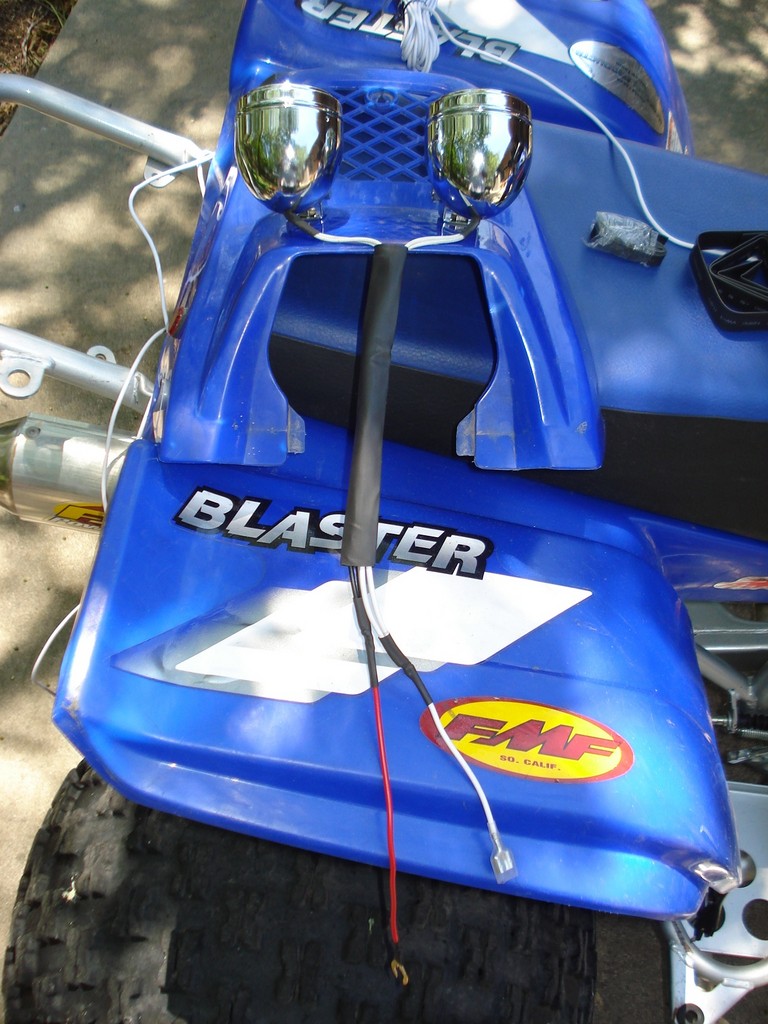
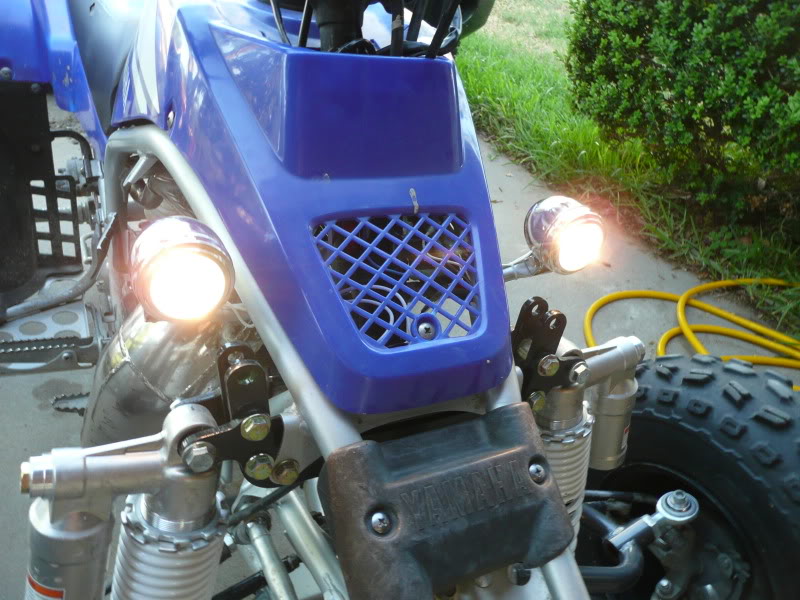
what i have here are some pics i took while i did the install. hope this helps.

here's what you can find at your local walmart.
DSC09414.sized.jpg

DSC09416.sized.jpg


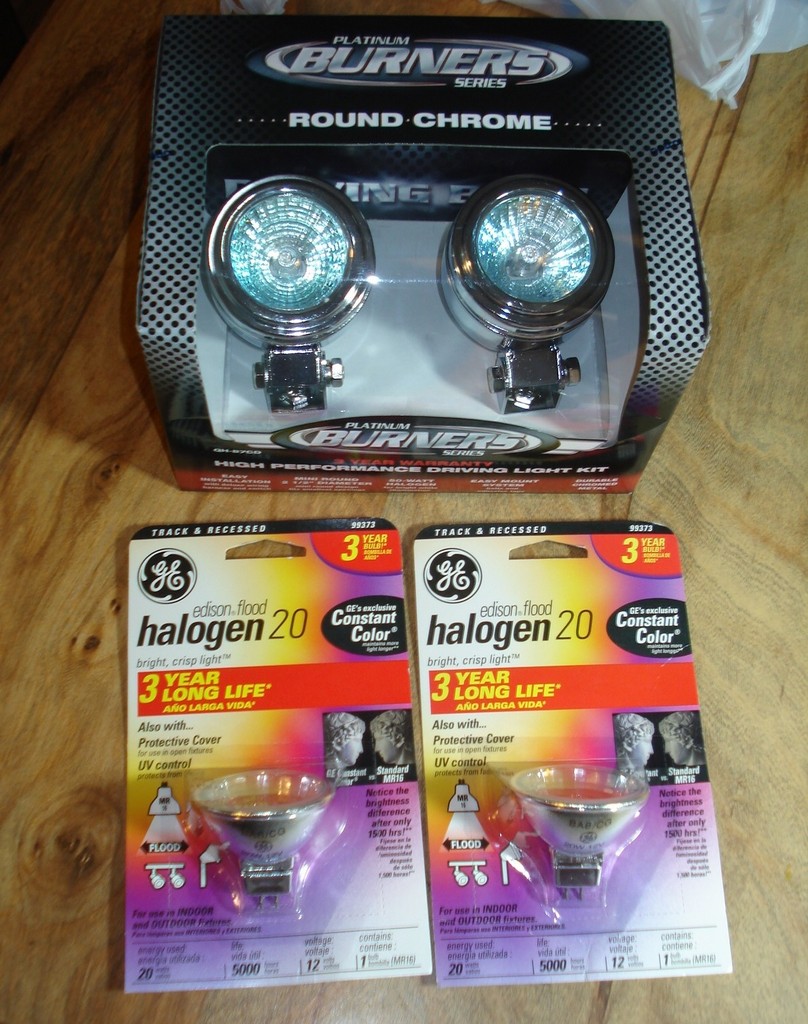
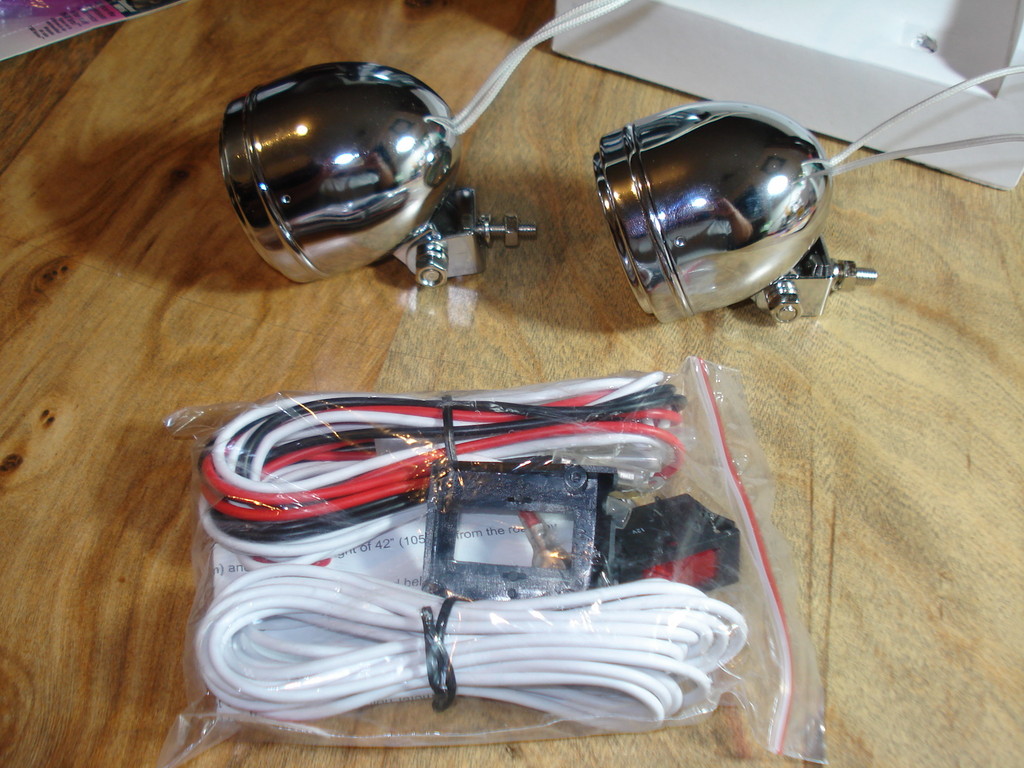
all that comes with the light kit.
DSC09417.sized.jpg


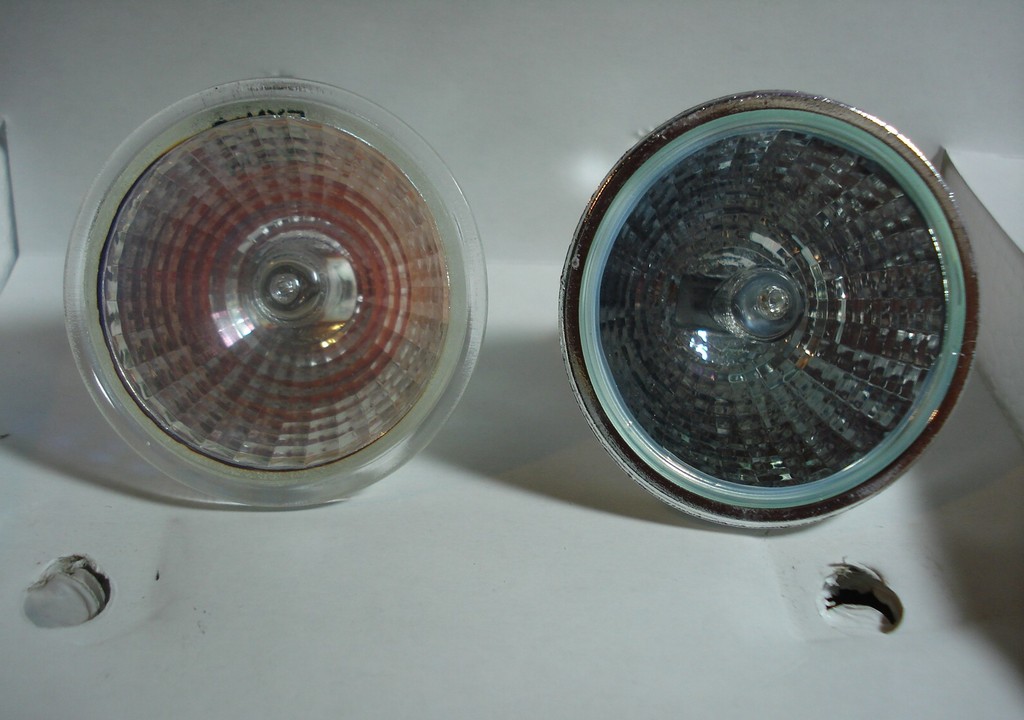
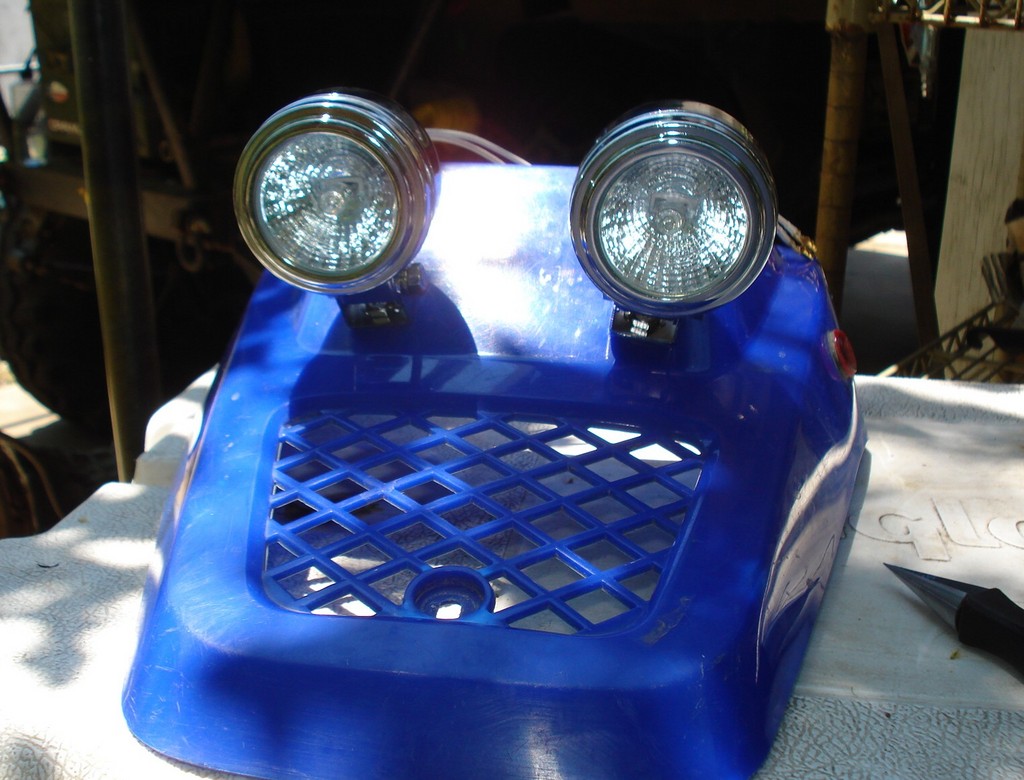
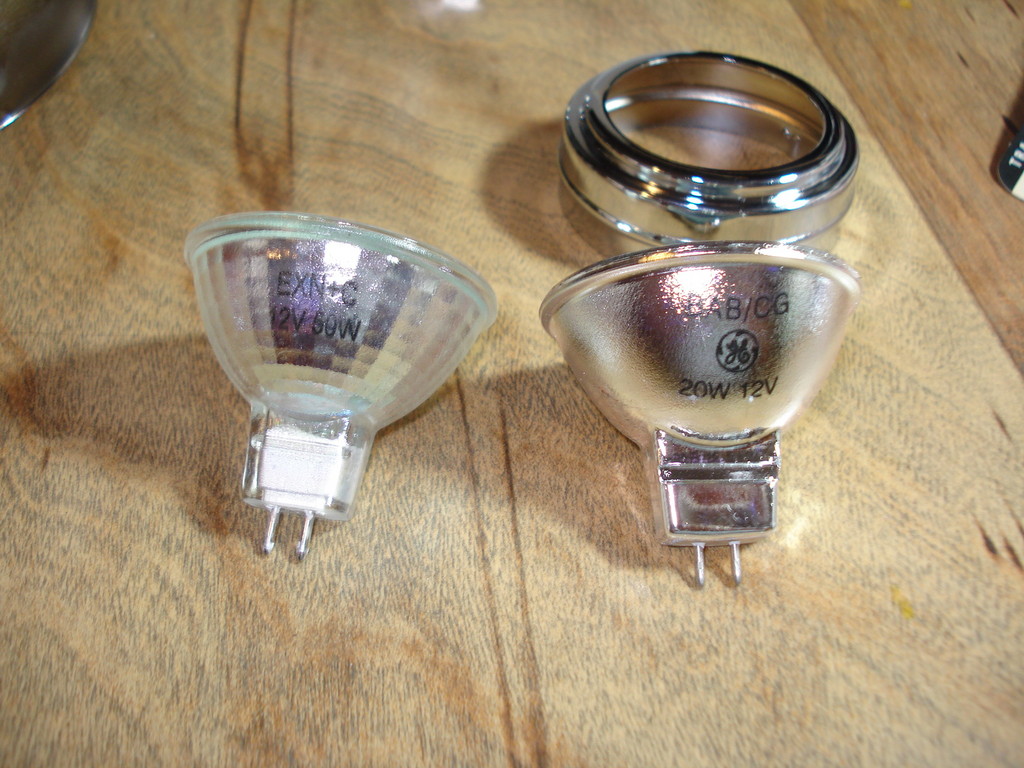
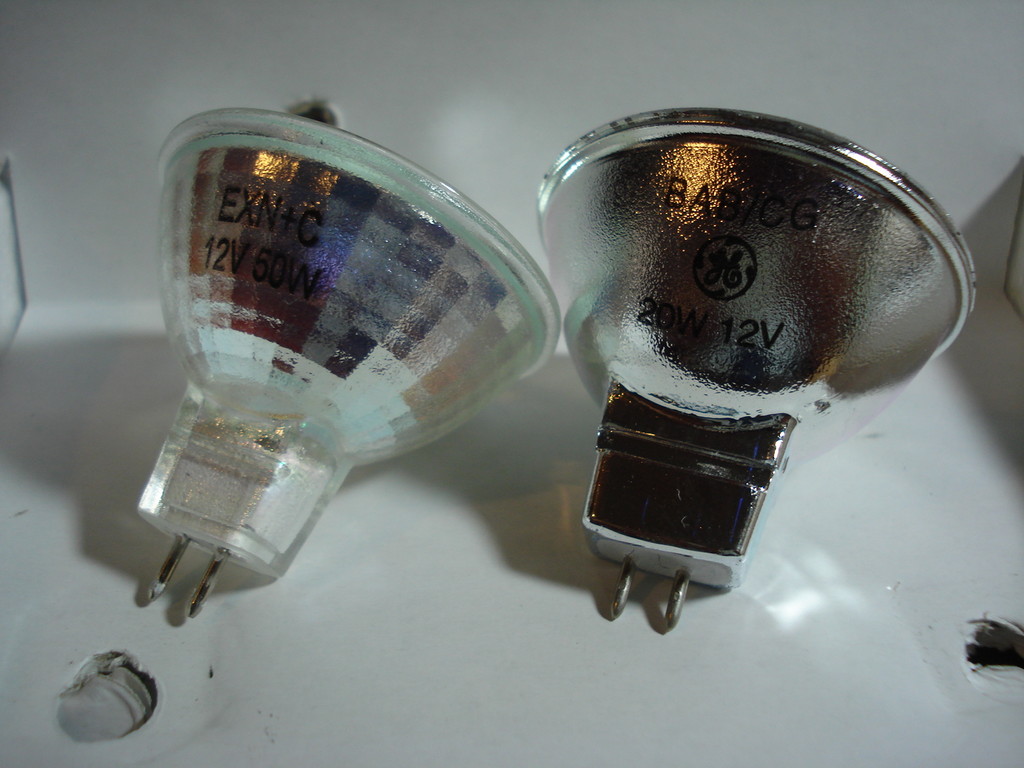
the two bulbs side by side. you can see its a direct swap.
DSC09418.sized.jpg

DSC09421.sized.jpg
 
Last edited:
Re: Wally Lights Install

front side.
DSC09422.sized.jpg


this is not needed but i felt it wouldn't hurt to add some heat shrink to the wires that stick out of the light housing
DSC09425.sized.jpg


marked where i needed the heat shrink and what it looks like after its done.
DSC09426.sized.jpg

DSC09428.sized.jpg
 
Re: Wally Lights Install

when you unpack the lights you will see that they come with this as part of the packaging. i thought what a good piece for a template to make the mounting holes on the hood. i also used this piece on the backside of the hood.
DSC09429.sized.jpg


i marked and used plastic reamer to make the holes.
DSC09430.sized.jpg


mounted to give me an idea of what i'm dealing with..
DSC09431.sized.jpg
 
Last edited:
Re: Wally Lights Install

now for the wiring. i decided that i wanted the lights to just come on when i hit the switch. for some reason i didn't like the idea of running one as a low beam the the two when i switched to high. so my wiring is setup so both lights come on no matter what position the switch is on.

DSC09432.sized.jpg

DSC09433.sized.jpg


pretty simple, just plug and play. the positive (white wire) has the end that both yellow and green wires from the switch will plug into. the ground (red) will be bolted to the frame.
DSC09435.sized.jpg


all ready to plug in and mount and bolt the hood back in place.
DSC09436.sized.jpg


all done!!!
DSC09437.sized.jpg


again i hope this helps someone out there that wants a light and different look.
 
Last edited:
good job bro, and very detailed "diy",rep point given, only thing i see i would do different was to drill a hole and feed the wires down under the hood to conceal and protect them a little, where and how i ride, they'd sure to get caught by a branch someday
 
thats sick. i might do this...BUT how bright are they? it would require me re-running the wires from the stator which were cut because he removed the stock lighting. i also have a sick spot for them.
 
good job bro, and very detailed "diy",rep point given, only thing i see i would do different was to drill a hole and feed the wires down under the hood to conceal and protect them a little, where and how i ride, they'd sure to get caught by a branch someday

thanks man! i thought about that and may still even do so.

looks relly good man good job and smart thinking

nice job bro,
15151515151515151515151515151515151515151515151515151515 is the enough 15 charicters for ya computer

thanks!

thats sick. i might do this...BUT how bright are they? it would require me re-running the wires from the stator which were cut because he removed the stock lighting. i also have a sick spot for them.

i ran it last night and i would say that they are pretty bright. i didnt have the stocker light to judge it against so keep that in mind. i'll try to grab a pic later tonight to show how bright they are.
 
rep points man. Thanks for posting this up, I think some of the trouble a lot of us run into is finding a housing that uses some of these lower wattage bulbs. I already picked me up a set today. Total was about $32 for the lights and two 20 watt replacement bulbs. These bolt right onto the fender brackets in perfect position. I'll try to get a pic up later.
 
I did the same thing, well similar. I did not wire the ground to the frame, I just used the existing light wire ground. I also mounted it to the fender mount location too. That way when I part my bike out later the hood is still sellable... Its bright and worked good too. One thing I found with these lights, the hold down ring you take off to put in a new buld needs to have a rivet installed into it because with a good ride it works itself off. Also the wally lights seem to not have the best connection on the back so a little silcone sealer to hold the wires good works too. Good DIY though..

2m3se38.jpg
 
AWSOME DIY!!!! I am kinda thinkng about that idea when I update my plastics and what not.. I really hate that stock light..
So this might be a future project!!! But awsome DIY lots of info!!! BIG HELP for ANYONE who wants to do this mod!
thanks!~