So my 15 year old nephew from Connecticut calls me up and says " I blew up my 2003 blaster, can you help me?"
Me being the nice guy I am, I say "Sure".
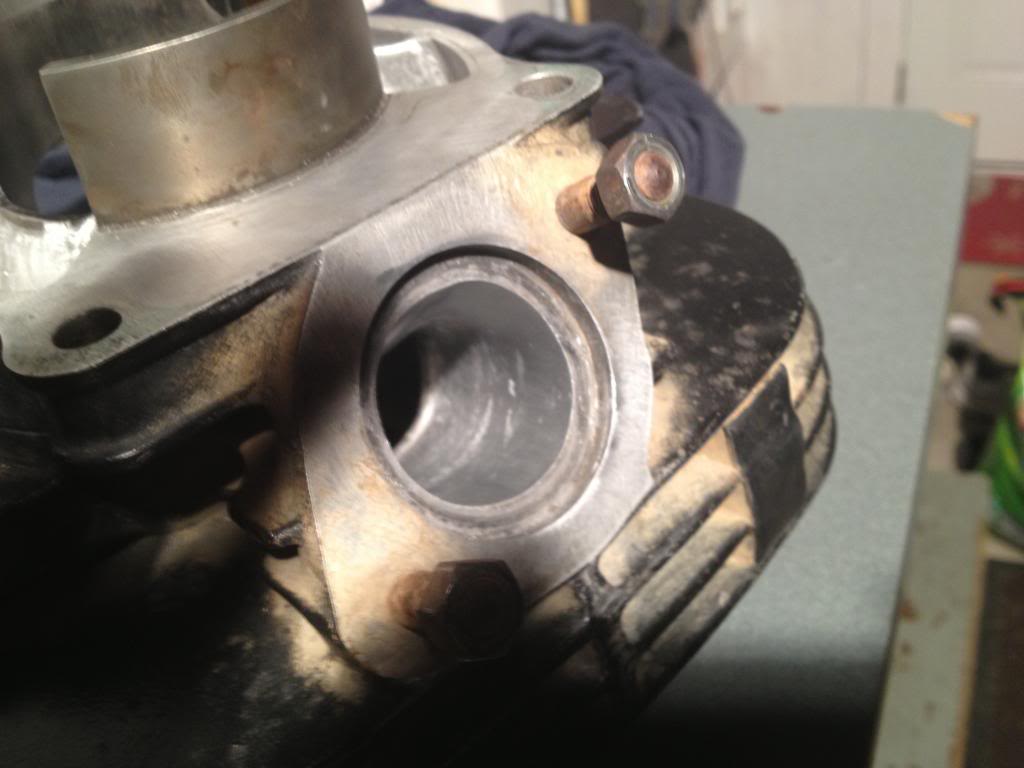
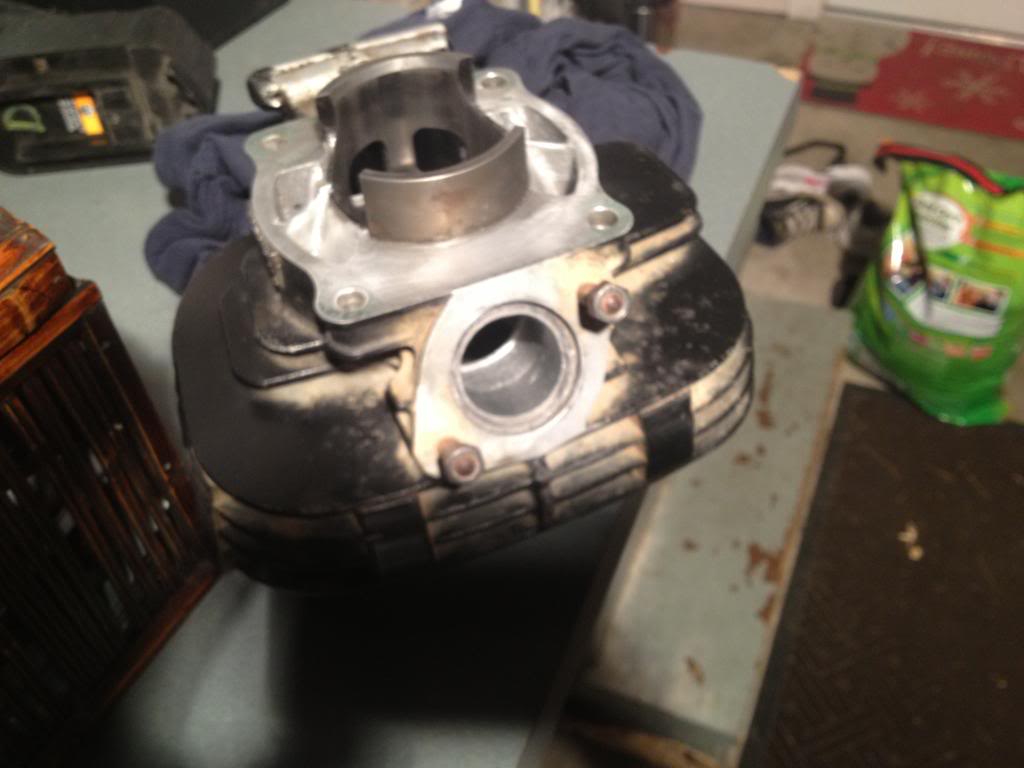
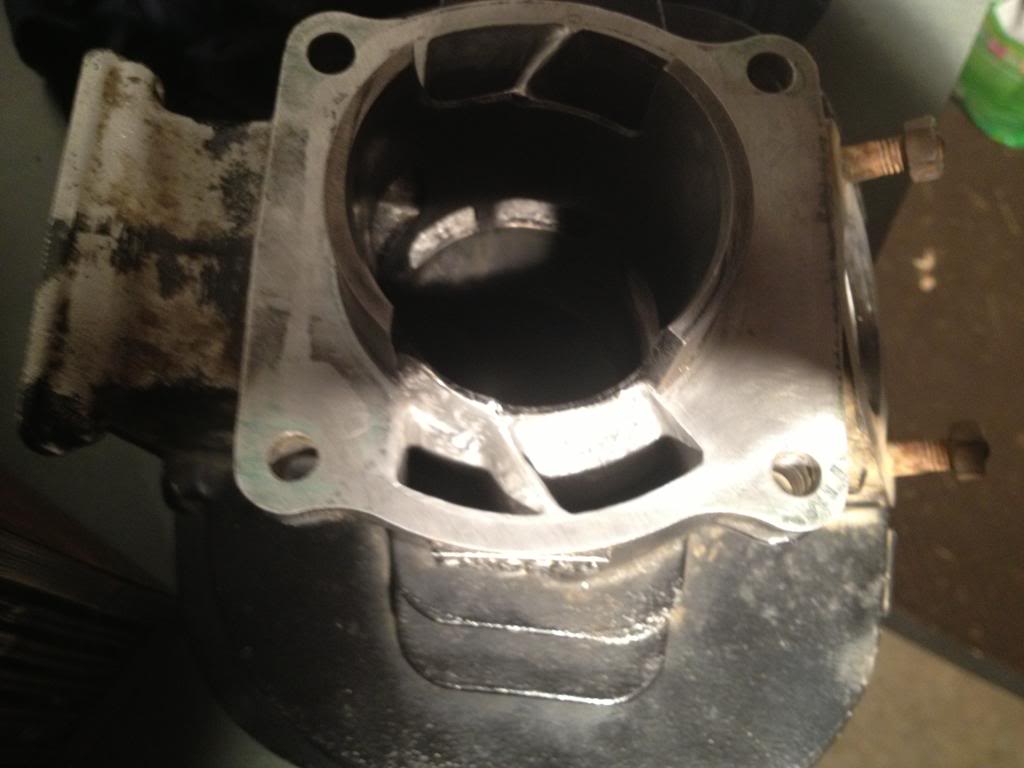
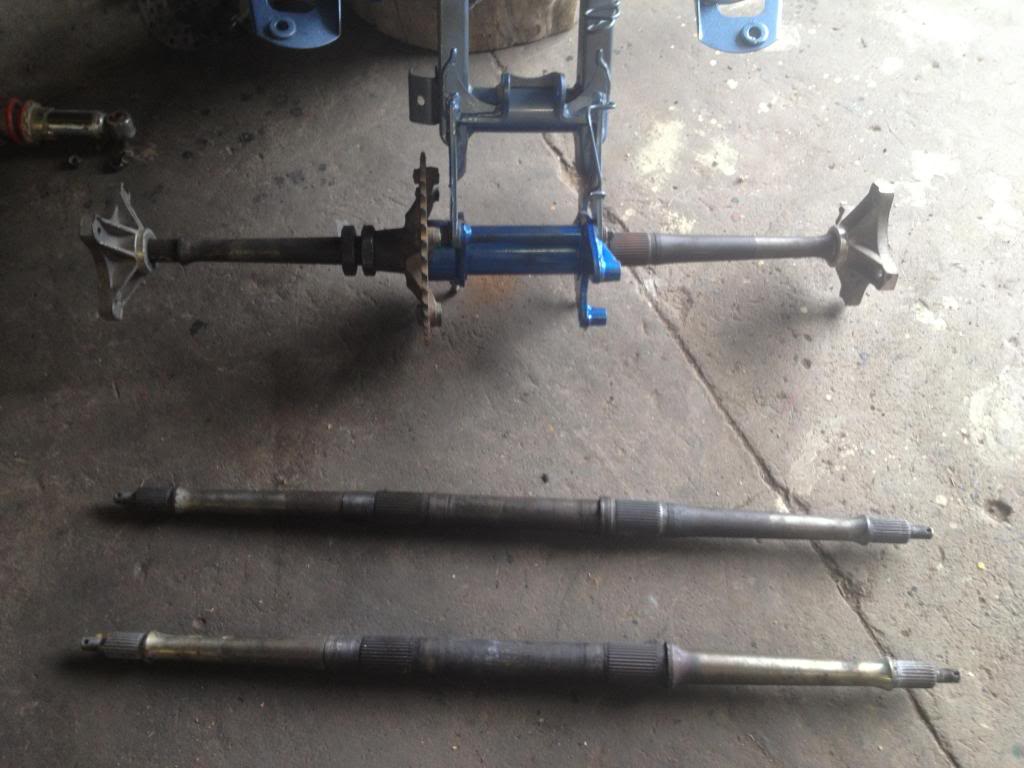
I go down there from Upstate NY and go pick up the quad in my truck. When I get home and survey the damage I see that he has hit the right side lower A arm so hard with a rock that he has totally bent the frame ( on the lower left side) about 8 degrees out of whack. On top of that he drove through a puddle of mud with a sock for an air filter and sucked all of this crap into the top end.
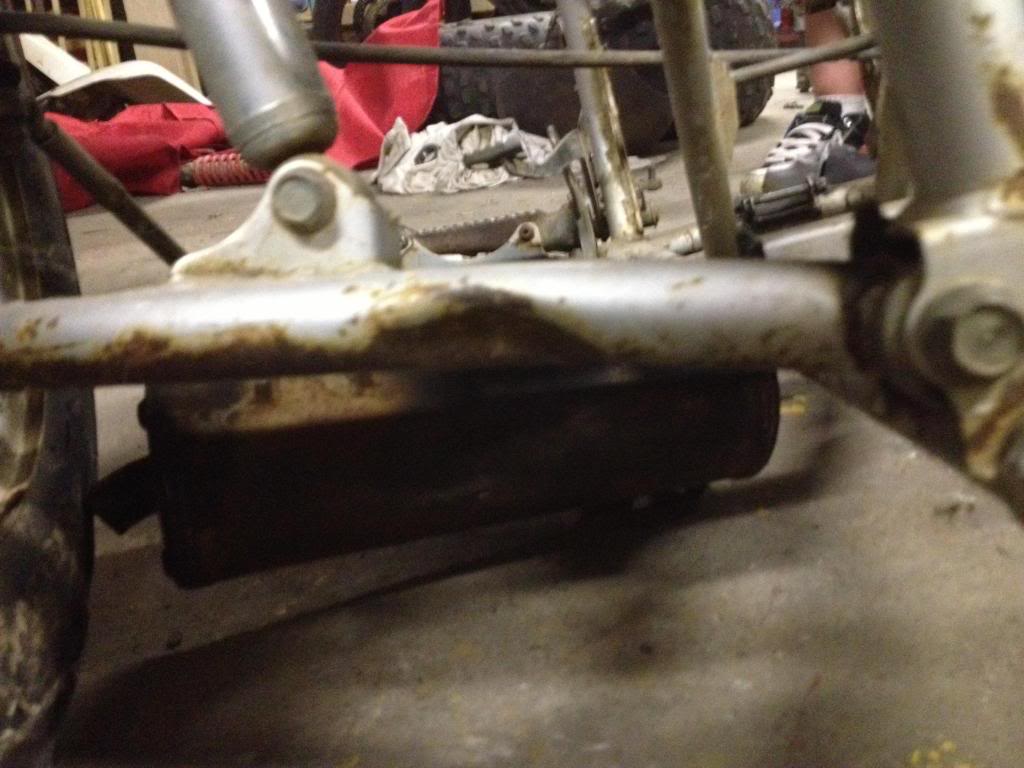
The Damaged A Arm
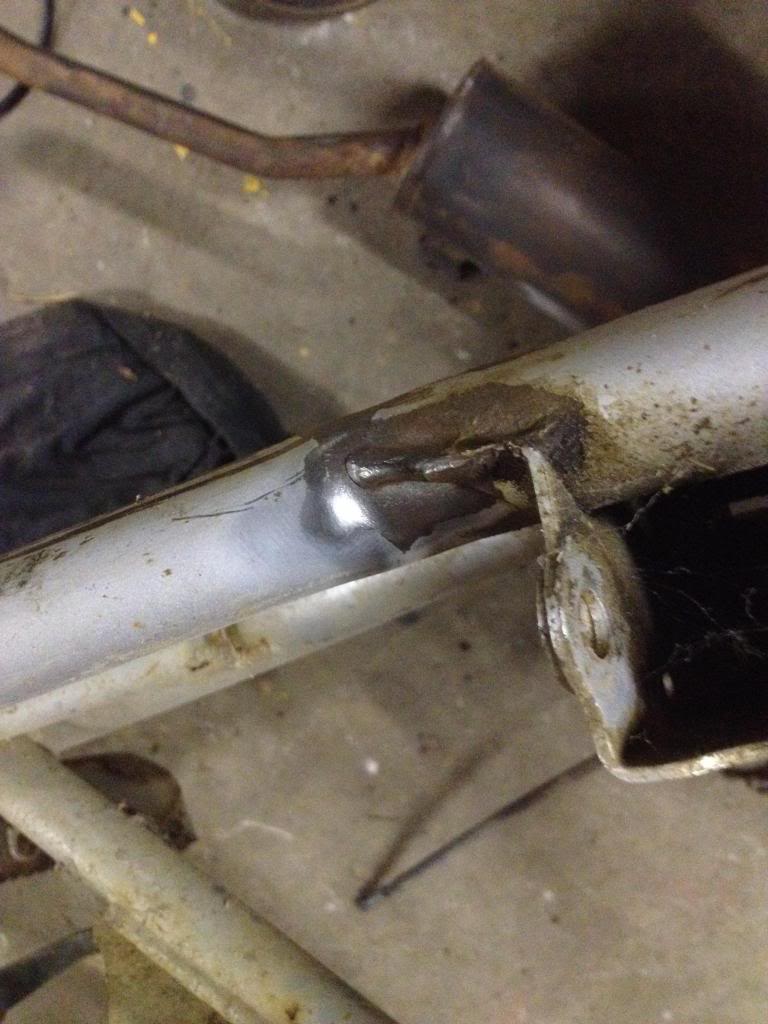
The Bend in Frame
So we make plans for him to come on up for a week and we will start the fresh rebuild.
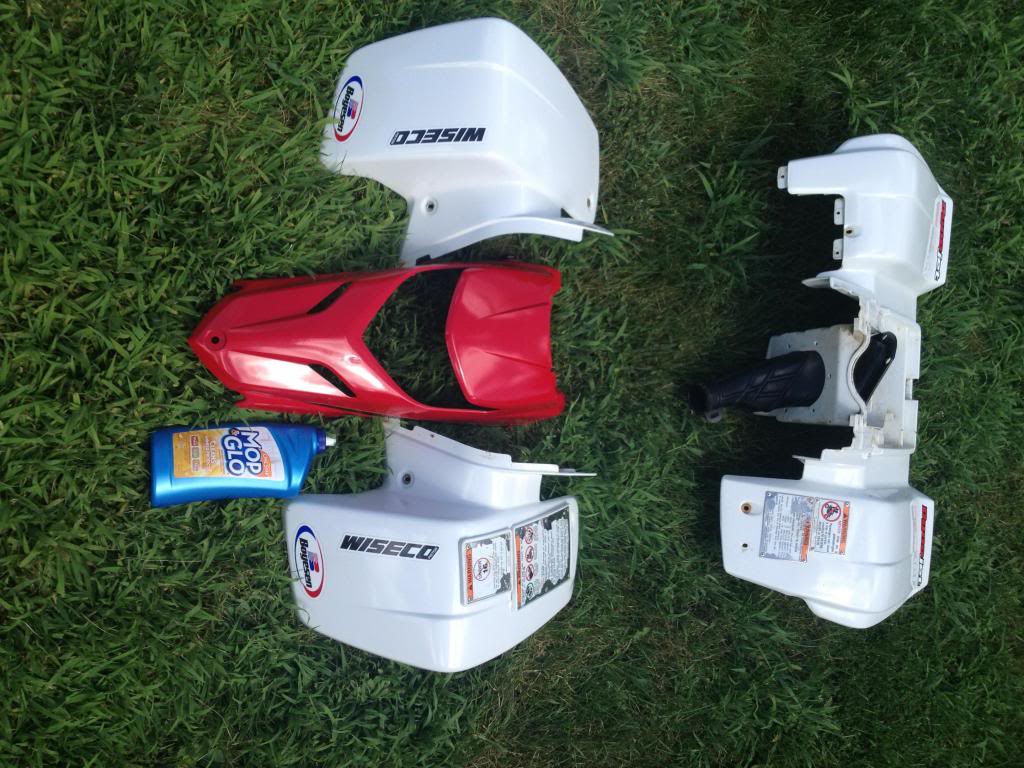
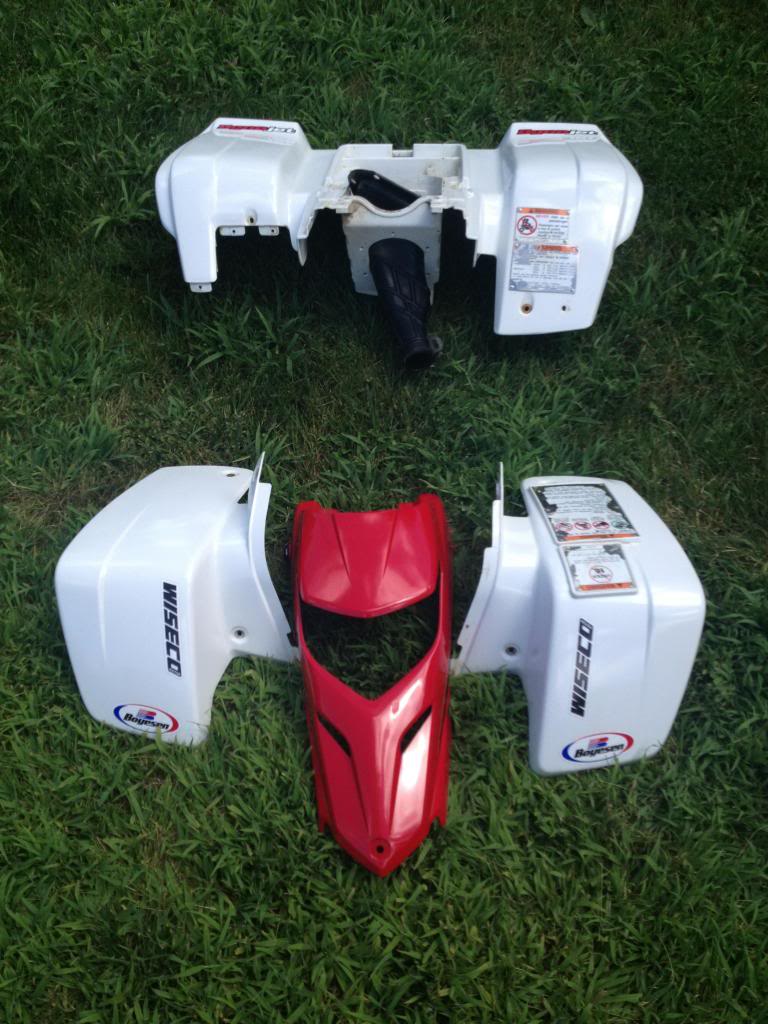
In the meantime I have secured a used 2001 Blaster with descent plastics, Front disk brakes, a solid frame, 2 boxes of spare parts, 3 separate engines, oil injection removal kit ( new in wrapper), Tors removal kit ( in wrapper), all bearings and seals to rebuild swing arm in wrappers, all for 400 bucks.
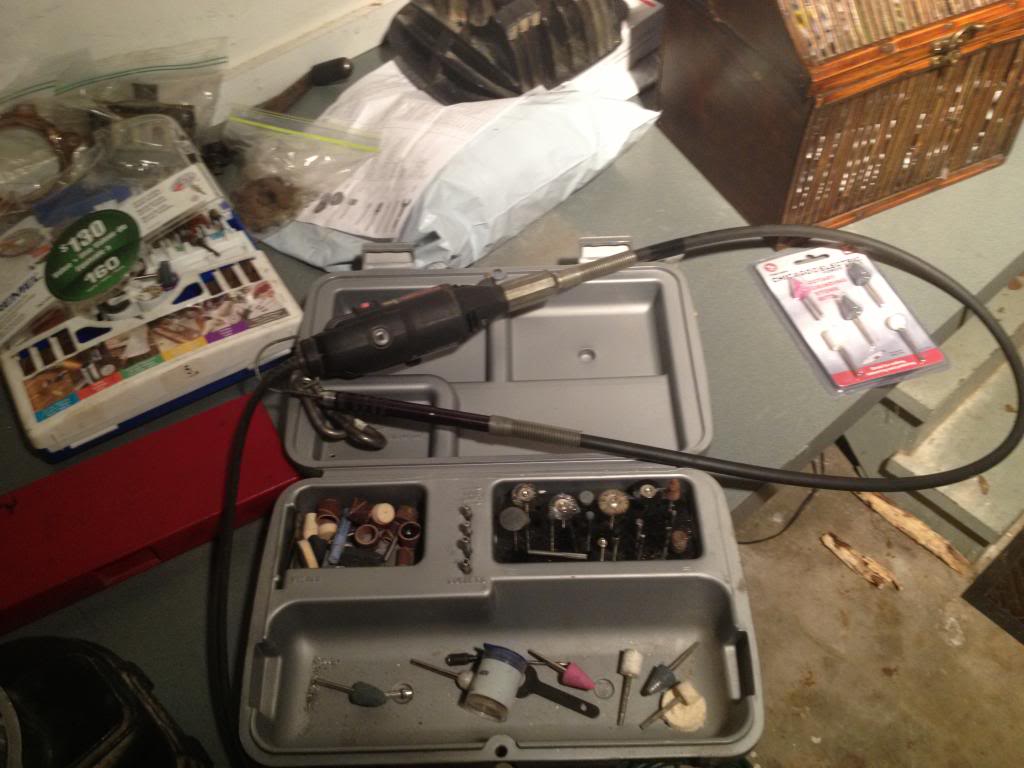
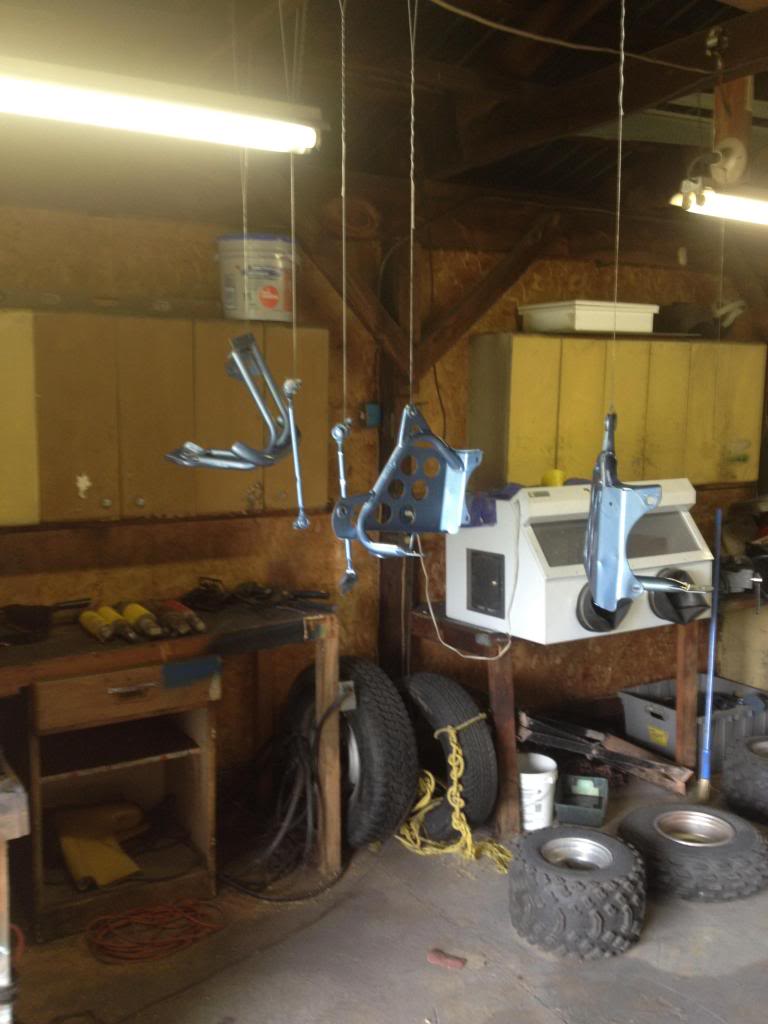
While I am waiting for him to come up I decide that we will do this right and strip it all down to the bone and do a proper rebuild. So I build a Blasting cabinet for all of the parts that we will have to do.
A couple weeks go by and he makes his way up here for a while and we are sand blasting away at the frame at my father in-laws house. The compressor shuts off and dies after an hour of work. Come to find out I ended up frying the motor ( 230 volts 1.5 hp Eaton). The motor and the compressor were installed in 1994, at first I thought I just fried the start capacitor, so I bought a new one, turned the compressor back on and a plume of smoke that would make Mount Saint Helen jealous comes up out of the motor.
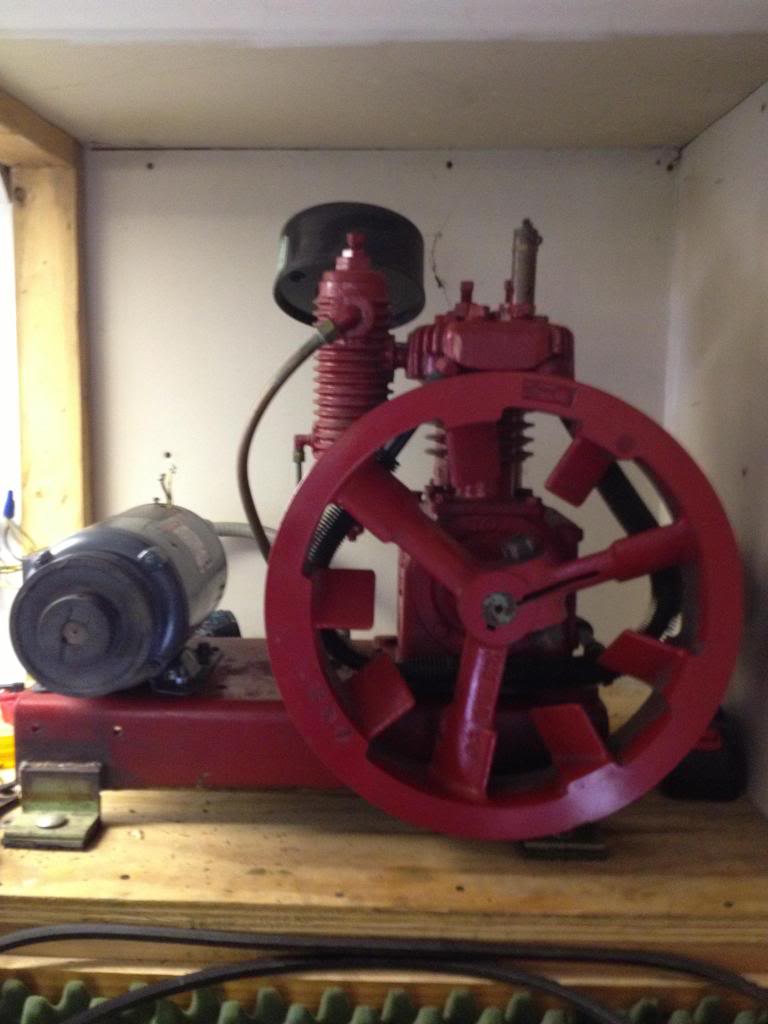
Burnt Motor and Compressor
So i go to buy a used motor from the local electric motor shop and I get a used Dayton 1.5 HP for 175 dollars. Now the compressor still wont start so I have to either jump up to a 2 hp at 400 dollars (out of my own pocket) or buy a new 60 gallon compressor. ( This is the punishment for the good deed of helping my nephew.)
The moral of this story is to pay to have your frame sandblasted by a professional or find a different way.
But I digress, Back to the good stuff.
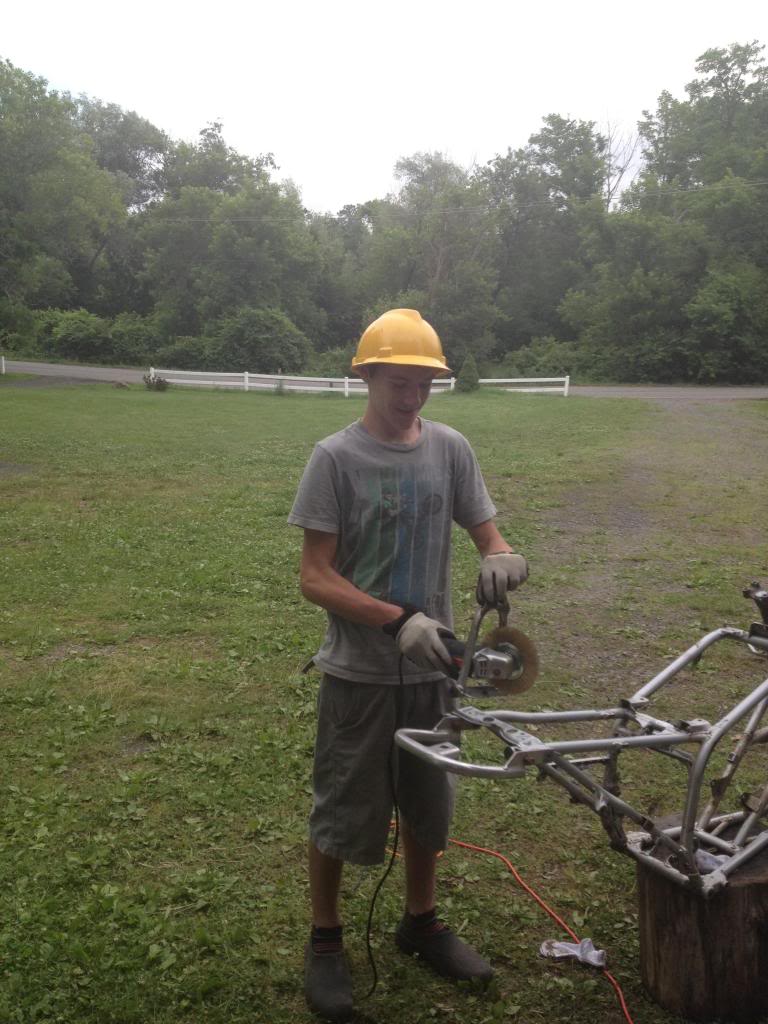
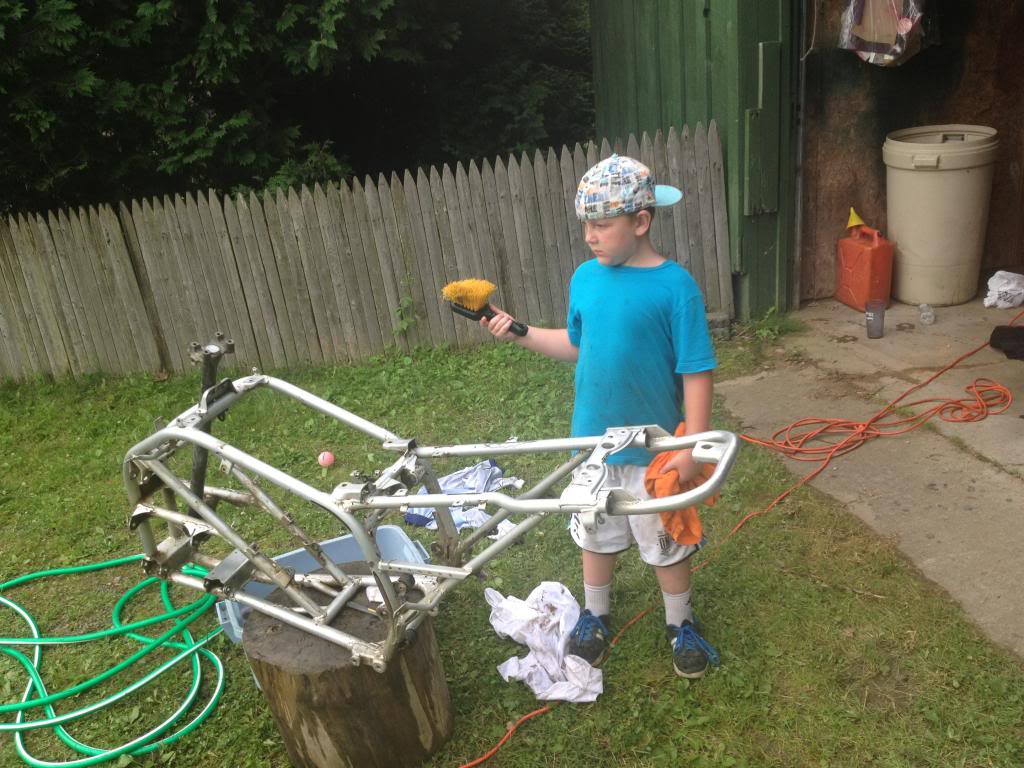
We start to hand sand, wire wheel and clean the frame.
My nephew bales on me to go back to Connecticut, and leaves me to do the rest.
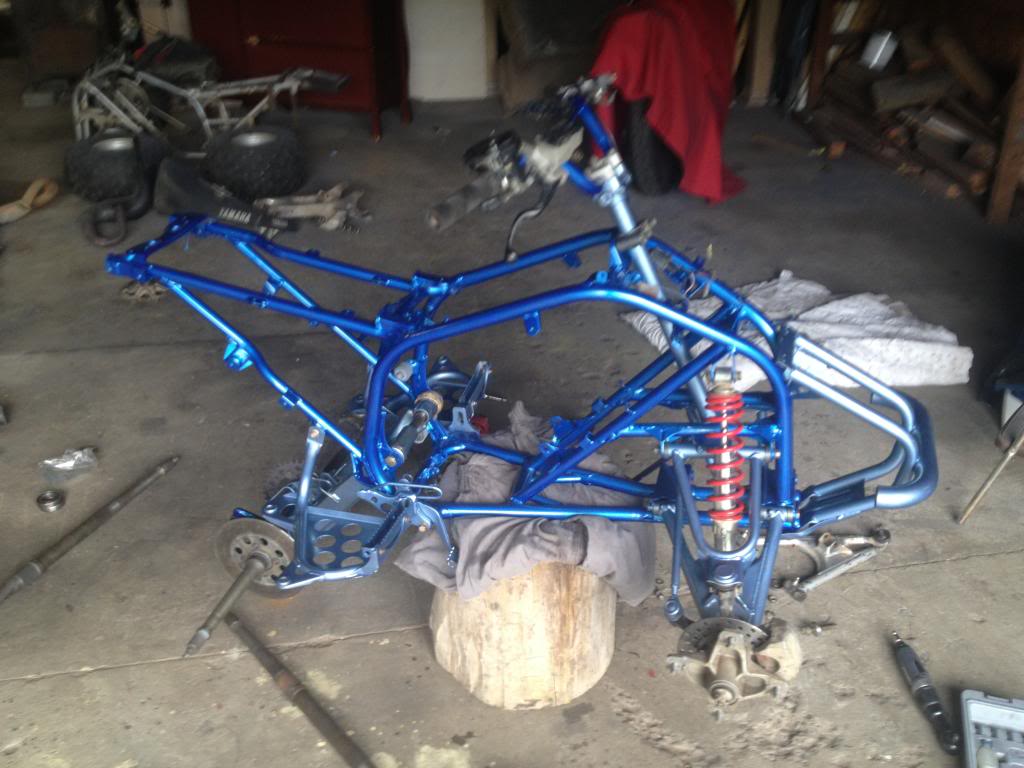
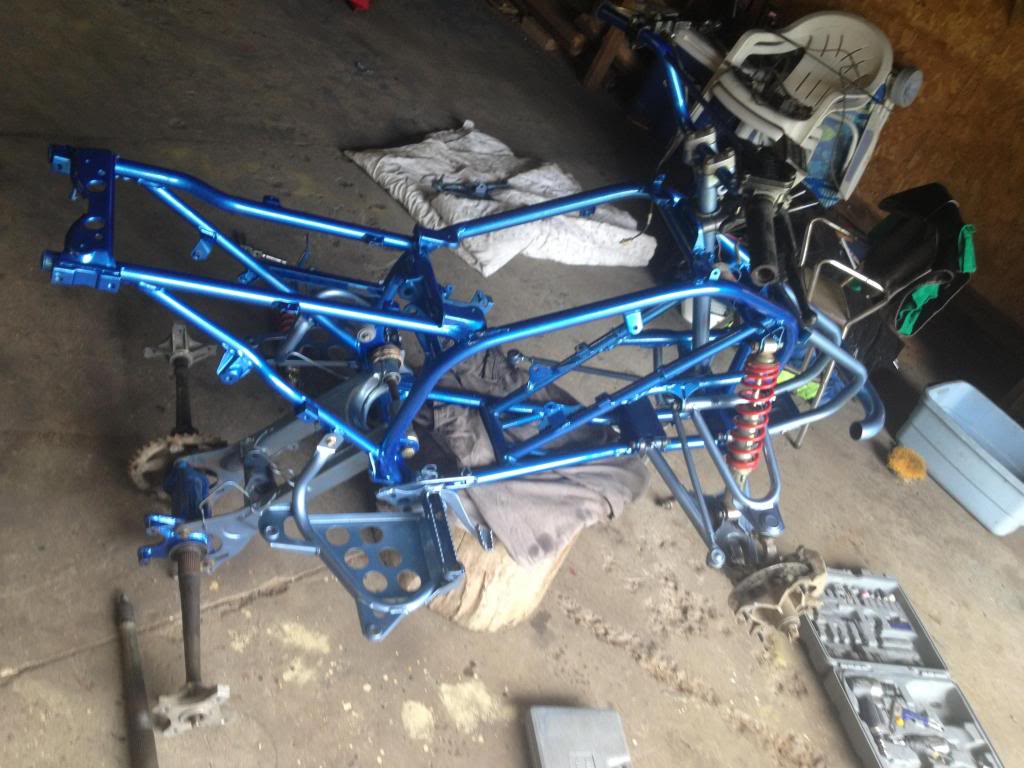
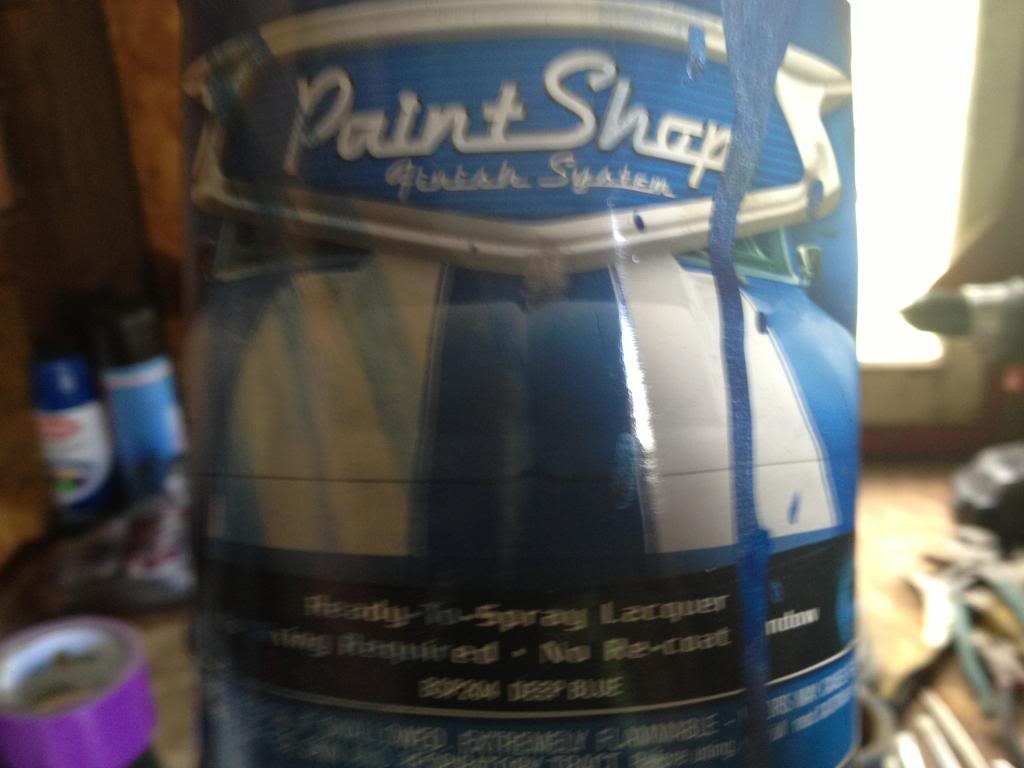
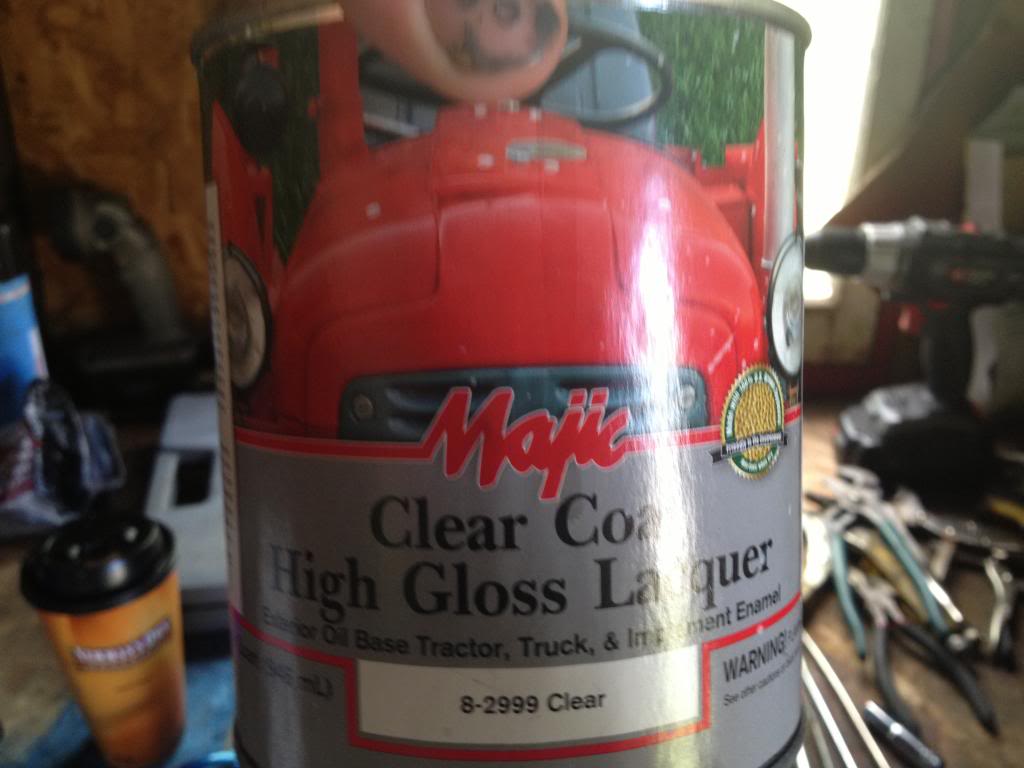
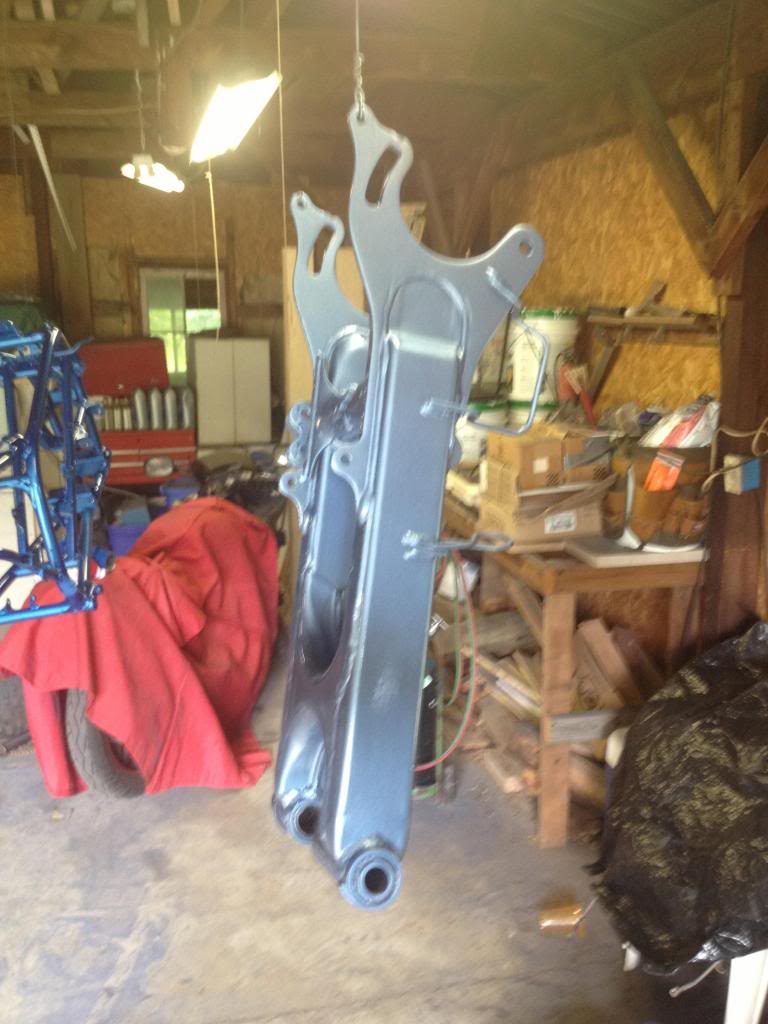
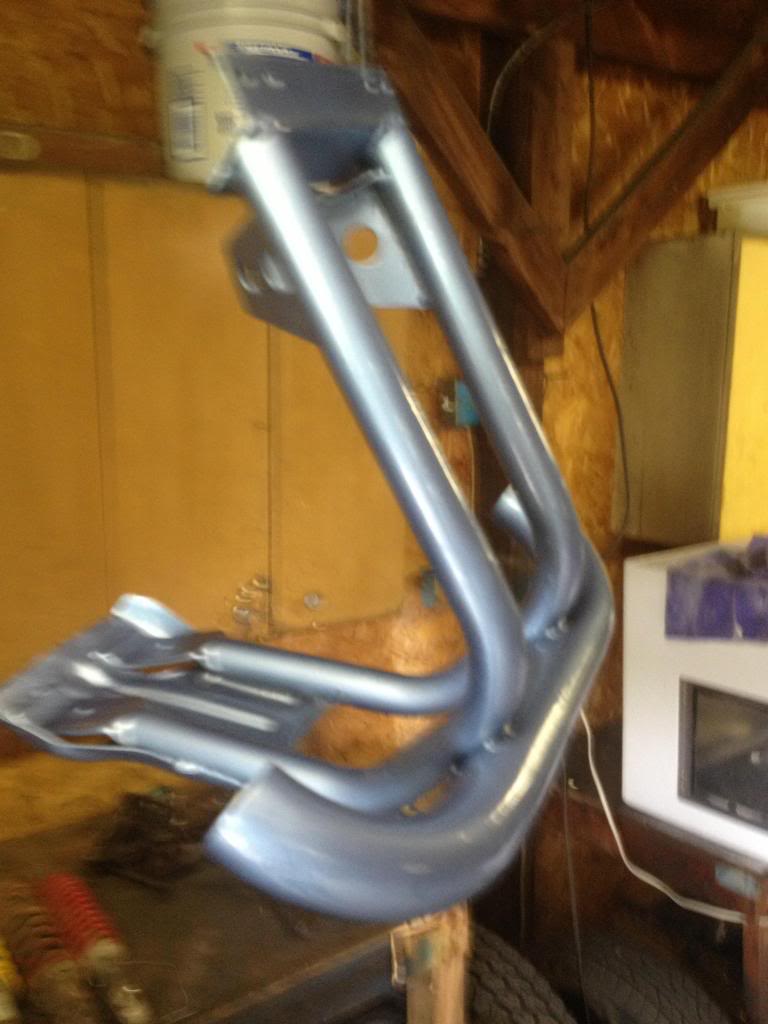
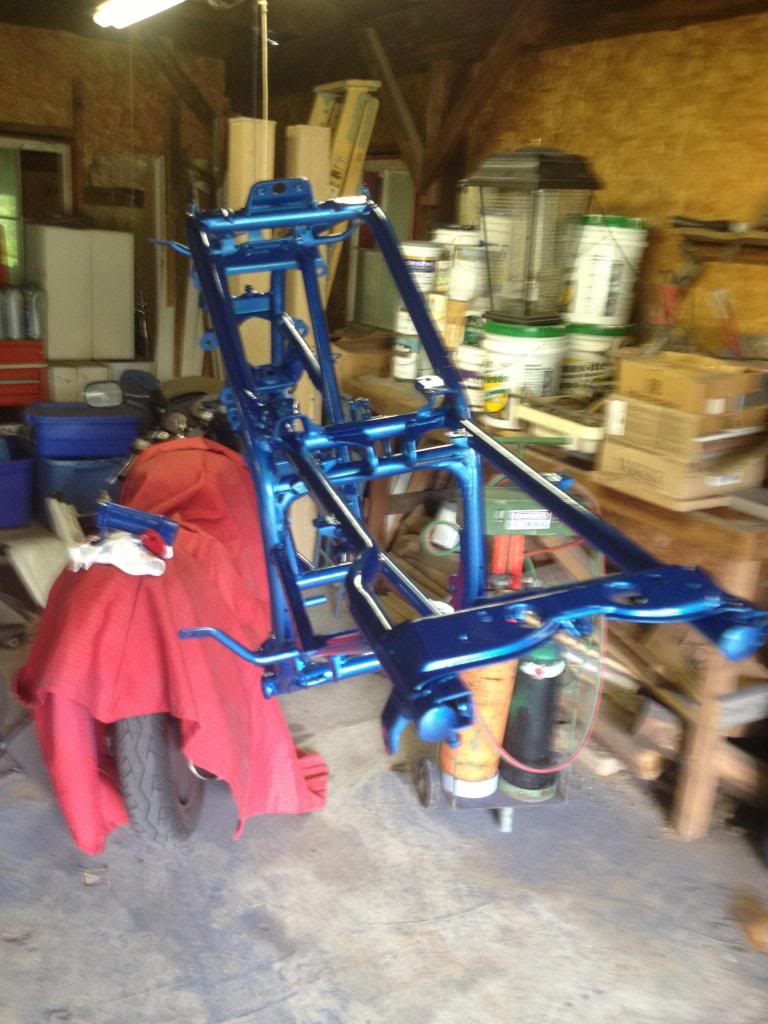
I have painted with 2 coats primer, 2 coats base, and at least 2 coats clear. Everything is still hanging in the barn drying for a couple of days.

I must give thanks to this forum and its Members / Supporters for it's valuable information regarding my rebuild journey. I have spent hours reading what cool fun stuff I can try out. I will be sad when I have to give the blaster back to my nephew( maybe build one of my own), but there is still more of the rebuild to do. Hopefully more pictures to come.
Me being the nice guy I am, I say "Sure".
I go down there from Upstate NY and go pick up the quad in my truck. When I get home and survey the damage I see that he has hit the right side lower A arm so hard with a rock that he has totally bent the frame ( on the lower left side) about 8 degrees out of whack. On top of that he drove through a puddle of mud with a sock for an air filter and sucked all of this crap into the top end.
The Damaged A Arm
The Bend in Frame
So we make plans for him to come on up for a week and we will start the fresh rebuild.
In the meantime I have secured a used 2001 Blaster with descent plastics, Front disk brakes, a solid frame, 2 boxes of spare parts, 3 separate engines, oil injection removal kit ( new in wrapper), Tors removal kit ( in wrapper), all bearings and seals to rebuild swing arm in wrappers, all for 400 bucks.
While I am waiting for him to come up I decide that we will do this right and strip it all down to the bone and do a proper rebuild. So I build a Blasting cabinet for all of the parts that we will have to do.
A couple weeks go by and he makes his way up here for a while and we are sand blasting away at the frame at my father in-laws house. The compressor shuts off and dies after an hour of work. Come to find out I ended up frying the motor ( 230 volts 1.5 hp Eaton). The motor and the compressor were installed in 1994, at first I thought I just fried the start capacitor, so I bought a new one, turned the compressor back on and a plume of smoke that would make Mount Saint Helen jealous comes up out of the motor.
Burnt Motor and Compressor
So i go to buy a used motor from the local electric motor shop and I get a used Dayton 1.5 HP for 175 dollars. Now the compressor still wont start so I have to either jump up to a 2 hp at 400 dollars (out of my own pocket) or buy a new 60 gallon compressor. ( This is the punishment for the good deed of helping my nephew.)
The moral of this story is to pay to have your frame sandblasted by a professional or find a different way.
But I digress, Back to the good stuff.
We start to hand sand, wire wheel and clean the frame.
My nephew bales on me to go back to Connecticut, and leaves me to do the rest.
I have painted with 2 coats primer, 2 coats base, and at least 2 coats clear. Everything is still hanging in the barn drying for a couple of days.
I must give thanks to this forum and its Members / Supporters for it's valuable information regarding my rebuild journey. I have spent hours reading what cool fun stuff I can try out. I will be sad when I have to give the blaster back to my nephew( maybe build one of my own), but there is still more of the rebuild to do. Hopefully more pictures to come.