So I just found a new product that makes it super easy to tint or "smoke" your head lights or tail lights and I wanted to share it with everyone on the forum. It's super easy, looks sweet and definitely gives your atv a custom look.
What you will need
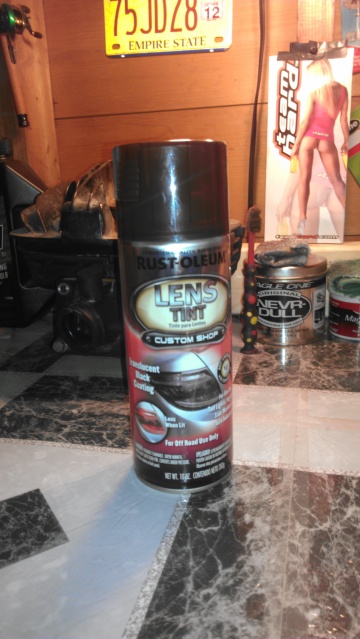
1. One can of Rustoleum Lens Tint.
2. Tape ... Wide painters tape or duct tape will work.
3. A Phillips head screw driver.
4. Clean rag or paper towelle.
5. Windex or some sort of glass cleaner.
Step 1 - Go to your local hardware store, Home Depot, Lowe's, Ace, etc. and buy a can of Rustoleum Lens Tint. Availability may differ between stores, I got mine from Home Depot and it was the first time I have ever saw this product.
Step 2 - Remove the two Phillips head bolts that hold the head light cover in place ( located under the head light ).
Step 3 - Carefully remove the head light cover, pulling outwards from the bottom first then the top. Remember the bulb will still be attached to the cover so don't pull too hard !
Step 4 - Turn the plastic fixture that fastens the bulb inside of the head light cover counter clockwise approximately 1/4 of a turn then carefully pull the fixture and bulb straight out of the head light cover. At this point the cover should be free !
Step 5 - Spray a little Windex/glass cleaner on a clean rag or paper towel and clean the lens cover, then use the dry side of your rag or paper towel and wipe the lens cover to ensure there is not any glass cleaner or moisture on the lens.
Step 6 - Tape off the plastic fake chrome trim around the lens cover with the tape of your choice. I used duct tape because it is wide and sticks very well.
Step 7 - Set the head light cover with the lens facing up ( obviously ) on a surface that you don't mind getting a little over spray on. I just used my plastic Home Depot bag.
Step 8 - Shake your can of Lens Tint vigorously for 30 to 60 seconds.
Step 9 - Hold the can 10 to 16 inches away from the lens surface and spray the lens evenly. Remember we're painting glass so don't over spray or the paint will run ... do 2 light coats if need be allowing sufficient dry time between coats, I was lucky and was able to get away with 1 coat. *NOTE* It is not recommended to do more than 2 or 3 coats or the light may not shine through bright enough !
Step 10 - AFTER allowing the paint to dry, remove the tape around the lens.
Step 11 - Reinstall the bulb/fixture back into the head light cover ( allign the notches on the fixture with the grooves of the head light cover, push in and turn clockwise approximately 1/4 of a turn ).
Step 12 - Carefully snap the headlight cover back into the head light housing.
Step 13 - Fasten the two Phillips head bolts underneath the head light, be careful not to over tighten the screws or you may strip them !
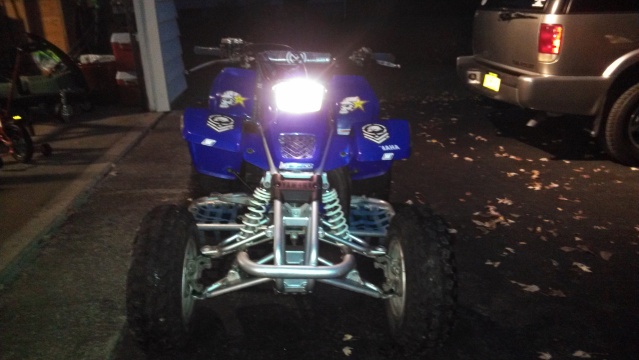
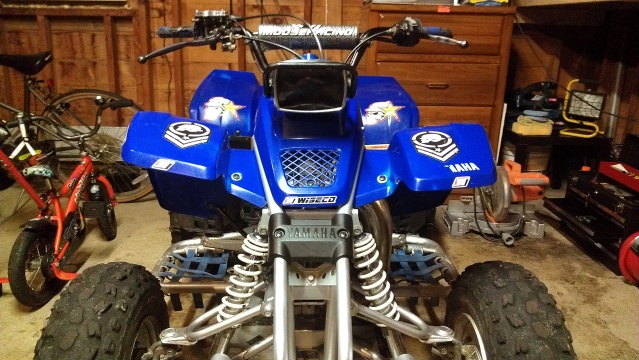
Step 14 - Enjoy your new smoked lens cover !
I hope some people can benefit from this idea and/or the easy step by step how to ! I'll post my results and the can of Rustoleum Lens Tint in the next post !
What you will need
1. One can of Rustoleum Lens Tint.
2. Tape ... Wide painters tape or duct tape will work.
3. A Phillips head screw driver.
4. Clean rag or paper towelle.
5. Windex or some sort of glass cleaner.
Step 1 - Go to your local hardware store, Home Depot, Lowe's, Ace, etc. and buy a can of Rustoleum Lens Tint. Availability may differ between stores, I got mine from Home Depot and it was the first time I have ever saw this product.
Step 2 - Remove the two Phillips head bolts that hold the head light cover in place ( located under the head light ).
Step 3 - Carefully remove the head light cover, pulling outwards from the bottom first then the top. Remember the bulb will still be attached to the cover so don't pull too hard !
Step 4 - Turn the plastic fixture that fastens the bulb inside of the head light cover counter clockwise approximately 1/4 of a turn then carefully pull the fixture and bulb straight out of the head light cover. At this point the cover should be free !
Step 5 - Spray a little Windex/glass cleaner on a clean rag or paper towel and clean the lens cover, then use the dry side of your rag or paper towel and wipe the lens cover to ensure there is not any glass cleaner or moisture on the lens.
Step 6 - Tape off the plastic fake chrome trim around the lens cover with the tape of your choice. I used duct tape because it is wide and sticks very well.
Step 7 - Set the head light cover with the lens facing up ( obviously ) on a surface that you don't mind getting a little over spray on. I just used my plastic Home Depot bag.
Step 8 - Shake your can of Lens Tint vigorously for 30 to 60 seconds.
Step 9 - Hold the can 10 to 16 inches away from the lens surface and spray the lens evenly. Remember we're painting glass so don't over spray or the paint will run ... do 2 light coats if need be allowing sufficient dry time between coats, I was lucky and was able to get away with 1 coat. *NOTE* It is not recommended to do more than 2 or 3 coats or the light may not shine through bright enough !
Step 10 - AFTER allowing the paint to dry, remove the tape around the lens.
Step 11 - Reinstall the bulb/fixture back into the head light cover ( allign the notches on the fixture with the grooves of the head light cover, push in and turn clockwise approximately 1/4 of a turn ).
Step 12 - Carefully snap the headlight cover back into the head light housing.
Step 13 - Fasten the two Phillips head bolts underneath the head light, be careful not to over tighten the screws or you may strip them !
Step 14 - Enjoy your new smoked lens cover !
I hope some people can benefit from this idea and/or the easy step by step how to ! I'll post my results and the can of Rustoleum Lens Tint in the next post !
Last edited: