Troubleshooting/maintainence guide
Most of the terms used in this guide are searchable and already have a "diy" thread on them, I just bundled up what I do in times of need so here's the rundown on how I troubleshoot a poorly running blaster, in no particular order, some symptoms point directly to one thing or another....
First off, check for fuel flow, spark and airflow in and out, intake and exhaust
make sure it has good/new fuel, mixed at 32:1 with a good aftermarket 2 stroke oil, or 2 stroke oil for injection in the tank if still using the stock oil injection
make sure it has good fuel flowing to the carb (petcock is flowing good),
Change the spark plug with a new ngk b8es, kick it a few times with the new plug in the boot, grounded to the head to check for good, strong spark, while your down there inspect the plug wire and boot,
Be sure the air filter is clean (clean and re-oil it weekly or more if needed in dusty conditions)
Check the pipe and silencer for clogs (mice nests seem to be common) especially if it sat for a long period
Tors and parking brake circuts are better off disconnected rather than diagnosed, just my opinion
Tors delete's...........
88-02:
http://www.blasterforum.com/do-yourself-20/how-remove-your-tors-655/
03+:
http://www.blasterforum.com/engine-13/2003-2006-tors-delete-proper-wiring-heres-what-i-did-48477/
03+ only parking brake circut delete:
just unplug it from the brake perch, follow it back under the hood and unplug there, cut and tape wires seperately, or coil the whole thing up under the hood
the downloadable blaster manual
(what, you dont have it yet???)
has tons of more detailed info on troubleshooting stock parts, and electrical troubleshooting also, available here.................
http://www.blasterforum.com/general-support-17/downloadable-yamaha-blaster-manual-17325/
1. do a compression check, a compression tester is like $15 at harbor freight, prolly the same on ebay, and is a very wise investment, i check mine weekly to spot troubles ahead of time, my modded motor is holding true at 152 psi for months now, a stock blaster should be around 120psi, and anything getting close or below 100psi, will need some attention very soon, and could be the cause of a lot of symptons, especially hard starting and lack of power
2. do a leakdown test,
heres a "diy" to build your own and it will spot airleaks before it leans out and fries your stuff.....
http://www.blasterforum.com/do-yourself-20/build-use-leakdown-tester-10663/
or I have them for sale here....
http://www.blasterforum.com/threads/leakdown-testers.55015/
it should hold 7 psi(no more) for like 10 minutes
also check the carb cap is tight and sealed < rubber cable seal also
http://www.blasterforum.com/engine-parts-151/leak-down-tester-43284/
http://www.blasterforum.com/do-yourself-20/videos-how-perform-air-leakdown-test-31464/
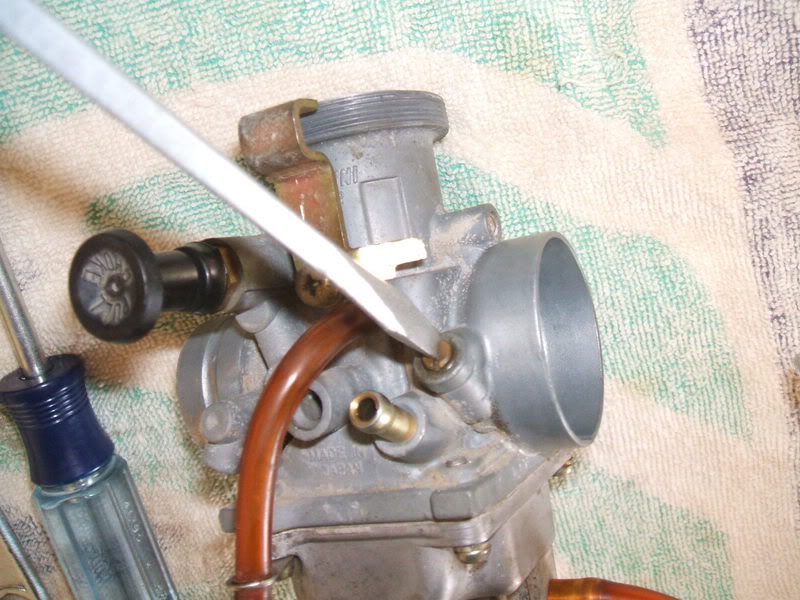
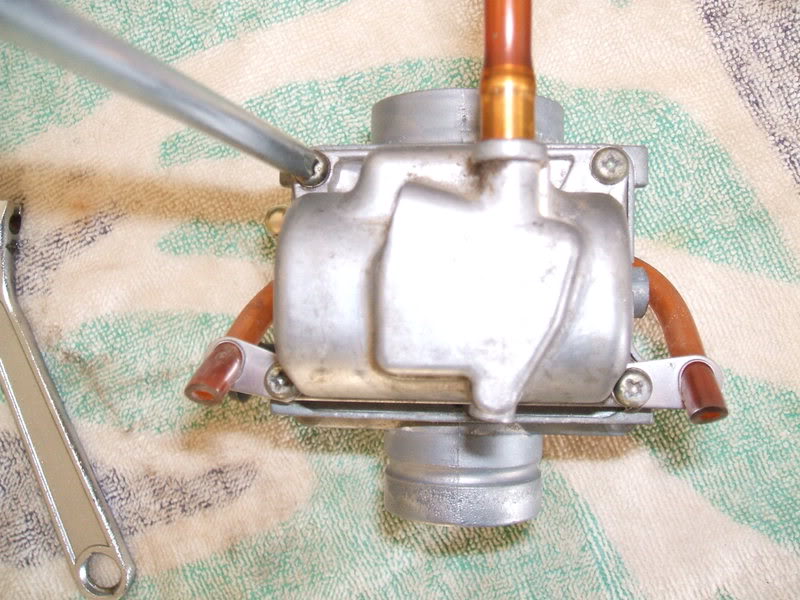
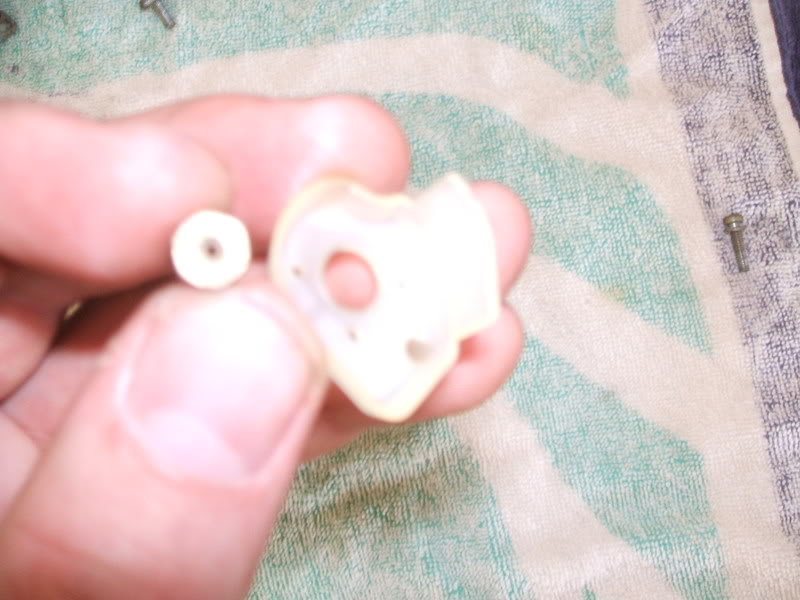
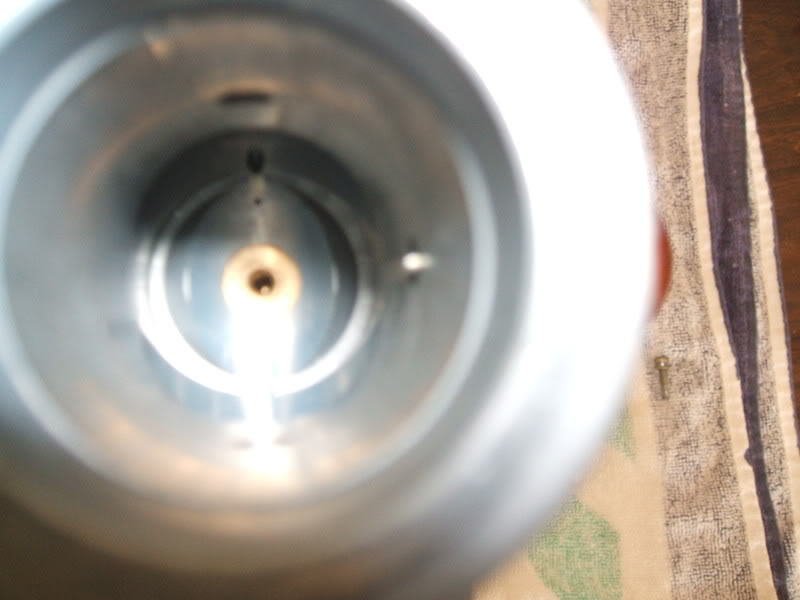
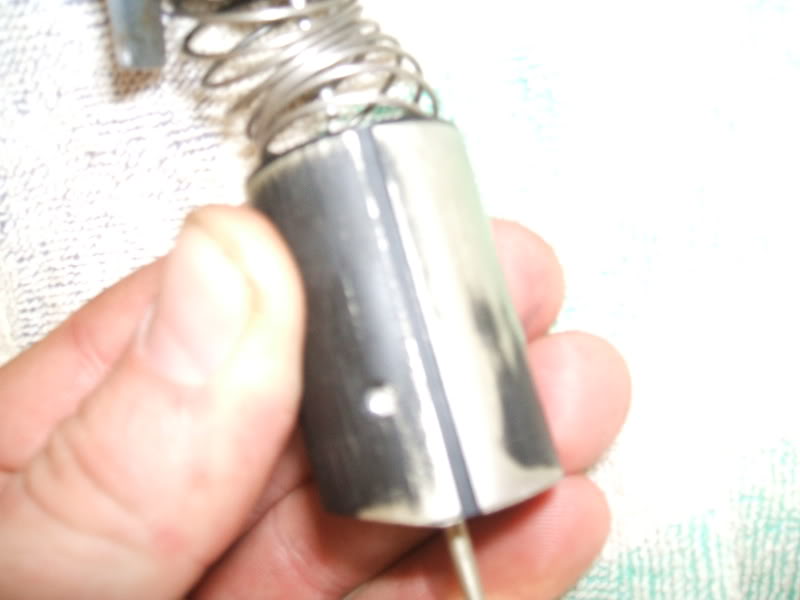
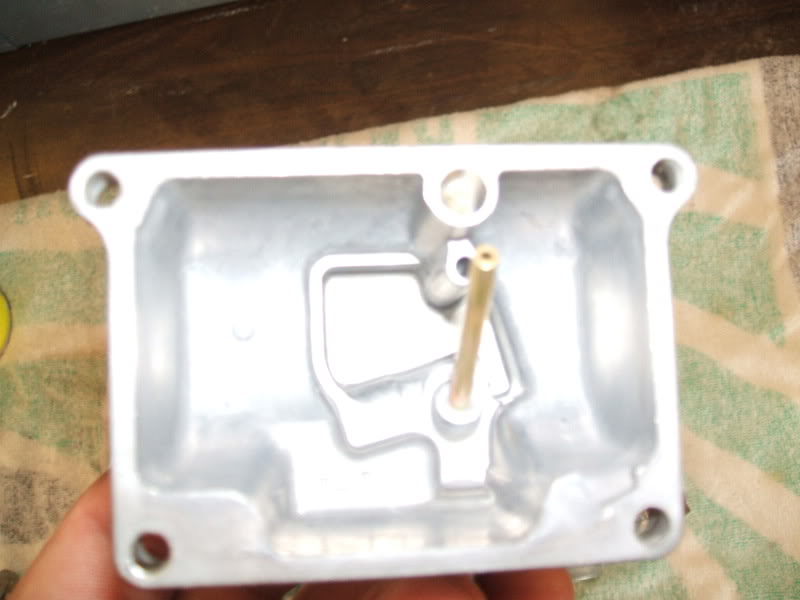
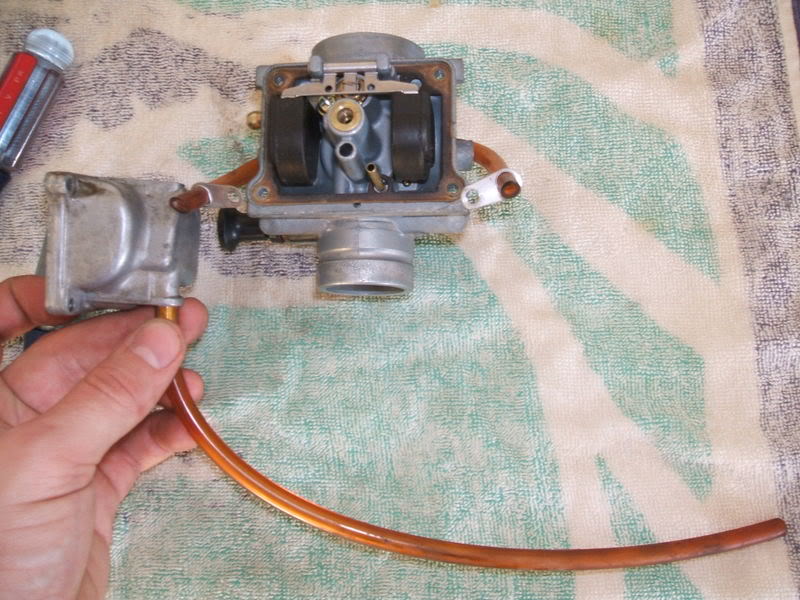
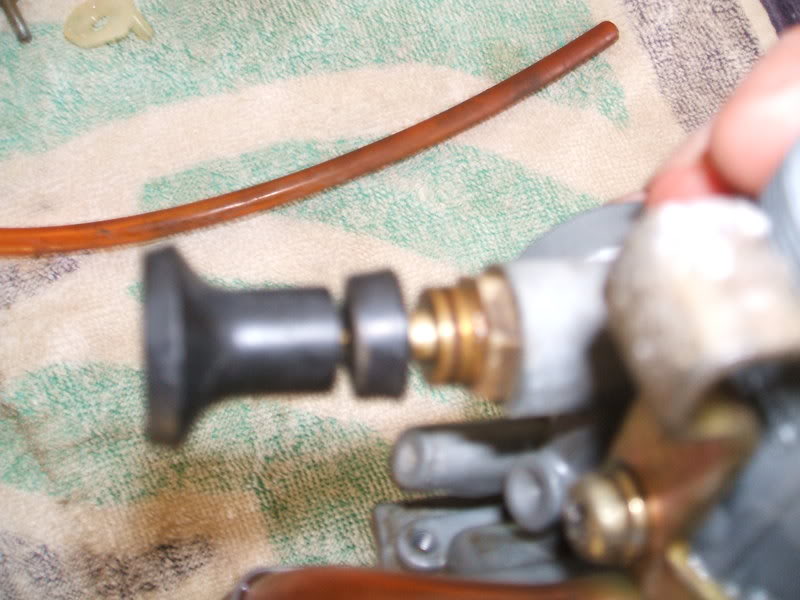
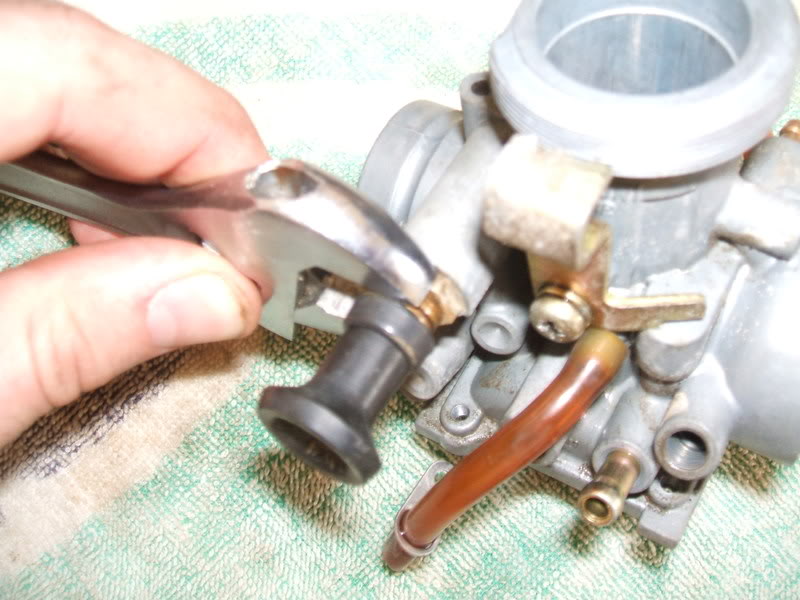
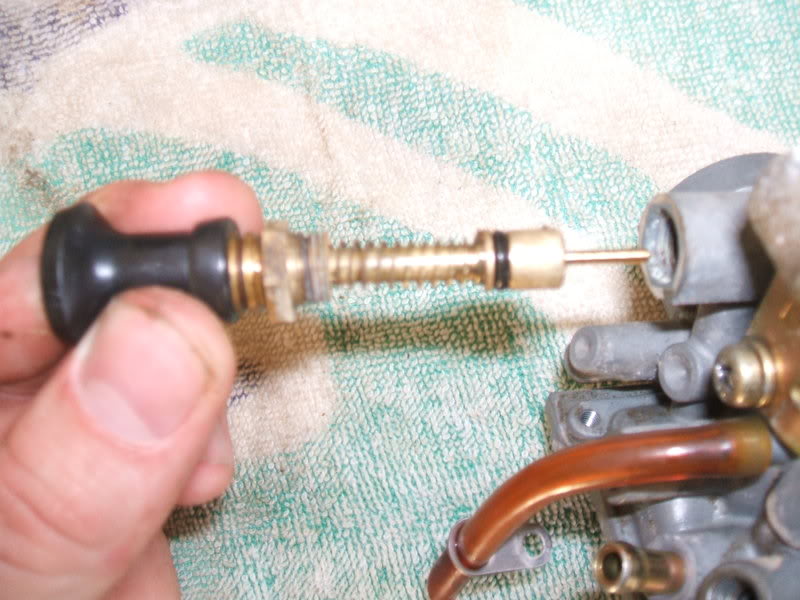
3. clean, clean, clean, the carb, inside and out, completely disassemble, spray all jets and orifices with carb cleaner, then blow out with a compressor, check the float level (stock carb is 20 - 21.5mm), google your specific carbs float level if different than stock
check the float valve's rubber tip for tears or general discombobulation, haha
write down both jet sizes and needle clip position while your in there
make sure the oil injection inlet is blocked off properly if the injection is deleted
http://www.blasterforum.com/general-support-17/how-clean-your-carb-pics-209/
http://www.blasterforum.com/do-yourself-20/easy-almost-free-way-stop-leaky-carbs-33335/
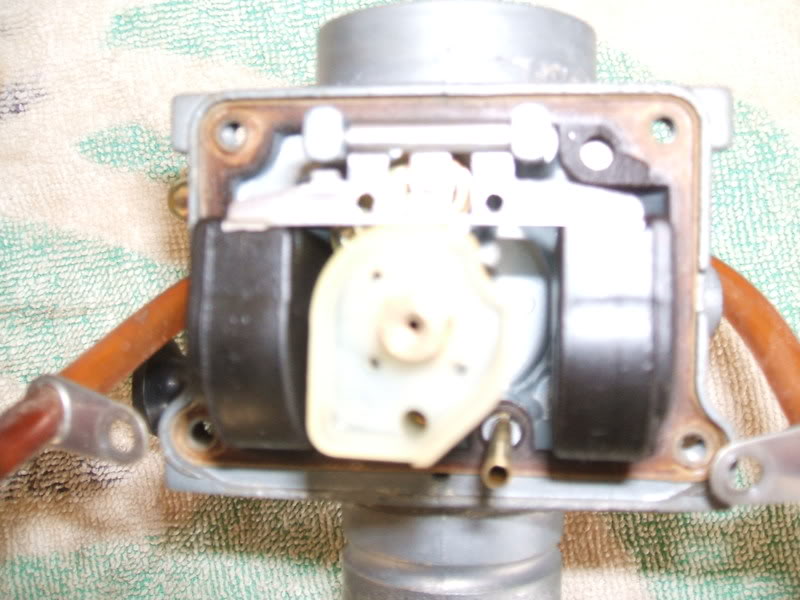
4. check the reeds for cracks or chips, and if they are laying flat against the cage, also check the intake for tightness, good gaskets(replace if needed) and/or cracks of the boot,
a leakdown test should be performed, again, after any intake removal
5. check all electrical connections for cleanliness and contact, clean or tighten if needed, particularly the grounds(black wires) at the coil and voltage regulator, the orange wire on the coil, all of the ones under the hood, and stator connections right above the shifter.
6. get some new plugs, read and learn how to do "plug chops" and how to read the color of it
http://www.blasterforum.com/do-yourself-20/how-plug-chop-38674/
rejet if needed,
jetting info.......
floats..........
http://www.blasterforum.com/carburetor-138/float-heights-how-adjust-them-50565/
pilot/airscrew jetting..........
http://www.blasterforum.com/carburetor-138/adjusting-your-airscrew-pilot-jet-51060/
plug chops.........
http://www.blasterforum.com/do-yourself-20/jetting-plug-chop-guide-46141/
keihin carbs.......
http://www.blasterforum.com/engine-13/jetting-pe-pj-pwm-pwk-14934/
general jetting.......
http://www.blasterforum.com/do-yourself-20/jetting-101-everything-explained-1625/
http://www.blasterforum.com/do-yourself-20/understanding-jetting-adjustments-36599/
Most of the terms used in this guide are searchable and already have a "diy" thread on them, I just bundled up what I do in times of need so here's the rundown on how I troubleshoot a poorly running blaster, in no particular order, some symptoms point directly to one thing or another....
First off, check for fuel flow, spark and airflow in and out, intake and exhaust
make sure it has good/new fuel, mixed at 32:1 with a good aftermarket 2 stroke oil, or 2 stroke oil for injection in the tank if still using the stock oil injection
make sure it has good fuel flowing to the carb (petcock is flowing good),
Change the spark plug with a new ngk b8es, kick it a few times with the new plug in the boot, grounded to the head to check for good, strong spark, while your down there inspect the plug wire and boot,
Be sure the air filter is clean (clean and re-oil it weekly or more if needed in dusty conditions)
Check the pipe and silencer for clogs (mice nests seem to be common) especially if it sat for a long period
Tors and parking brake circuts are better off disconnected rather than diagnosed, just my opinion
Tors delete's...........
88-02:
http://www.blasterforum.com/do-yourself-20/how-remove-your-tors-655/
03+:
http://www.blasterforum.com/engine-13/2003-2006-tors-delete-proper-wiring-heres-what-i-did-48477/
03+ only parking brake circut delete:
just unplug it from the brake perch, follow it back under the hood and unplug there, cut and tape wires seperately, or coil the whole thing up under the hood
the downloadable blaster manual
(what, you dont have it yet???)
has tons of more detailed info on troubleshooting stock parts, and electrical troubleshooting also, available here.................
http://www.blasterforum.com/general-support-17/downloadable-yamaha-blaster-manual-17325/
1. do a compression check, a compression tester is like $15 at harbor freight, prolly the same on ebay, and is a very wise investment, i check mine weekly to spot troubles ahead of time, my modded motor is holding true at 152 psi for months now, a stock blaster should be around 120psi, and anything getting close or below 100psi, will need some attention very soon, and could be the cause of a lot of symptons, especially hard starting and lack of power
2. do a leakdown test,
heres a "diy" to build your own and it will spot airleaks before it leans out and fries your stuff.....
http://www.blasterforum.com/do-yourself-20/build-use-leakdown-tester-10663/
or I have them for sale here....
http://www.blasterforum.com/threads/leakdown-testers.55015/
it should hold 7 psi(no more) for like 10 minutes
also check the carb cap is tight and sealed < rubber cable seal also
http://www.blasterforum.com/engine-parts-151/leak-down-tester-43284/
http://www.blasterforum.com/do-yourself-20/videos-how-perform-air-leakdown-test-31464/
3. clean, clean, clean, the carb, inside and out, completely disassemble, spray all jets and orifices with carb cleaner, then blow out with a compressor, check the float level (stock carb is 20 - 21.5mm), google your specific carbs float level if different than stock
check the float valve's rubber tip for tears or general discombobulation, haha
write down both jet sizes and needle clip position while your in there
make sure the oil injection inlet is blocked off properly if the injection is deleted
http://www.blasterforum.com/general-support-17/how-clean-your-carb-pics-209/
http://www.blasterforum.com/do-yourself-20/easy-almost-free-way-stop-leaky-carbs-33335/
4. check the reeds for cracks or chips, and if they are laying flat against the cage, also check the intake for tightness, good gaskets(replace if needed) and/or cracks of the boot,
a leakdown test should be performed, again, after any intake removal
5. check all electrical connections for cleanliness and contact, clean or tighten if needed, particularly the grounds(black wires) at the coil and voltage regulator, the orange wire on the coil, all of the ones under the hood, and stator connections right above the shifter.
6. get some new plugs, read and learn how to do "plug chops" and how to read the color of it
http://www.blasterforum.com/do-yourself-20/how-plug-chop-38674/
rejet if needed,
jetting info.......
floats..........
http://www.blasterforum.com/carburetor-138/float-heights-how-adjust-them-50565/
pilot/airscrew jetting..........
http://www.blasterforum.com/carburetor-138/adjusting-your-airscrew-pilot-jet-51060/
plug chops.........
http://www.blasterforum.com/do-yourself-20/jetting-plug-chop-guide-46141/
keihin carbs.......
http://www.blasterforum.com/engine-13/jetting-pe-pj-pwm-pwk-14934/
general jetting.......
http://www.blasterforum.com/do-yourself-20/jetting-101-everything-explained-1625/
http://www.blasterforum.com/do-yourself-20/understanding-jetting-adjustments-36599/
Last edited: