My turn.....

AT Blaster

New Member
Mar 8, 2009
352
2
0
44
Indiana
Well, I bought my Blaster in March of this year but didn't ride it until September for 2 reasons.

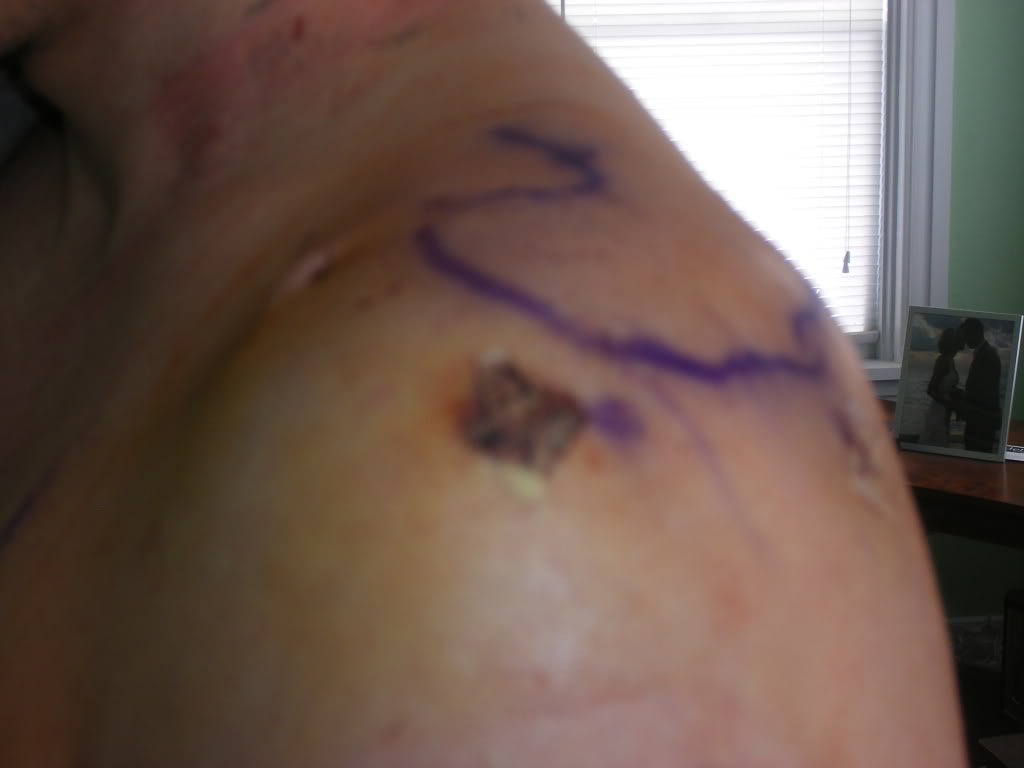
1. Shoulder surgery #2 in Feb.
PDiddy007.jpg


2. Wasn't running properly and I couldn't work on it so off to the shop it went.

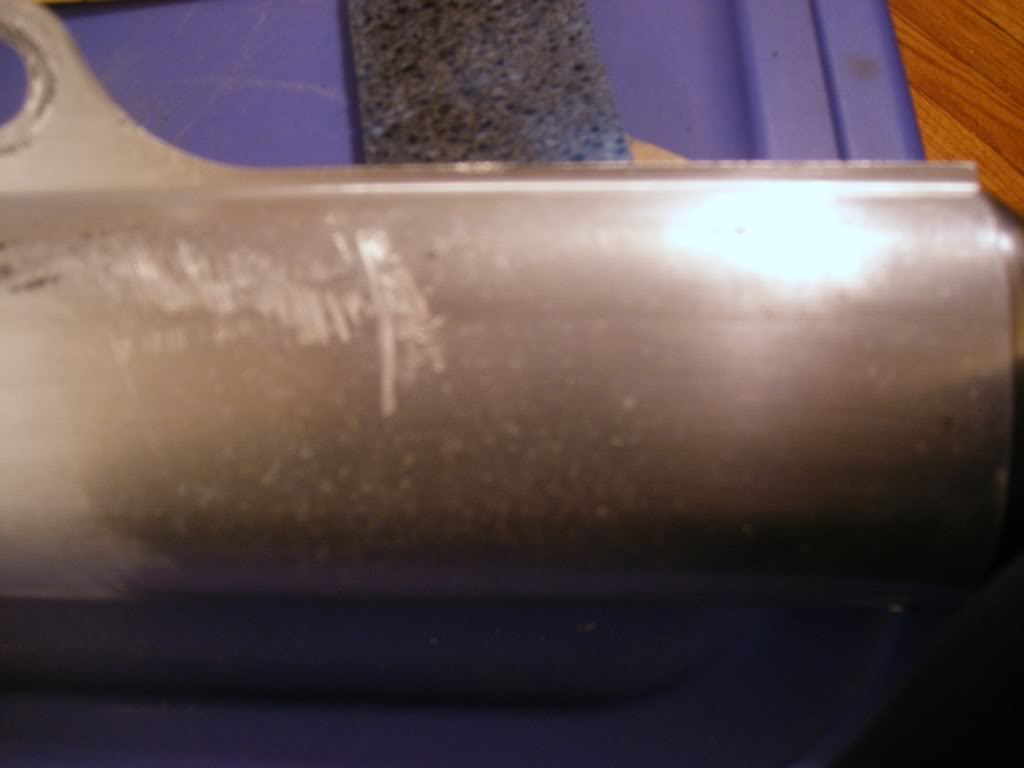
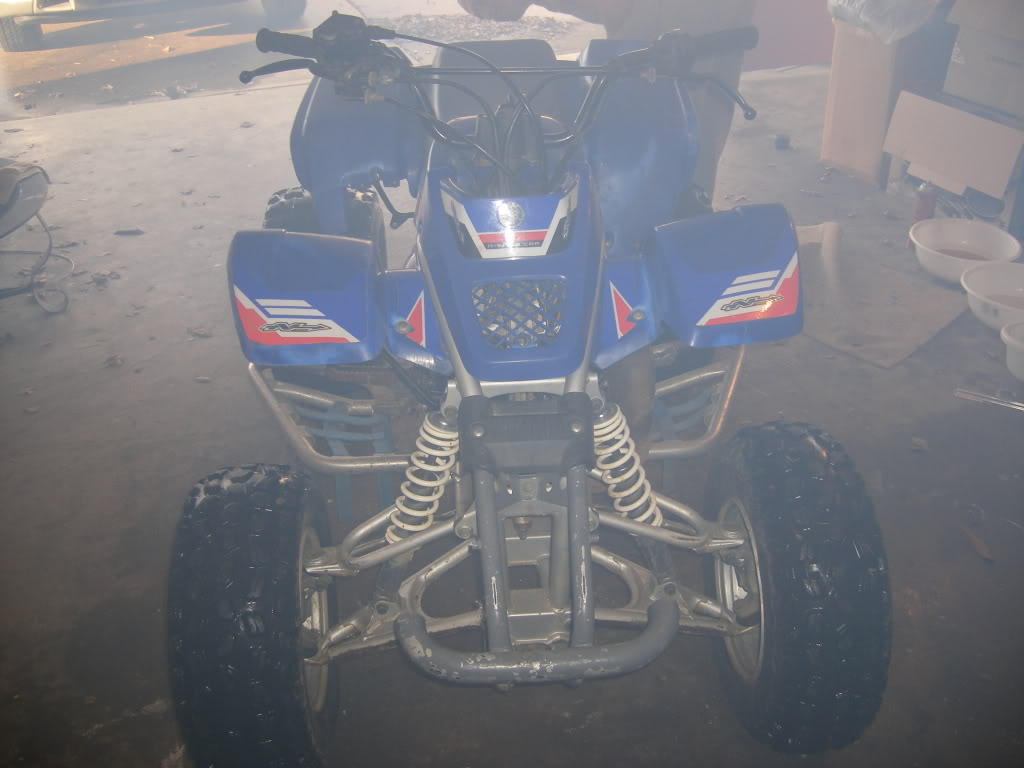
Here is what it looked like when I first got it:
025.jpg

024.jpg

029.jpg


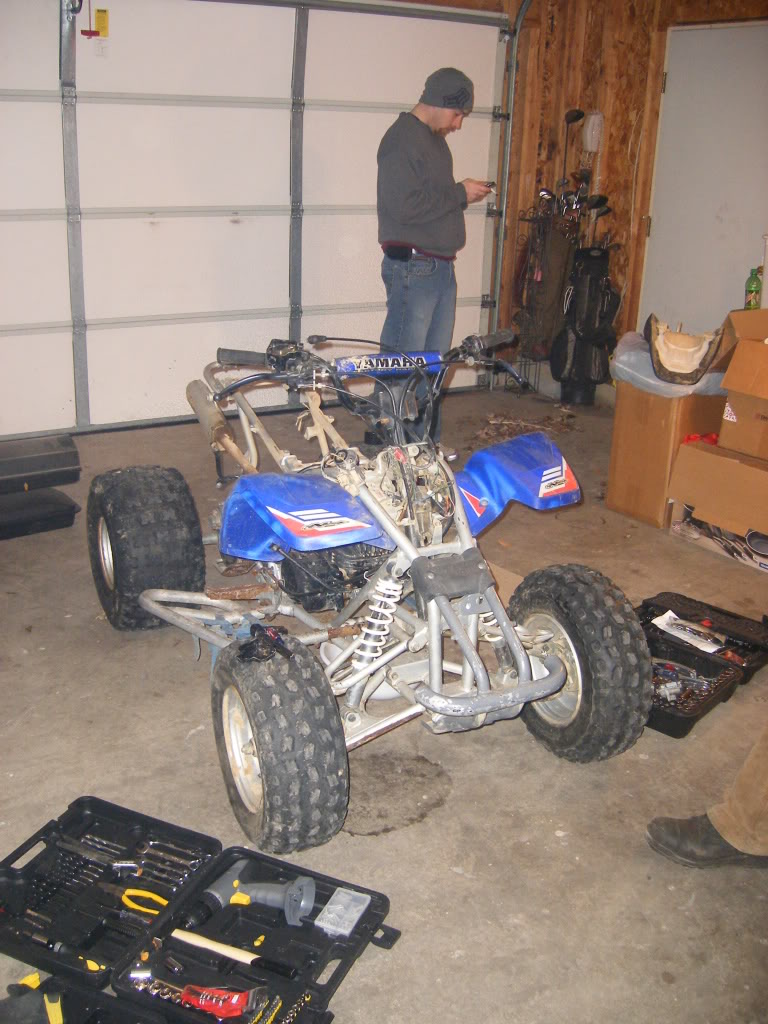
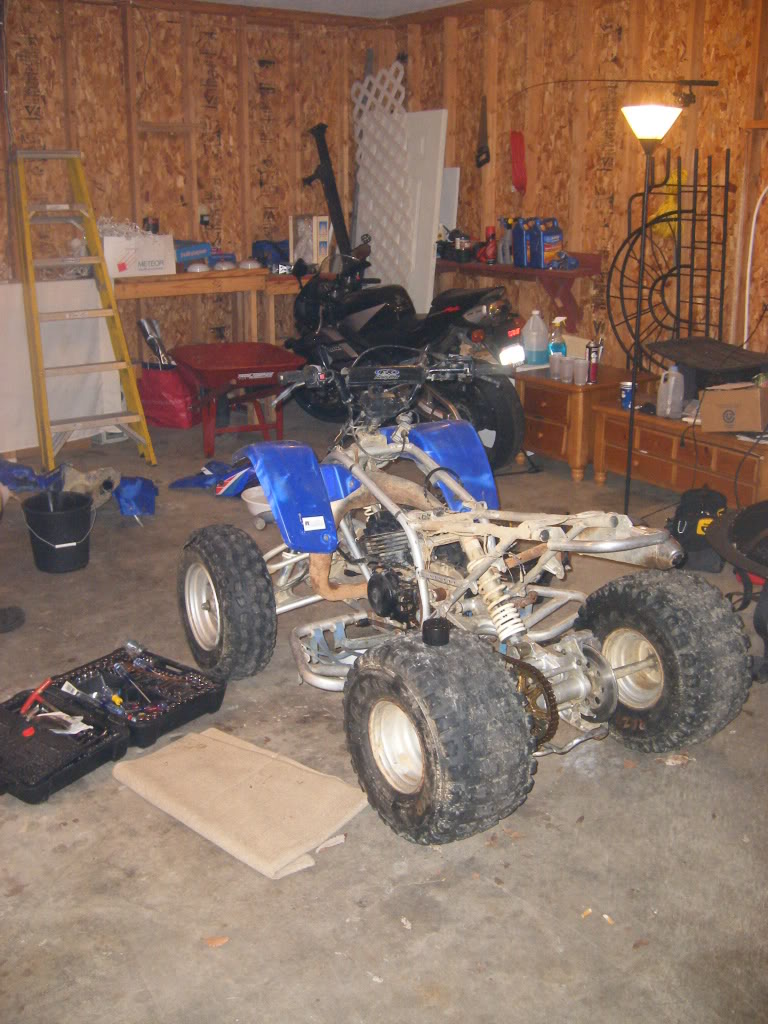
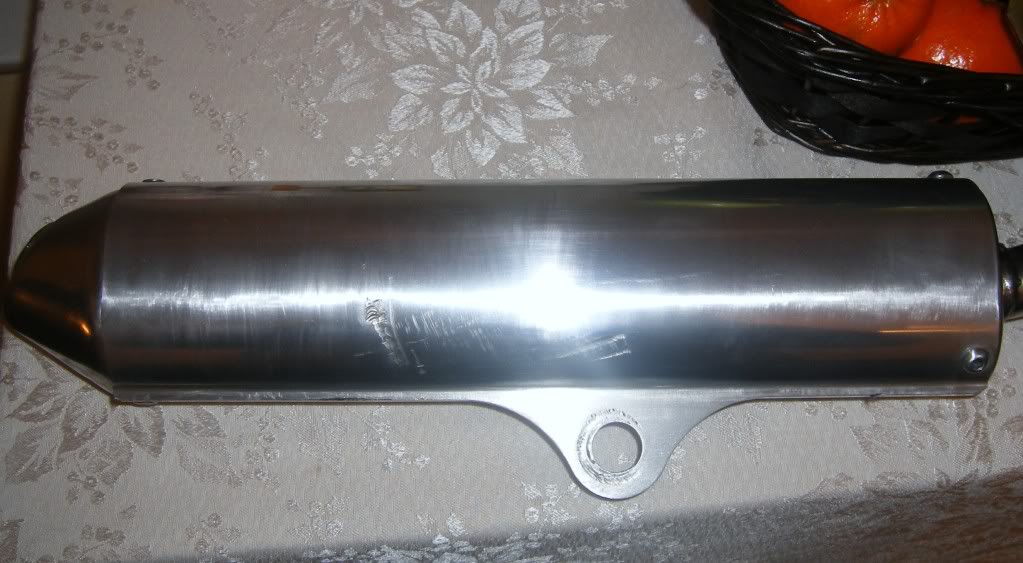
Starting to get neked:
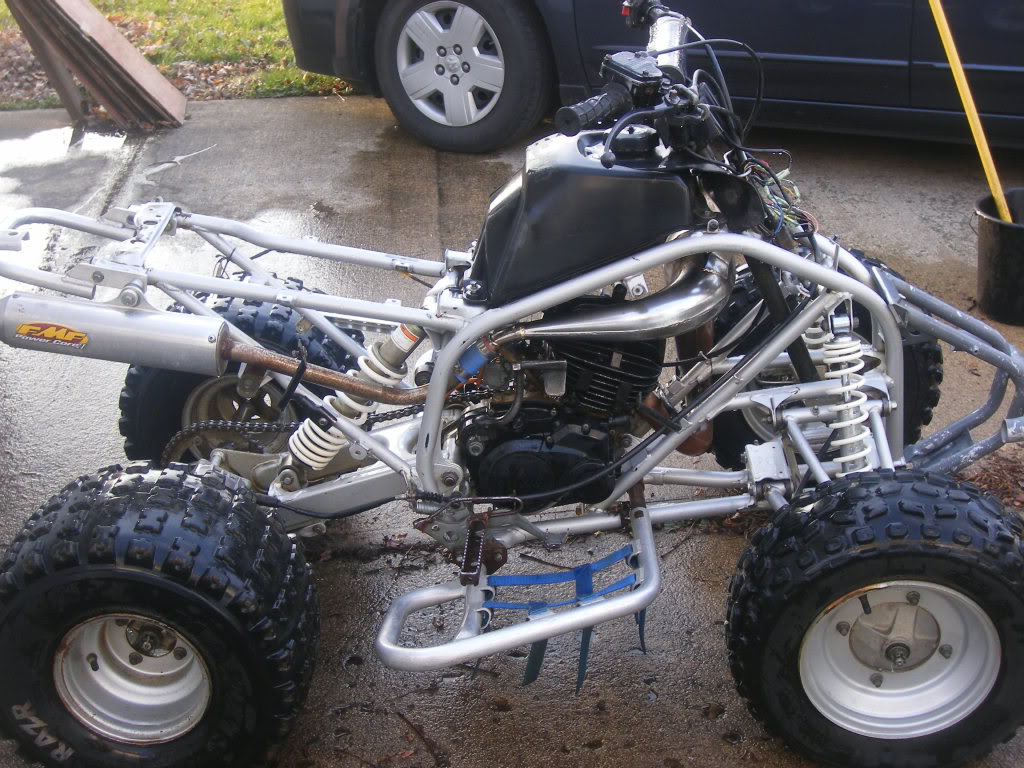
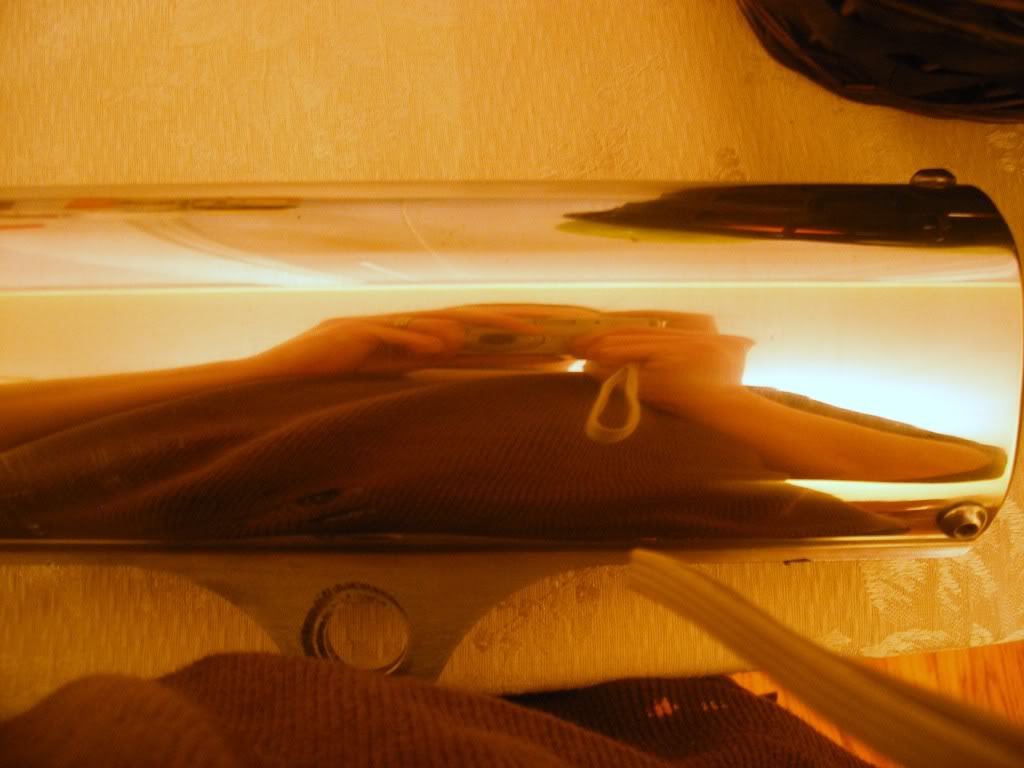
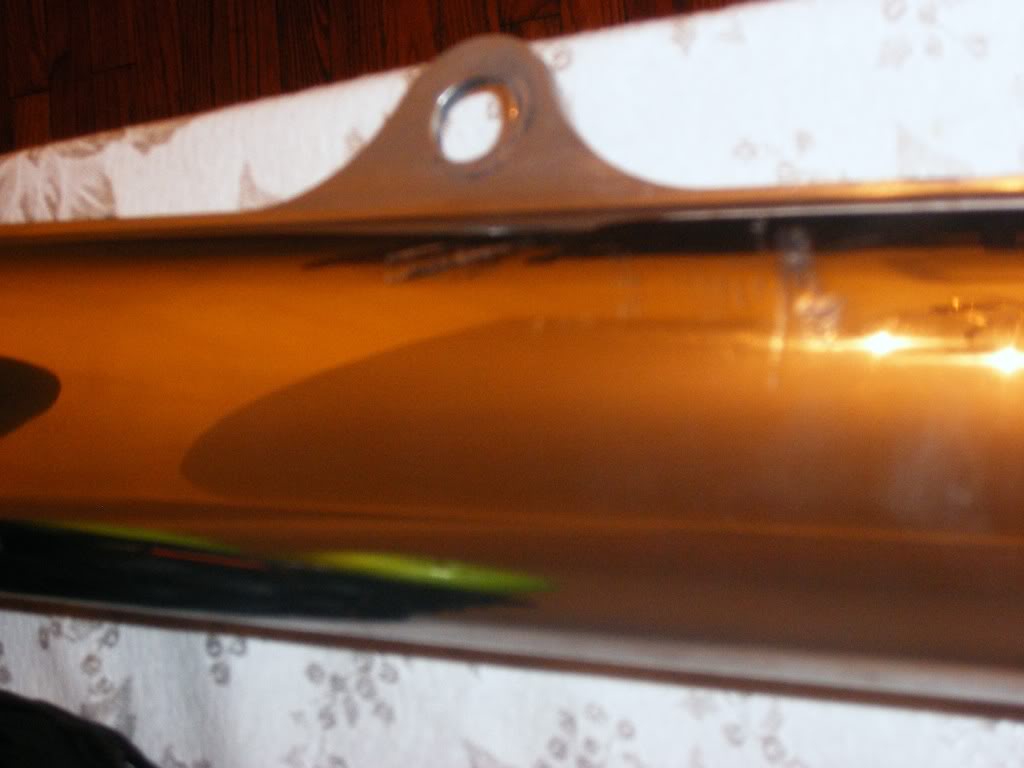
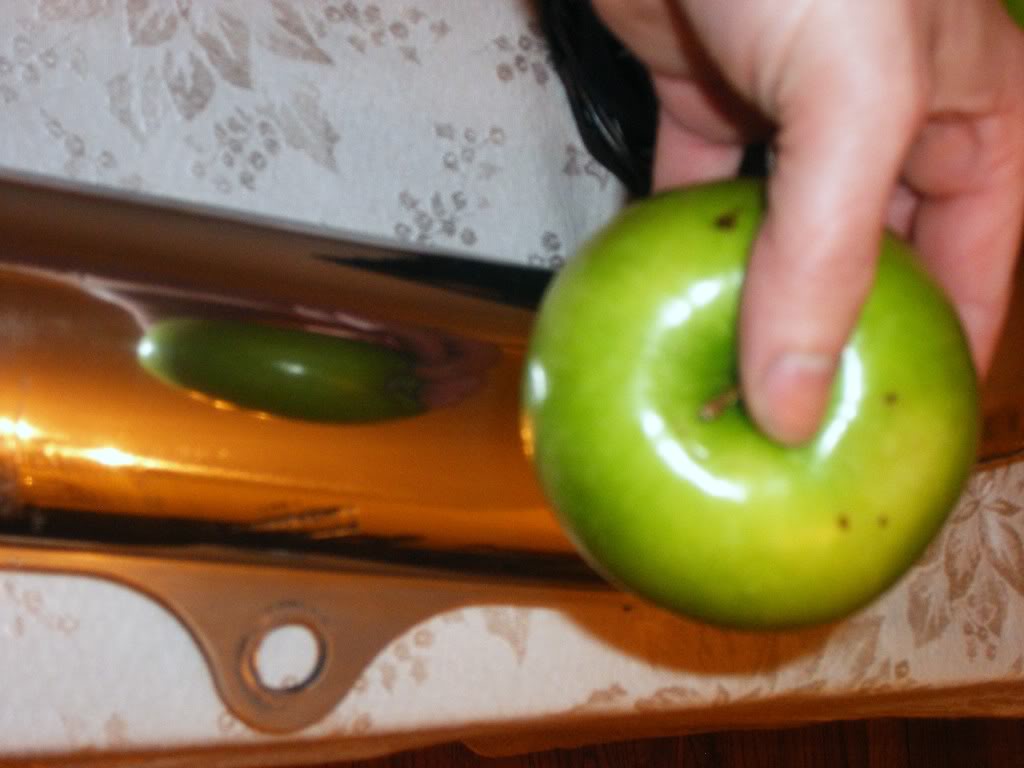
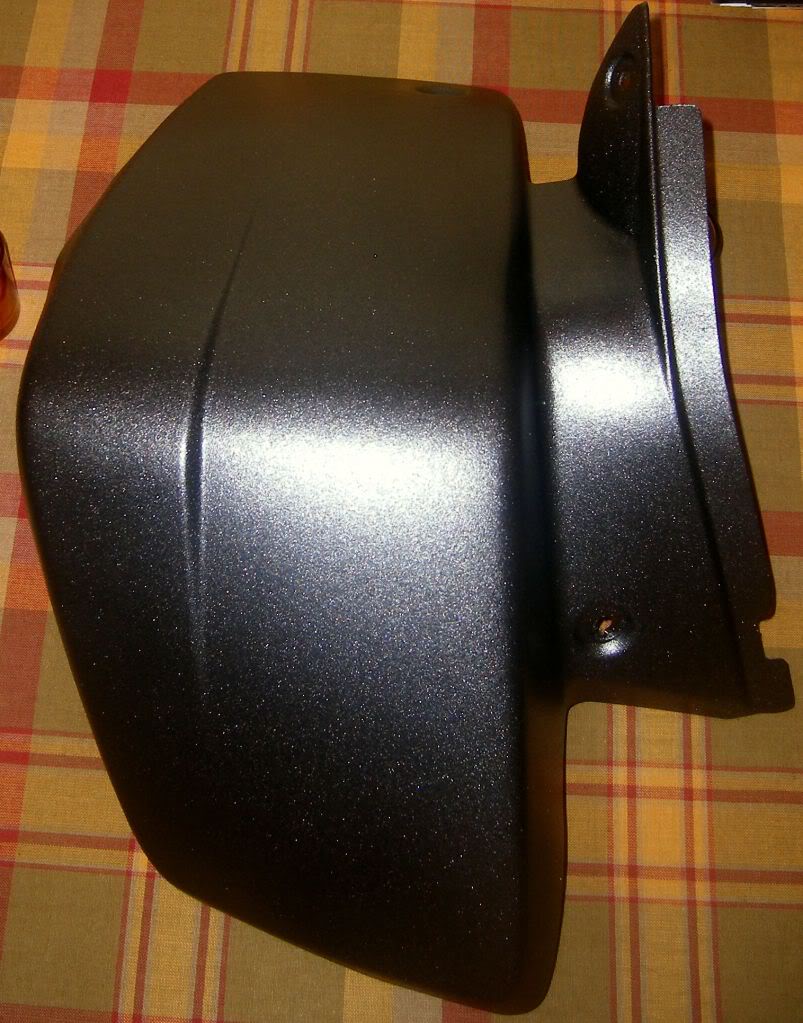
016.jpg


Changing colors:
005.jpg

008.jpg

019.jpg

035.jpg


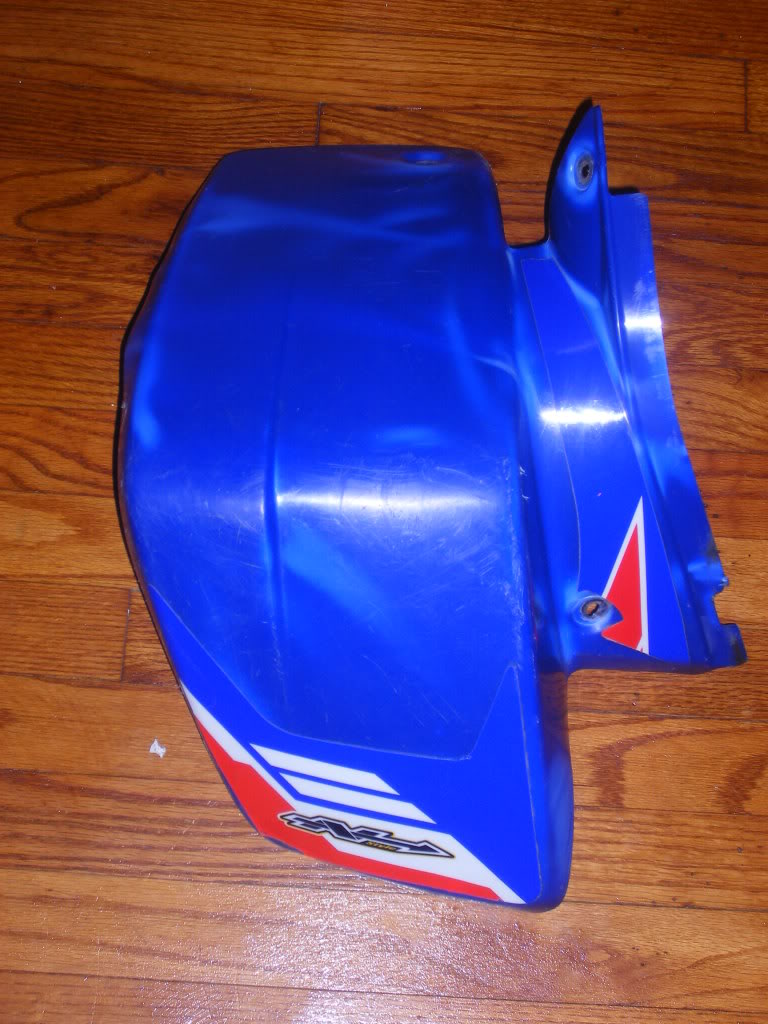
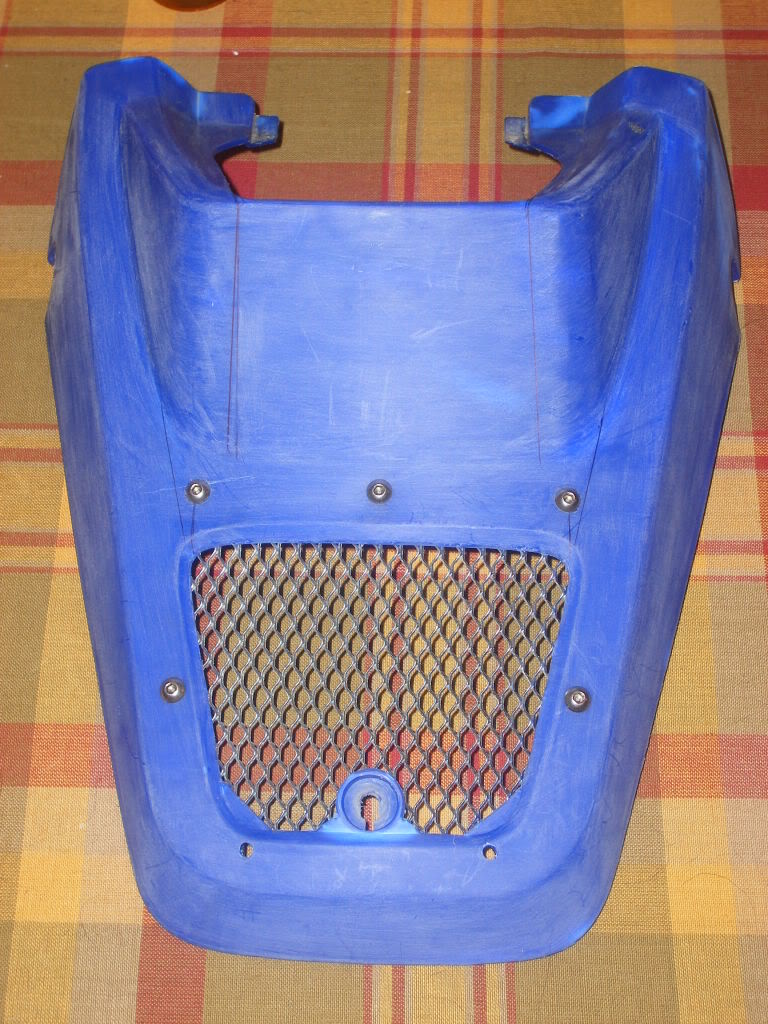
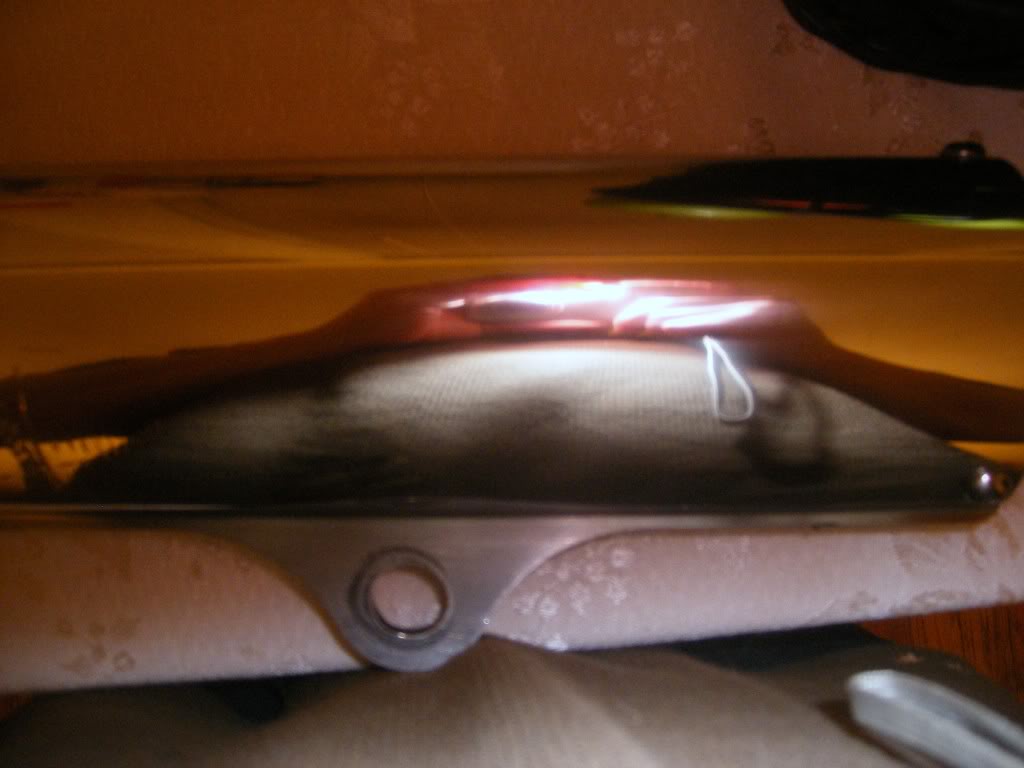
I cut out the plastic mesh and added a mesh I found at Menards. The peice it's self was a little over 2' long and is meant to be used for a gutter. I have a little more work to do before it is completed but those pics are yet to come!

So.... This is all I will share for now. I have made a lot of progress since I uploaded my last pictures. While all the work this far has been cosmetic I do have some actual modifications coming in the next few months.

I am still working on the cosmetics but soon I will be adding Shee front shocks and hope fully a 400ex rear along with an extended swinger by YB. Addtionally, a ported cylinder and milled head.

Stay tuned..... I:I
 
Last edited:
Ok this is spreading to quick... we must stop it now before it turns into a serious problem!!!

Ok all joking aside. That shoulder surgery looks like it was serious and for it to be your 2nd one! I hope you make a full recovery man.

Best of luck with the rebuild! :D
 
Ok this is spreading to quick... we must stop it now before it turns into a serious problem!!!

Ok all joking aside. That shoulder surgery looks like it was serious and for it to be your 2nd one! I hope you make a full recovery man.

Best of luck with the rebuild! :D

This was the second surgery on the same shoulder. The first one I had a 3/4 in tear in my rotator cuff from being thrown by a horse back in 04. This one was to repair torn tendons. They ended up putting 2 pins in, shaving my shoulder blade and trimmed the bursa sack. B) The second surgery was all because I got pissed and threw a golf club! 8-|

I don't know what you guys are talking about? Sickness????

I think you are......... Ok, it's a sickness! Normally when you're sick your wife fixes you soup right? Not mine, she feeds my sickness. It's like fighting a fire with gas!

I have more pictures and a lot more progress to post, just don't have those pics on the laptop yet. Hopefully I will tonight!
 
looking good dude! when it comes time for the 400ex install give me a shout ive got a kickass way to mount it up. also what color/type of paint did you go with??
 
looking good dude! when it comes time for the 400ex install give me a shout ive got a kickass way to mount it up. also what color/type of paint did you go with??

Deffinetly will man!

I used Krylon Fusions for plastics. It says you only need to spray it on w/ no prep work. I didn't think that would hold up so I prepped anyways. I removed all the stickers and residule residue. Then I sanded them down starting with 150 grit and worked up to 300 grit. After it was sanded, I wiped it down with amonia and let dry. Finally I sprayed each piece with 3 coats each.

I still have to do the rear fenders. It got a little cold on me and my kerosene heater doesn't heat very well unless you sit on it!

I also found a prett cool mod for the air box using something I had sitting in my garage. I've also been working on the front bumper.......


Everything I've done probablly has cost less than $30. I guess you could say I'm ballin on a budget!

I iwll have some more pics tonight!
 
ive wondered about the krylon fusion, does it appear that the plastic can bend without it cracking? i love the budget blasty build, i bought a junky frame with wheels last november and went from there a little over a year later and still going!! lol
 
It appears that it can.... I have worked it pretty hard and not seen anything even act like it was going to come off. It seems to bond very well. I still have to clear it but I'm going to wait until all the paint work is done and clear it all at once. I'm hoping to borrow a friends salamander this weekend or next so I can knock it all out....

Here shortly I am going to have to invest a little money but damn near everything I've done has been cheap. Just takes a little hard work and a case of OCD to make it look good!
 
Lost my mother F*&%N camera.... I have more pictures but I can't find it anywhere.

Anyways, I'm almost ready to finsh all the body work. I've got to finish the stock front bumper and then paint it.

Once I get that complete I will mount it all up and get a picture (if I find my camera).

I'm tlaking to a guy from craigs list who used a Blaster Frame and put a YZ400 2 stroke in it. He says he has all kinds of new aftermarket parts. I'm going to get with him and see what he has.

Also, hopefully I will be able to add some power and Shee front shocks. Still looking for a 250r or 400ex rear shock.

Once I pull the motor, it's time to get busy on the frame.......

I will post more pictures as soon as I find my camera..... For now, it's off to work I go!

Have a safe night and happy New Year to you all!
 
hope you find some good parts man, this build looks good, the open air box is a good mod, the seat kind works as a guard and you don't get much crap in the box, i totally like mine.
 
hope you find some good parts man, this build looks good, the open air box is a good mod, the seat kind works as a guard and you don't get much crap in the box, i totally like mine.

Not only am I removing the lid but I am mounting vents on the sides. The vents will be facing forward so it captures air as you're riding. The vents have a screen to keep larger objects out. I'm taking it a step further and adding screen under it to keep some of the smaller particles that could get through the larger holes. I should have that done tomorrow.....

For now, here is the work done on the bumper. I have gotten further than the pictures show. All the grinding and sanding is complete and ready for paint.....

026.jpg

026.jpg


Pre prep.... The red areas that are circled have been corrected. Everything is straight and true!
040-1.jpg


042.jpg


I've also cut the ends of the bumper to lighten it slightly and give it a slightly different look. Those pictures should come tomorrow.....
 
nice work on the bumper....i would of never thought to use bondo on something like that lol

Thanks man.... It isn't bondo but that is what I should have used... Would have been easier to work with but I didn't want to spend the money on it. Sooooooooo...... I had some acetone and JB Weld 8-|

I used a 4 inch brass brush to strip the powder coat and rust. After that, I washed it with soap and water before finally cleaning it real well w/ acetone.

When I put the first layer of JB down I didn't let it set long enough before applying it which caused me to have to monitor it frequently until it set. Let that coat cure for 2 days, did a light grind and applied coat two. This time I mixed it up and let it set somewhat before I applied it.

I still have some grinding to do so it's nice and smooth, primer and paint it and you will never know it was dented. I'm thinking the JB will satnd up a lil better to the wear and tear I might put on it!

Boost: I believe they do make it in white. I think the key is the prep. After you sand it down, wash with soap and water and let it dry completely and then clean it some more. I used acetone which softens plastics. To slow this process down, I simply mixed it 50/50 with water. Didn't dry as fast so I had a clean dry towel in one hand and in the other, the towel I was using to apply the acetone/water. I let it dry for a couple of days and sprayed it. Few days later, i bent and stressed it to make sure it wasn't going to crack or peel. Now I just have to apply some clear and pray it doesn't screw it up. Shouldn't but ya never know!

Thanks guys, I will try an get some more pictures. I worked on the bumber some more but it is too damn cold to spend too much time out there. Now, I'm polishing the exhaust. Tip of the scilencer looks decent and not working on the scilencer it's self. This will be a project that takes a couple of days too!

Gonna make it shine...... So shiny I could use it to shave! I:I
 
Here are some more pictures. A lot of the stuff I'm doing needs to be done outside and the fact is, it's effin cold out there! B)

Un cut:

0472.jpg


Cut:

0482.jpg

0492.jpg

0512.jpg


Exhaust is getting polished too....

Prior to polishig:

0422.jpg

0432.jpg

0442.jpg

0452.jpg


Giong to try and get the other end cut this evening. Once that is done, a quick cleaning and it is ready for primer!

The exhaust is coming along but not as shiny as I want it. Plus it has some pretty deep scratches in it. Going to pick up some sand paper today. Finest I have right now is 220. Going to 320, 600 and 1,000 grit is I can find it....
 
Thanks man..... Still have A LOT of work to do but it's getting there. Just takes a little time and time is free :D

White and orange would look good!

I was going to paint the frame, bumper, swinger and a arms in blue but my wife helped me change my mind. Going to stick with the scheme of the helmet she got me for Christmas..... It's going to be black and grey in different shades.... It's going to be sic!
 
So I got down to the nitty gritty tonight and polished the back side of my exhaust. Just a few pictures for every one. I plan on writing up a "how to" on polishig aluminum once it is complete for everyone who wants to but doesn't know where to start.

This is what it looked like to start:

0422.jpg


Middle of sanding w/ 150 grit

044.jpg


Sanded side:

046.jpg


Un sanded:

048.jpg


From 150 grit to 320 grit to 400 grit:

051.jpg


Went from 400 grit to a 1000 grit wet sand and finally a 2000 grit wet sand:

056.jpg

058.jpg

067.jpg

069.jpg


After all the sanding I hit it with some rubbing compound and finally some Mothers! Once I get it completely polished I will post up pictures of both sides. The side everyone will see is going to take a little more work. I'm going to make sure I get all the little imperfections out and make her shine :D