My from the Ground Up Blaster Build

ZSK

New Member
Mar 24, 2009
92
8
0
Jacksonville, FL
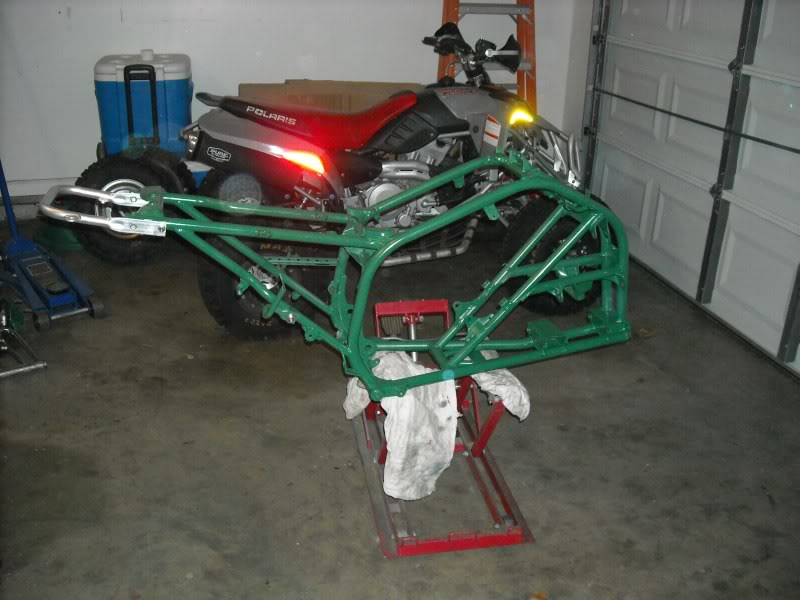
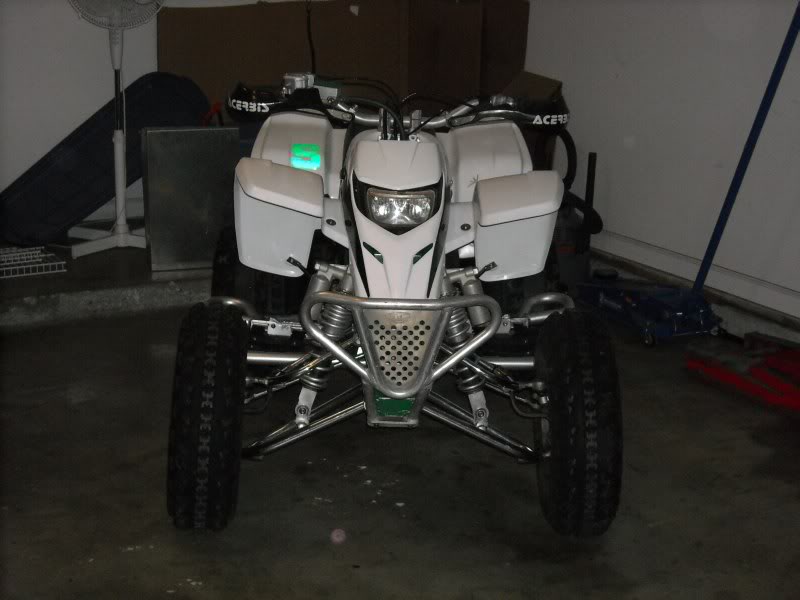
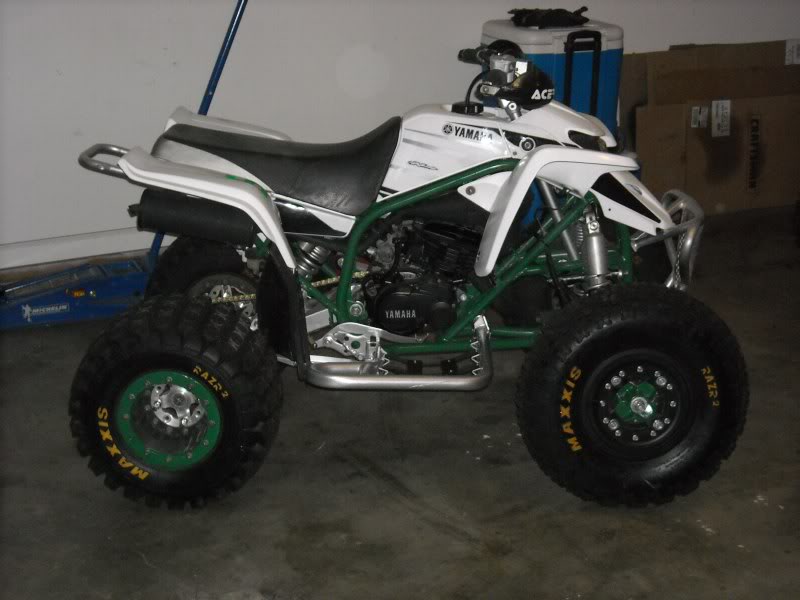
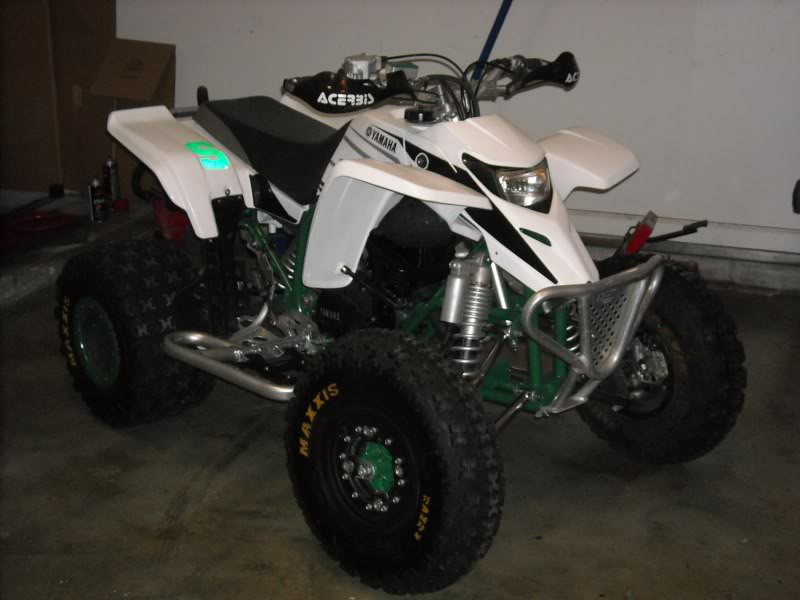
The idea of this build came about in May 2008 but it really started taking shape March of 2009. In the beginning of May '08 my enclosed trailer and quads were stolen. In it was my YFZ and my wife's 250ex. I replaced the YFZ with a Predator but wasn't able to find a nice little quad for my wife so we made the decision to build one. This is far from an all out build, but there are some areas I refuse to compromise on. The goal was to build a good starter quad that handled and stopped well, while being easy to ride and could still be fun for me. While also being able to use quite a few parts that we had laying around.

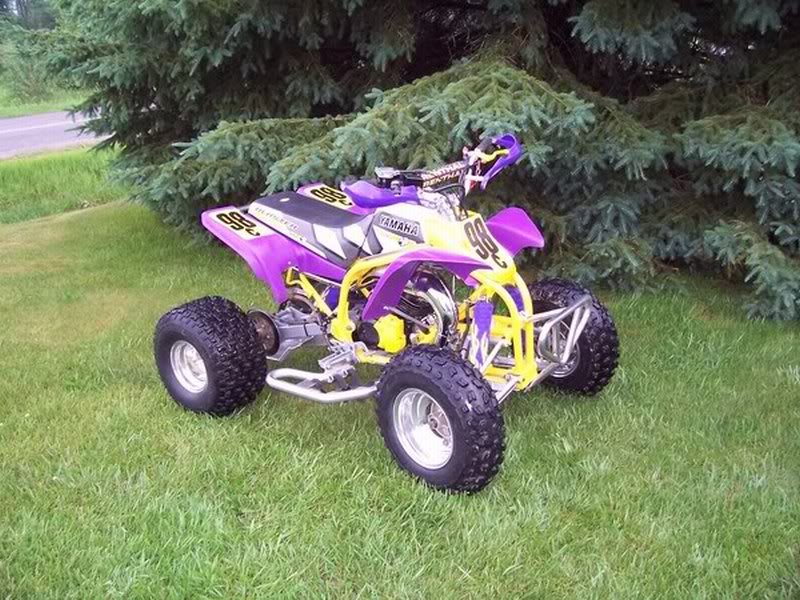
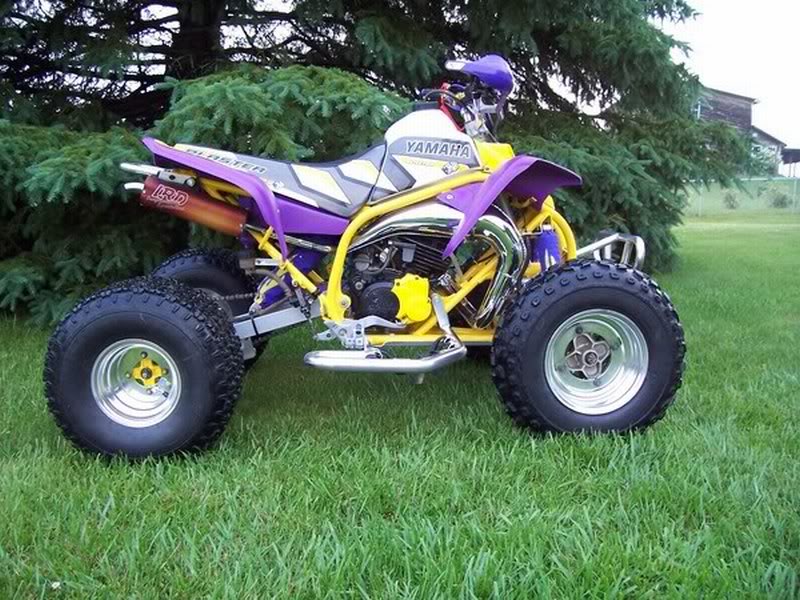
So, I contacted an old friend who had parted out his race Blaster and had some parts left over. The only catch was I live in North Florida and he is in Northern Michigan. In March of '09 I was finally able to get the parts while delivering a Cannondale to another friend in the Detroit/Flint area. A couple shots of the "Purple People Eater" as it was raced.

100_0226.jpg


100_0234.jpg


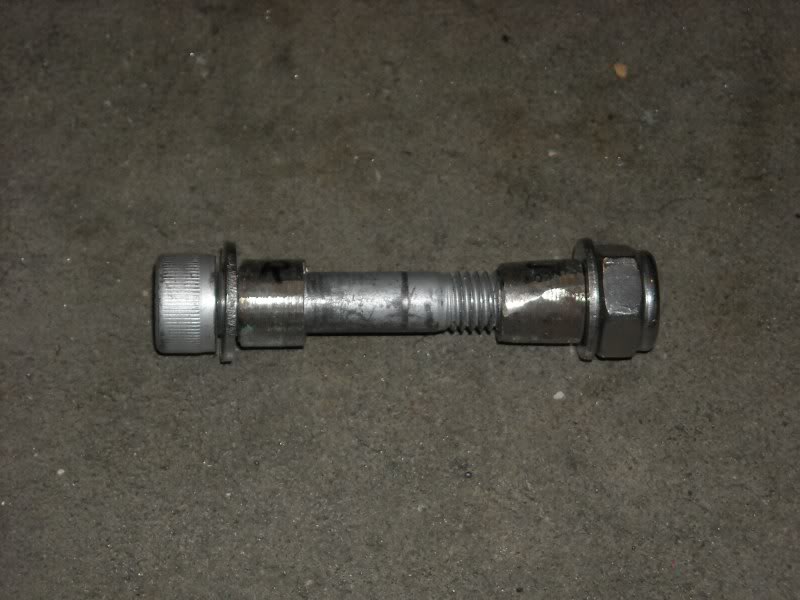
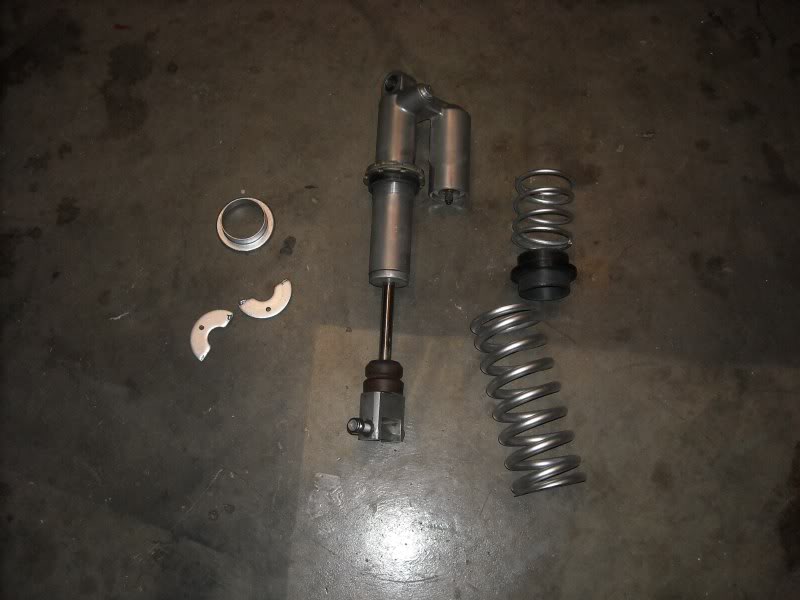
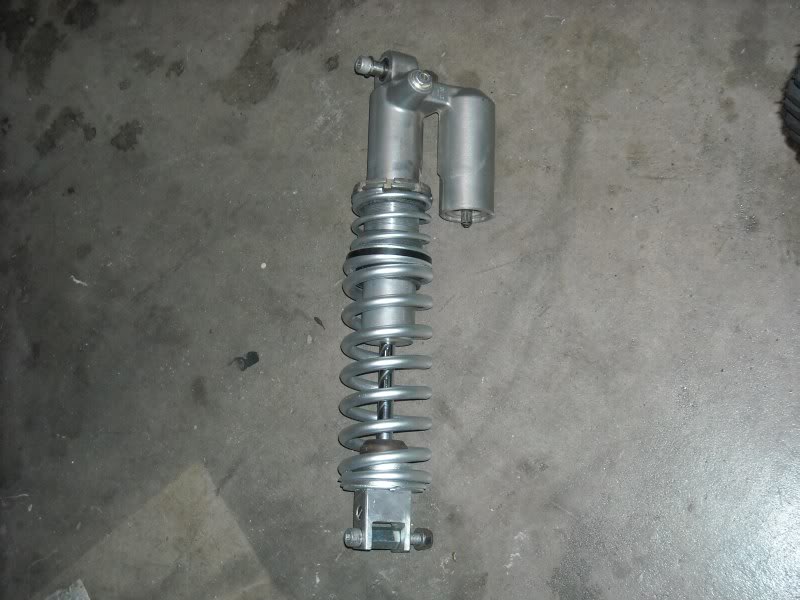
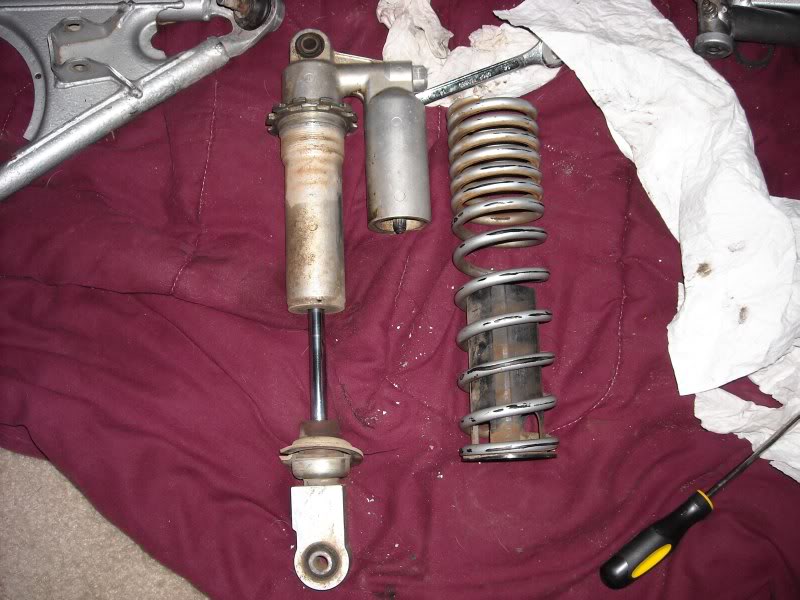
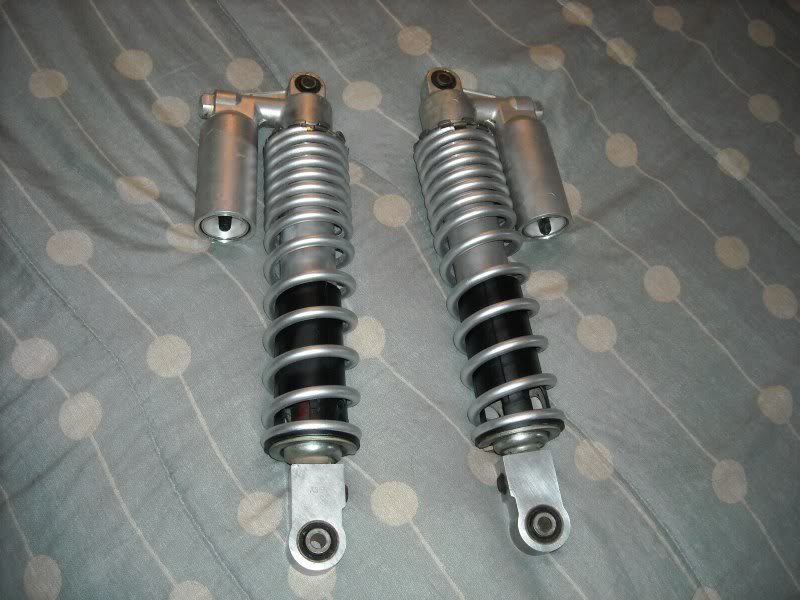
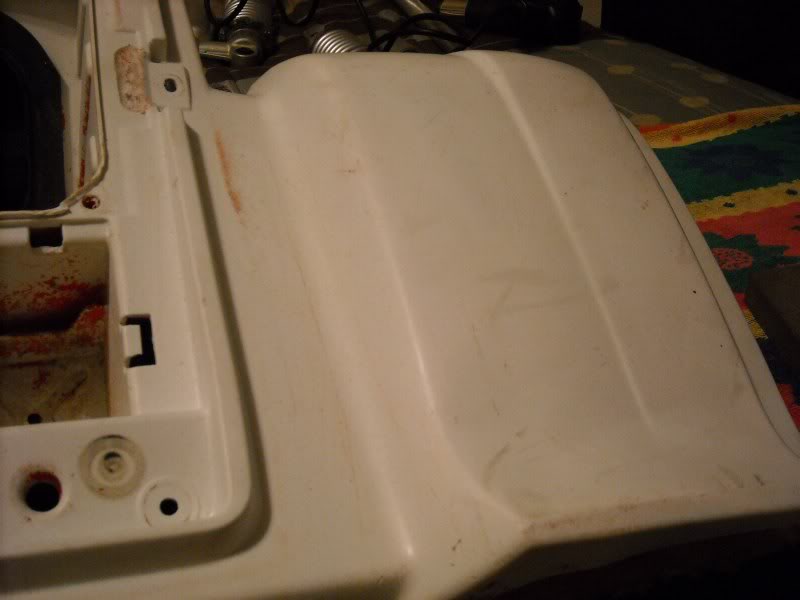
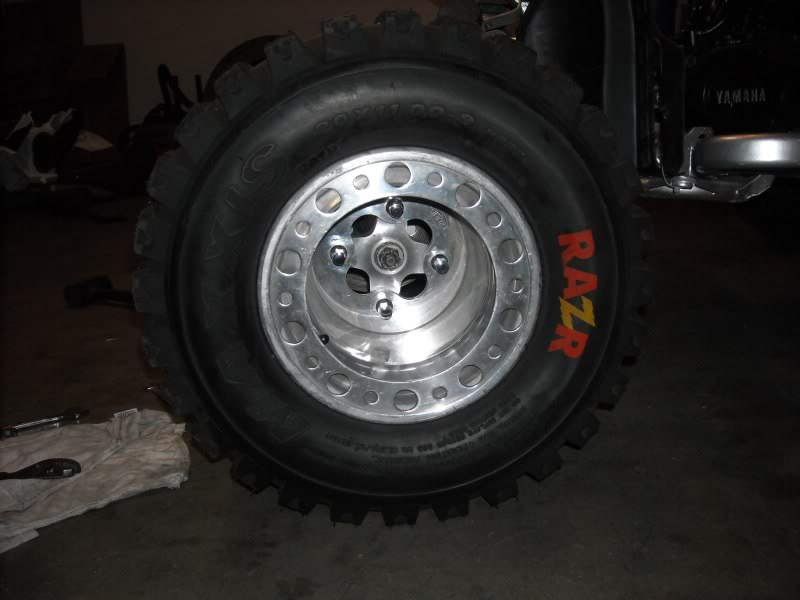
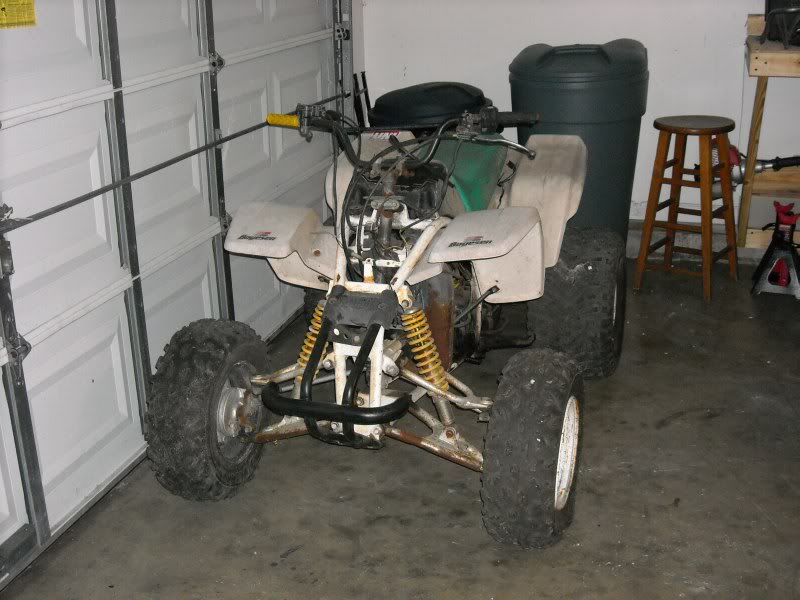
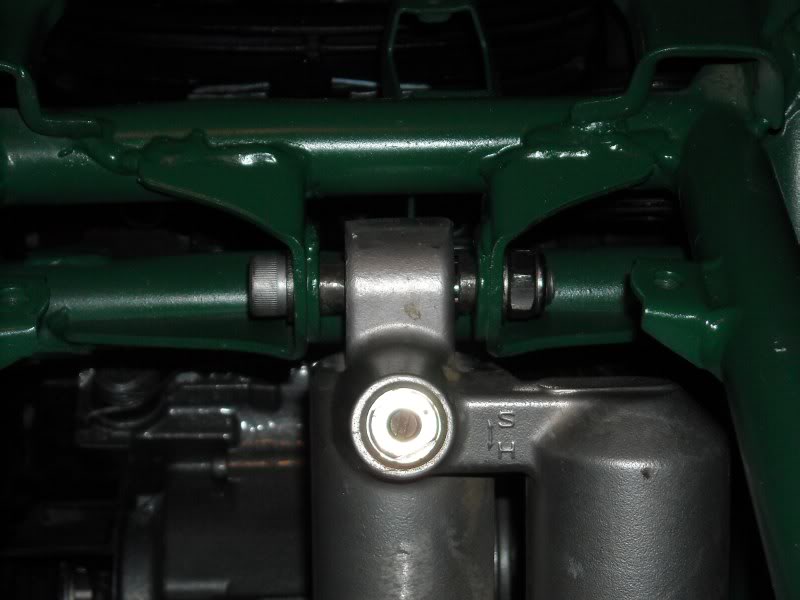
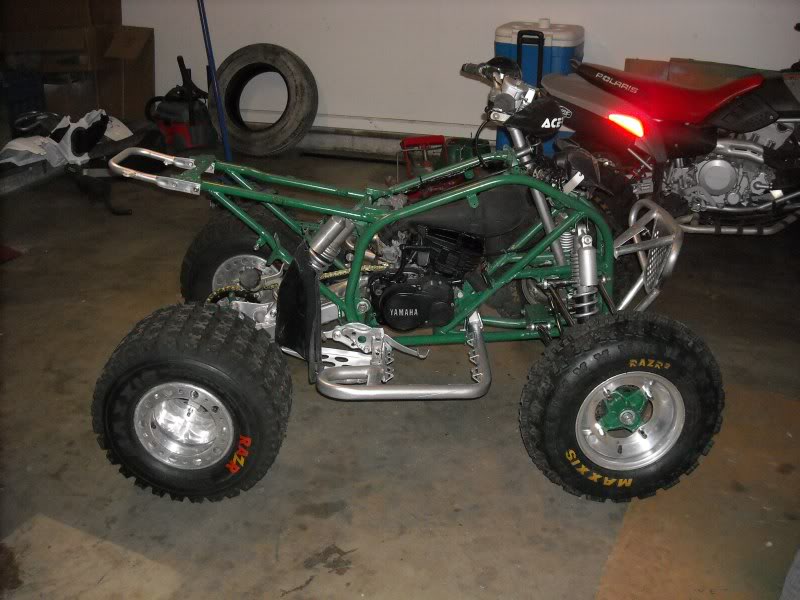
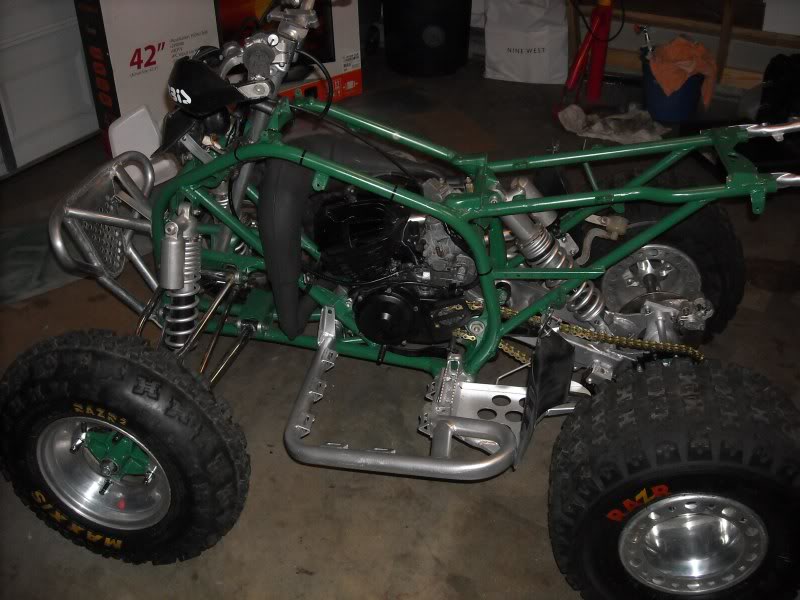
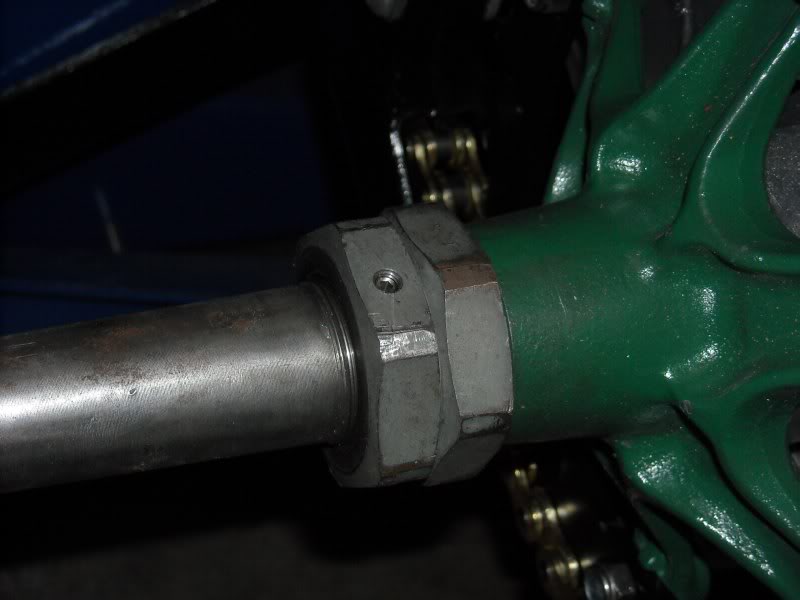
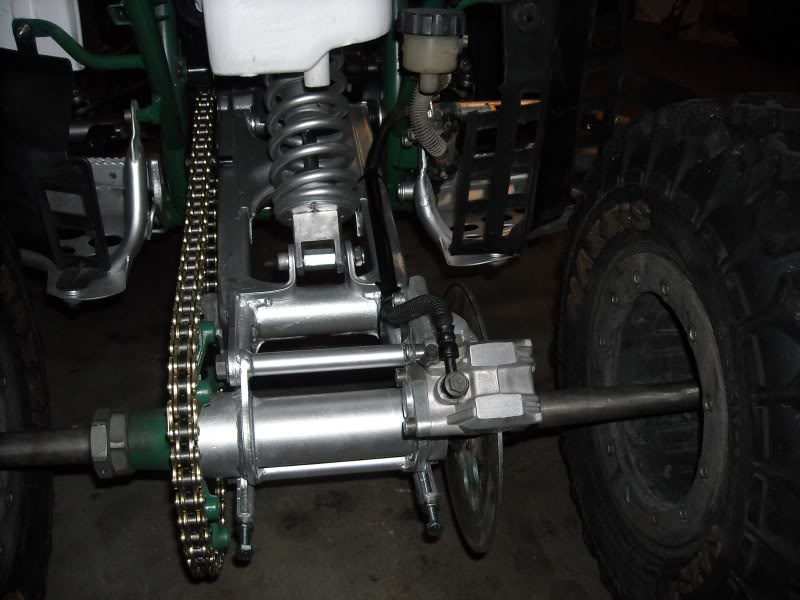
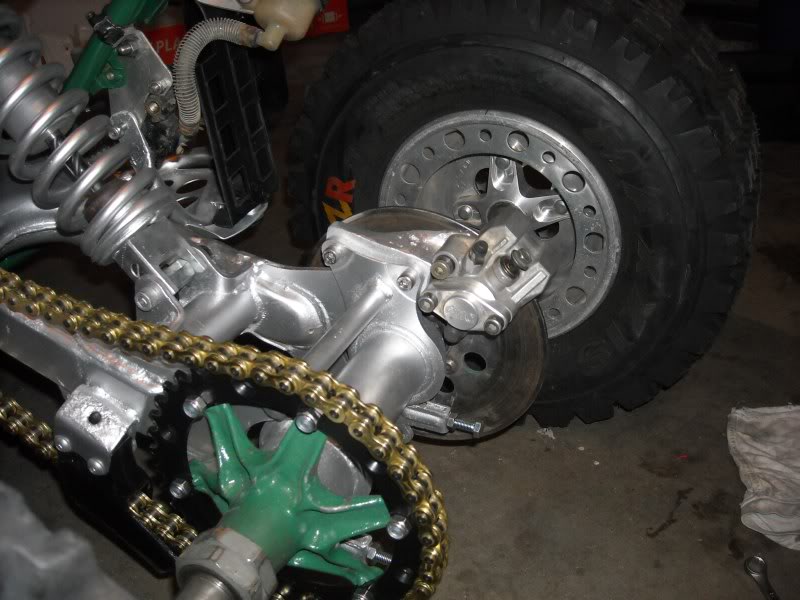
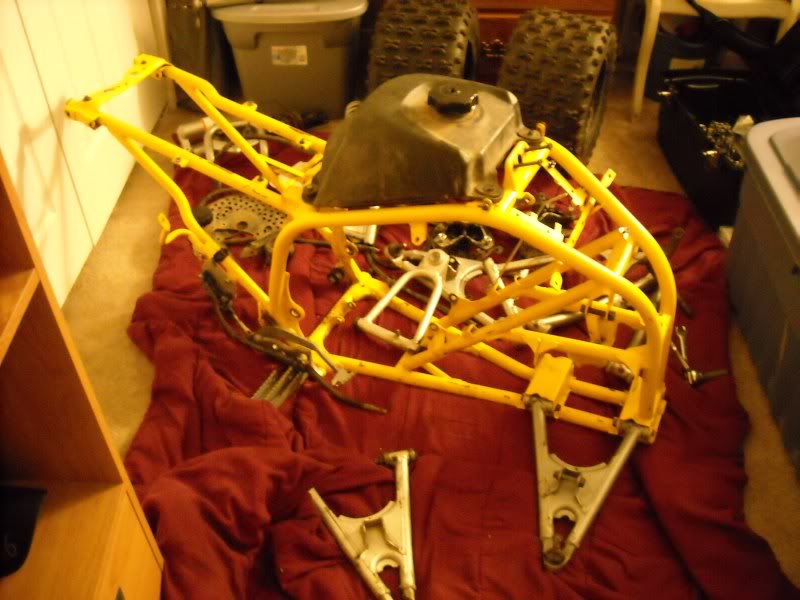
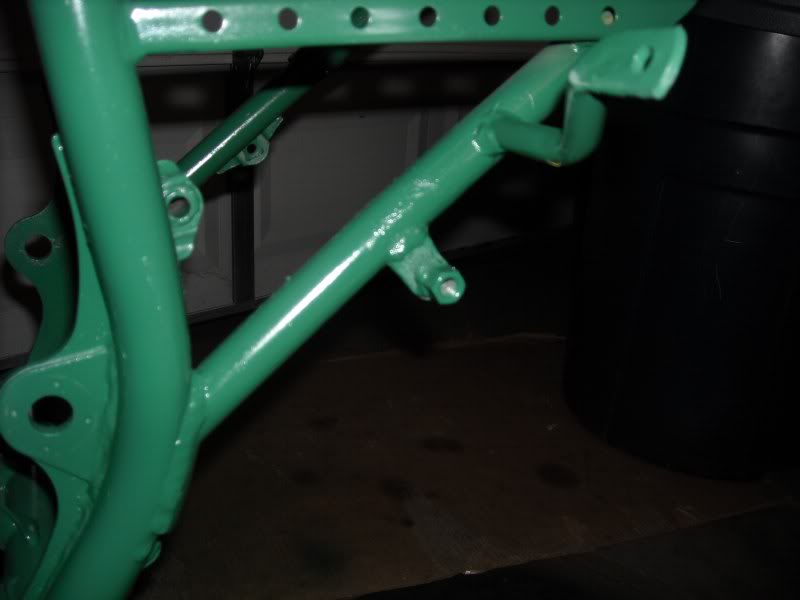
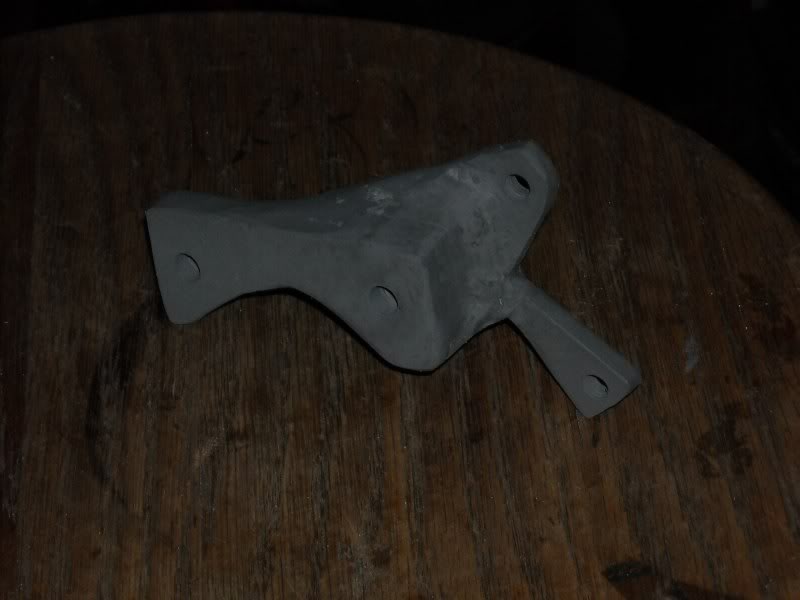
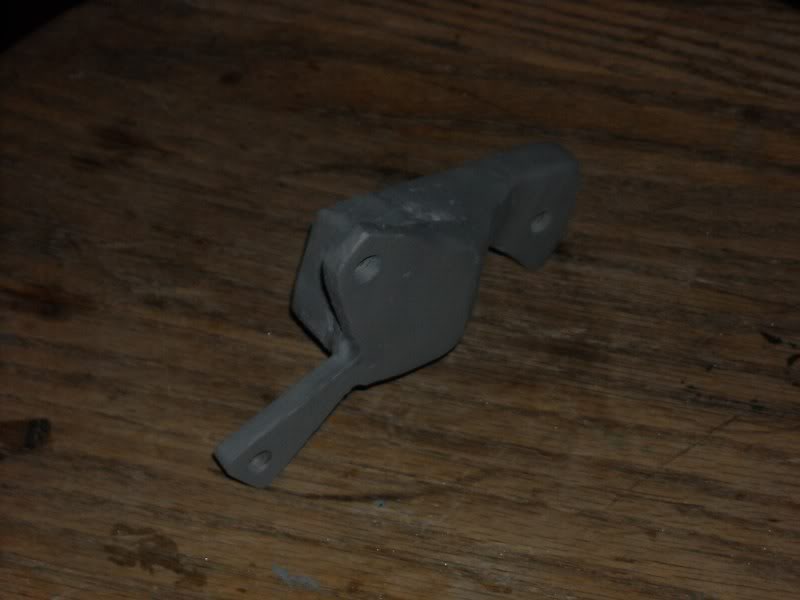
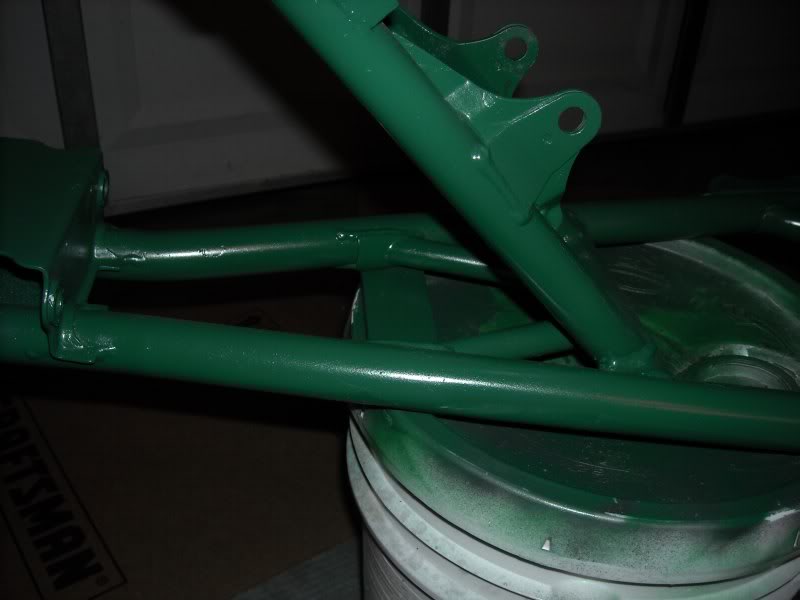
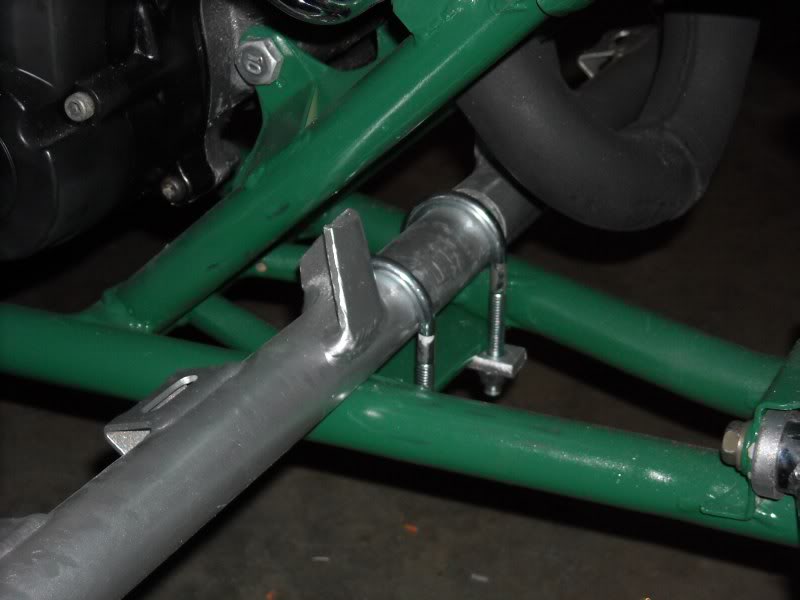
Here's a couple shots of the parts I started with.

Start1.jpg


Start2.jpg
 
At this time we were living in a two bedroom apartment with no garage, so the build started really only progressed so far. I spent a lot of time cleaning parts, aquiring parts for the build, and planning the build in my head. I created a shopping list and went about finding the parts at a price that would keep my wife and I happy. One benefit to the apartment was an outside patio that gave me some room to work on things that were a little noisy or dirty for inside work.

For the rear shock I decided to use a rebulit YFZ unit I was lucky enough not to lose in the trailer. The YFZ Rear shock is popular mod in the blaster crowd but the ride height always comes out much too high for me. Since it was already a dual rate conversion I used that to lower the ride height. In addition, The lower mount needed to be trimmed. I cut the lower fork leaving about and inch of material to drill a new mounting hole. Next the upper mount had to be addressed. I ground the outside diameter of an A-arm pivot bushing and cut it into two peices to adapt the YFZ rear shock to the Blaster frame.

Here you can see the upper bolt, an exploded view of the shock, and the assembled shock

upperbolt.jpg


explodedshock.jpg


assembledshock.jpg


With the rear taken care of I moved onto the front. To address the handling issue, the Blaster deffinately needed to be wider. I read that YFZ shocks could be used with +3 A-arms and already having a pair of 4:1 wheels, I started the search for some +3 A-arms. In the mean time I managed to find a good deal on some YFZ front shocks that just needed a little cleaning.

FrontShockapart.jpg


FrontshockPair.jpg
 
  • Like
Reactions: MXmaineiac67
I ended up with some +2 Burgard A-arms that I got a good deal on so to make up the width I used some ITP 3:2 wheels. Suspension wasn't the only concern with handling so the brakes were addressed. After some searching for popular methods for converting the front to hydraulic discs I settled on Banshee Spindles, Hubs, Discs, and Calipers. For the rear brakes I decided to try and make my own caliper mount and use a caliper from a Z400, same as many many quads out there.

Along the way we came up with our color scheme. My wife being a Michigan State graduate you can guess what we came up with. I found a great deal on some "like new" OEM white plastic but was less than thrilled when it arrived. It had been painted red at one time and was generally beat to snot.

FenderBefore.jpg


I put about in about 40 hours of sanding and polishing the body work with some great results, that I covered up most of it with a graphics kit. FACE PALM

One last requirement I had for myself was that the wheels could be interchanged between my Predator and the Blaster. The Predator has Rath XC Rear hubs that convert it from a 4/156 to a 4/110 Honda/Suzuki Bolt pattern. The fronts were 4/156 Yamaha pattern already. I watched the forums for some 300ex/400ex rear hubs that I read fit the Blaster axle. After getting pair and they didn't fit I found a different solution. I found some Lonestar YFZ rear hubs in 4/110 pattern for not much more than the OEM honda hubs. Here is one wheel setup, more on that later also. BIG GRIN

Rearwheelsetup.jpg
 
Onto August '09. We bought and moved into our house and more importantly I now had a two car garage so the nitty gritty of the build could take off. I cleaned and painted the frame, fabbed and welded some tabs back on that were cut off in the previous racing days because they weren't needed, and welded on a mount for the nerf bars. Here's a shot of the frame ready to go and one of the tabs for a heal guard.

Frame.jpg


tab2.jpg


While I still had the borrowed welder I set about making the rear caliper mount. I setup a pattern and welded and ground six peices of 1/4" steel into a caliper mount. After some grinding to clean up the welds and a little primer here's the outcome.

CaliperMount.jpg


Calipermount3.jpg


Here is the nerf bar and all mounted up.

nerfmount.jpg


NerfMountDone.jpg
 
While searching for a motor I stumbled onto a complete blaster on Craigslist for cheaper than most motors were going for.

Donor1.jpg


Donor2.jpg


I didn't care about looks because I was only going to pull the heart out of this one to use in my build. The motor was didn't run so I went to work. I narrowed it down to a bad plug wire and had it running before pulling it out of the chassis. I pulled the top end and found a fresh rebulit motor with a new clutch in the bottom end. So I put some new gaskets in and put it back together. I managed to sell the donor quad; sans motor, carb, exhaust, and wiring harness, for what I paid.
 
man this is going to be a great build, awesome job so far, very descriptive and alot of pictures + + +
 
Enough story time and more pictures right?

Onto more of the build pictures.

New Chain and Sprockets OEM Gearing 13/40

ChainandSprockets.jpg


Chain slide and roller kit

ChainSlide.jpg


Upper shock mount installed

UpperRearShockMount.jpg


Couple shots of the rolling chassis picture with the ITP Wheel setup

Roller.jpg


Roller2.jpg
 
  • Like
Reactions: yb200
Not wanting to pay for replacement nerf nets I decided to make my own. I purchased some nylon strapping and some nuts and bolts from the hardware store, a little time and less than $10 I had new nets.

NerfNet.jpg


I also cheaped out here and made my own lock nut. Drilled and tapped for a 5mm set screw

DrilledandTappedLockNut.jpg


CheapLockNut.jpg


Some detail shots of the brake plate and rear caliper setup.

RearBrake.jpg


BrakePlate2.jpg
 
Finished shots with a full mods list. After my wife saw the wheels and tires from my Predator mounted up I don't think I'll get them back. I'll get some better pictures outside when I get a chance.

Chassis | Suspension | Controls:

Frame: Stock
A Arms: Burgard +2
Swingarm: Stock
Steering Stem: Stock
Axle: Stock
Carrier: Stock
Locknut: Stock with set screw
Hubs F|R: Banshee/ Lonestar YFZ
Bars: Longhorn with Turner fatbar adapters
Throttle/Clutch Lever: Banshee/YFZ
Grips: ODI Lockon
Nerfs: Banshee Pro Armor narrowed
Bumper: AC
Grab Bar: Stock
Front Shocks: YFZ
Rear Shock: YFZ dual spring
Brake Lines: YFZ
Rotors F|R: Banshee OEM
Rims F|R: ITP 3:2 or Hiper Non beadlock 4:1/ITP Baja or Hiper Dual beadlock
Tires F|R: Razr II/ Razr II or Razr I


Body:

Plastic: Stock
Graphics|Seat Cover: Unknown Stock
Handguards: Acerbis
Bar Pad: None
Fuel Tank: Stock


Engine|Drive System:

Cylinder|Head: Stock
Bore & Stroke: Stock
Displacement: Stock
Cam: None
Carburetor: Stock
Air Filter|Box: Stock replacement filter
Pipe|Silencer: Stock
Clutch|Plates: Stock
Gearing F|R: Stock 13/40
CDI|Killswitch: Pro Design kill switch YFZ Key switch
Cooling: AIR

Front.jpg


Side.jpg


AngledSide.jpg
 
  • Like
Reactions: AT Blaster
This would have been a sick build..... If it weren't Michigan St. colors. Could have been worse (wolverine)....... GO OSU!!!!!

On a serious note, regardless of college favorites, this is a very nice write up man. I love the detail along with the pictures. You do some nice work!

A lot I could say about this....... Thank you! I learned from this which is why I'm here! Good write up and great build!!!
 
very creative/ different and i love how you made a lot of the parts yourself!! very inspirational, 5* build I:I
 
good job bro, and nice write up, stick around on here!!!!
 
Engine work and pipe will come in time. I'm waiting until my wife gets a good handle on what a stock Blaster motor will do. She's ridden before but the only time with a clutch was in the snow.

Thank you for all the kind words. You can see from my join date I don't post very often but I'm on here quite a bit.
 
Last edited:
  • Like
Reactions: brandoz28
Any hardware store should have it. I found it at the local Ace hardware. I used 1 1/4" wide strap and narrowed the ends to fit the nerf brackets. If you purchased 1" wide material it would go a lot quicker because you wouldn't have to trim the width, but I wanted the extra width due to the lack of brackets on the nerfs.

Picture below is similar to what I used but it's sold by the foot. I think I used 12' to do both sides. When cutting nylon strapping or rope I use a lighter to melt the end back together. It prevents fraying and stray strings.

pACE3-997154dt.jpg