And The Worst Custom Fabrication Award Goes To

Mcaroonie

New Member
Apr 19, 2013
27
4
0
Albany, New York
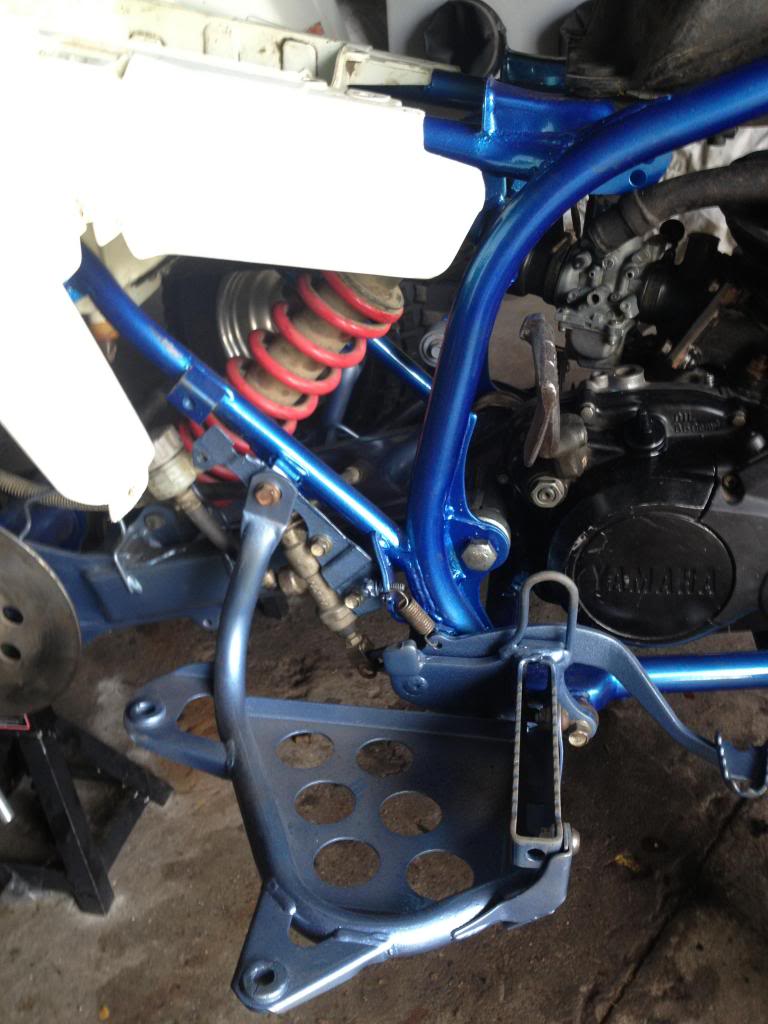
So during my rebuild I found out I needed to make an mount for the back master cylinder. I did not realize that they did not just bolt right on until after I did my paint job.

Piss Poor Planning = Piss Poor Performance


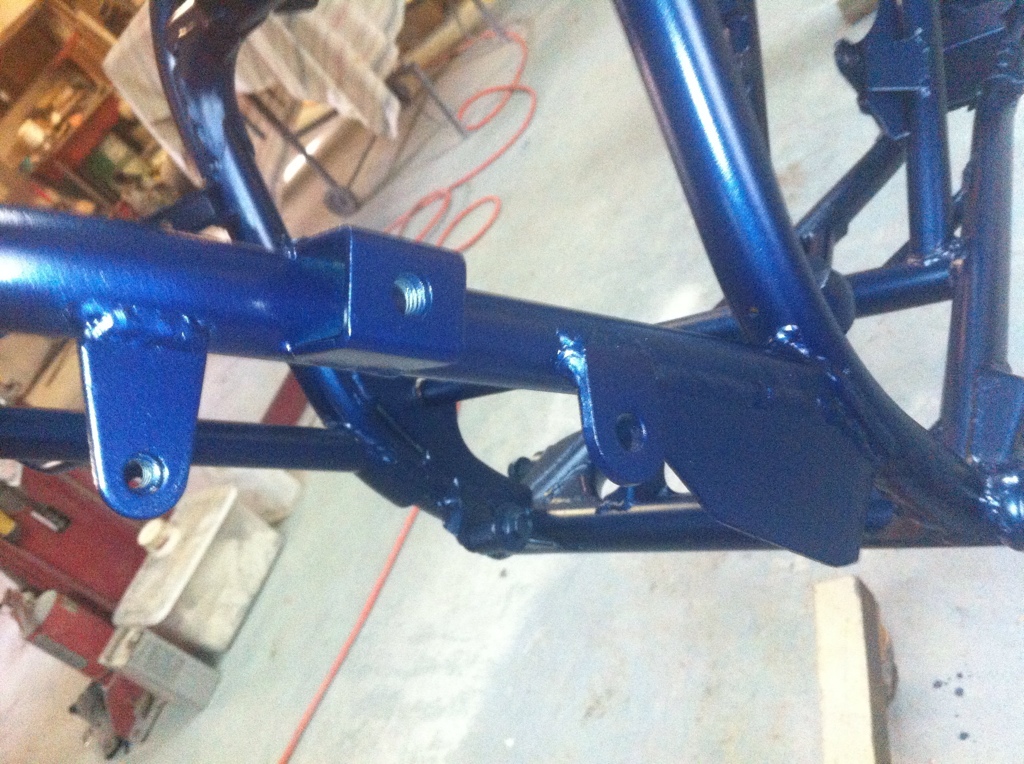
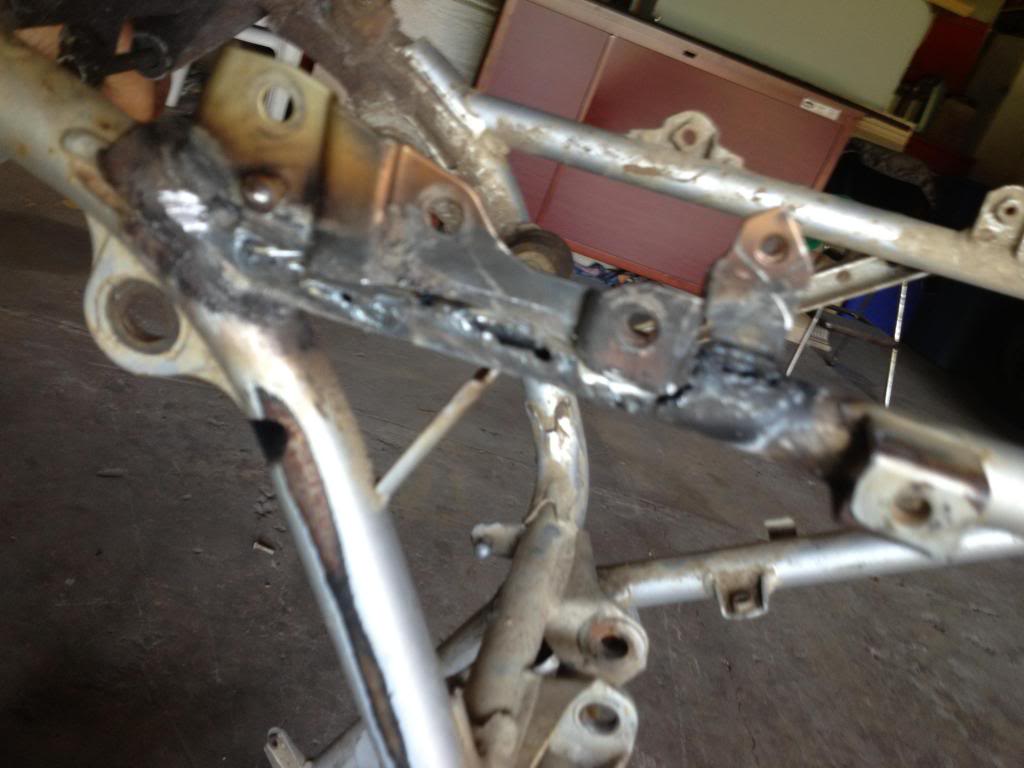
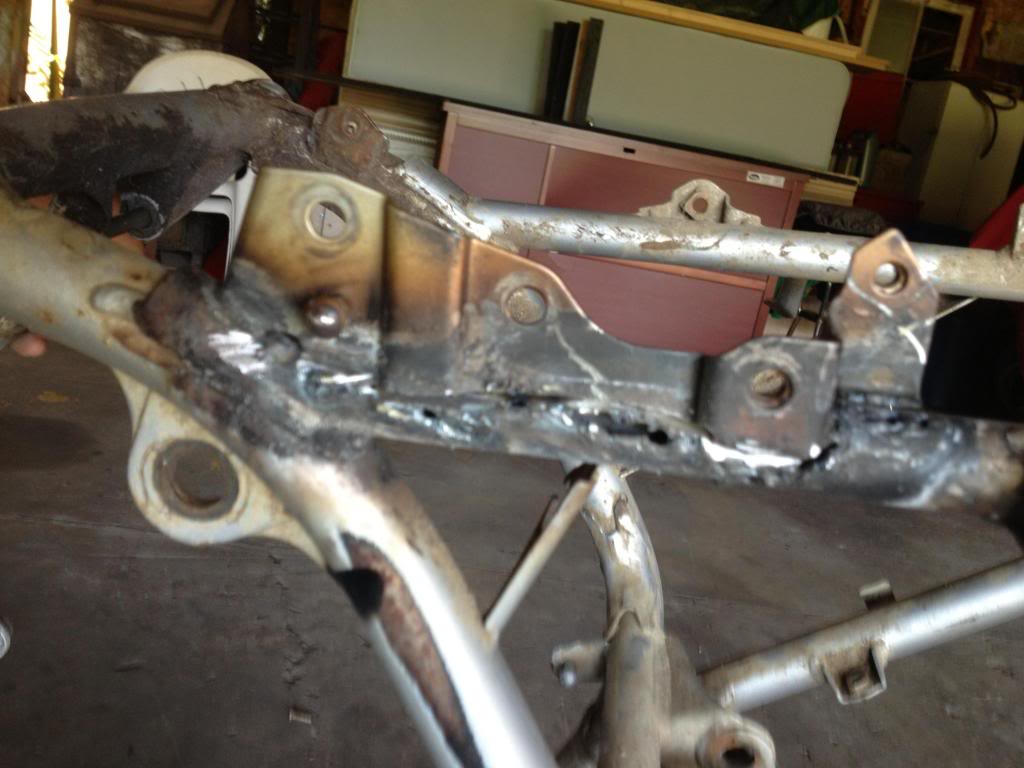
Luckily I have a bent 03 frame so I tried to cut out the mount from the frame with Oxy- Acetylene torch.

The following Swiss cheese is the result of that attempt.

IMG_0605.jpg


IMG_0606.jpg


IMG_0607.jpg


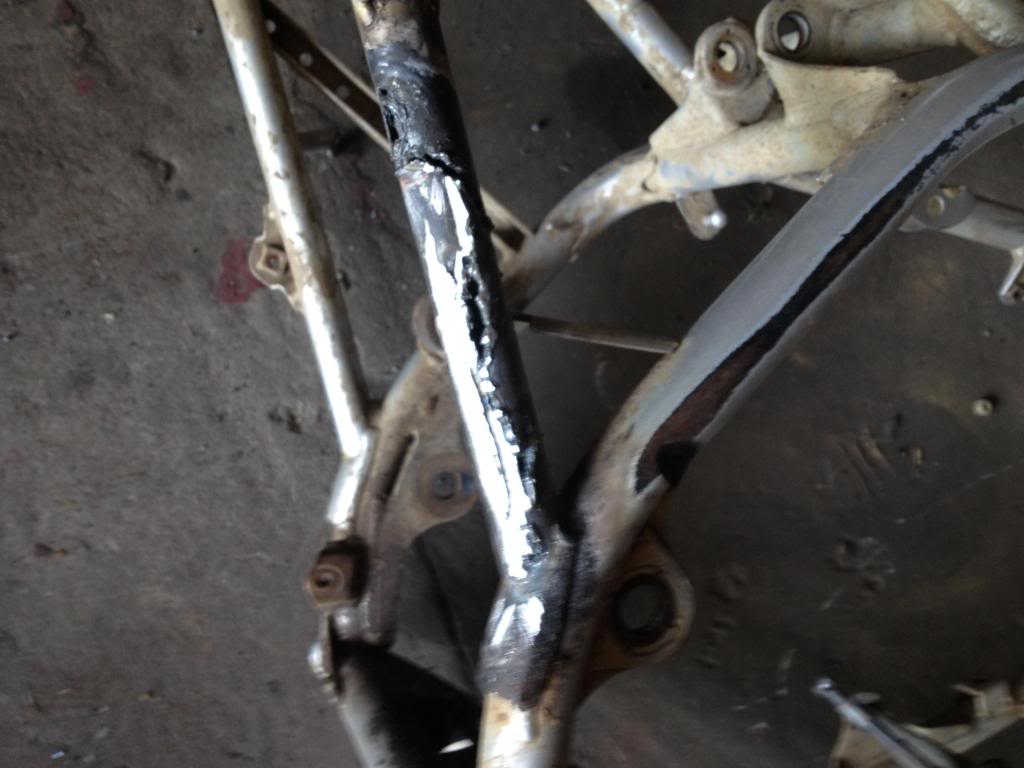
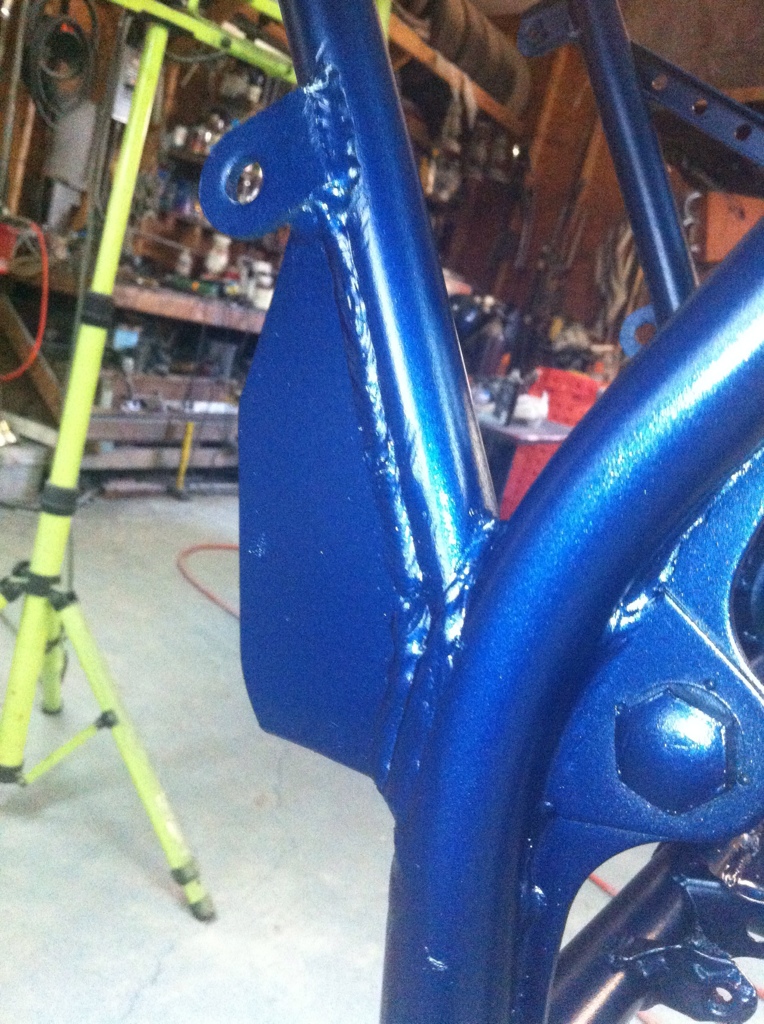
Well That did not work so I grabbed a pneumatic grinder and went to work.

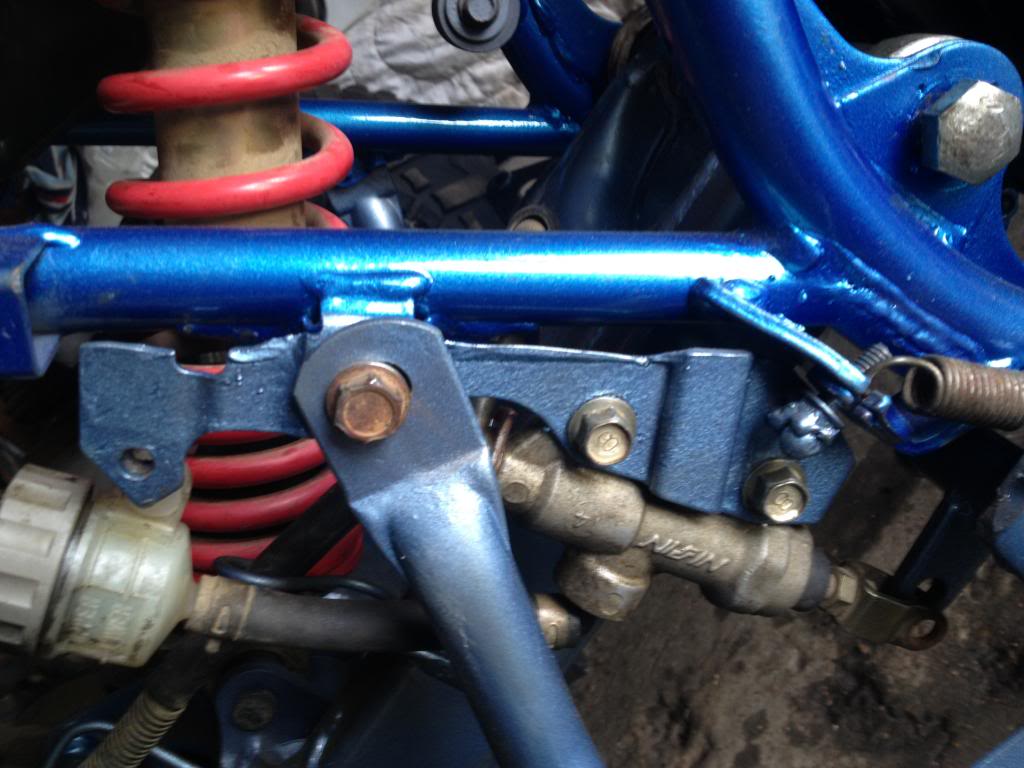
This is the result of my first ever attempt at welding a bolt to a bracket

IMG_0611.jpg


IMG_0610.jpg


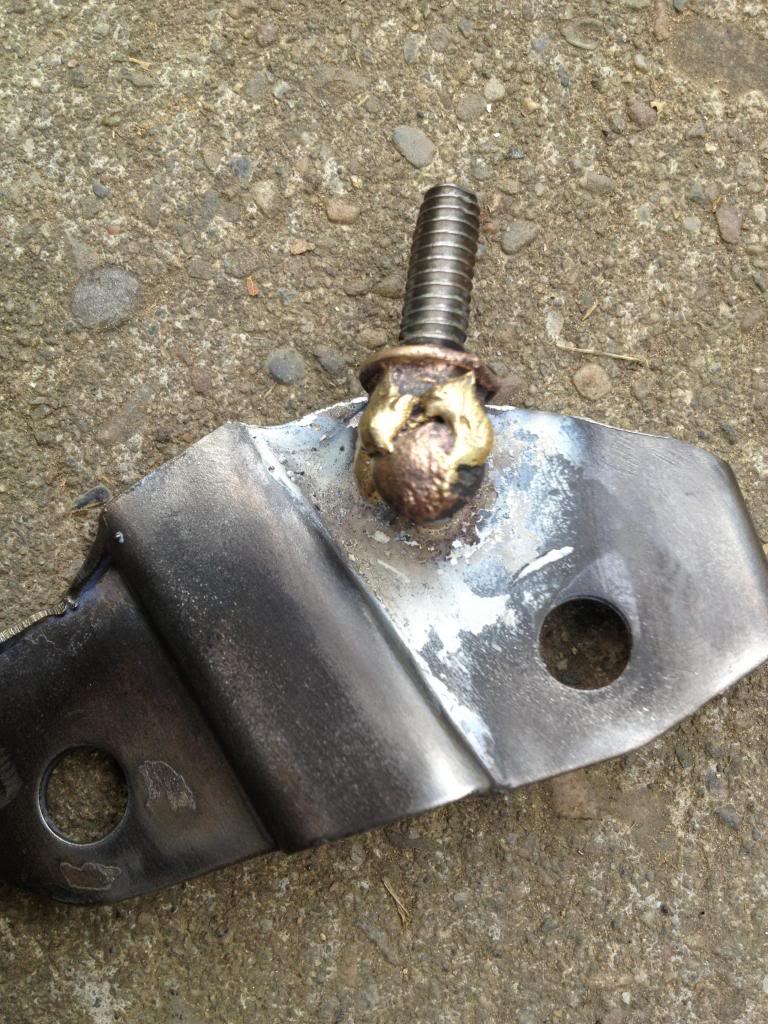
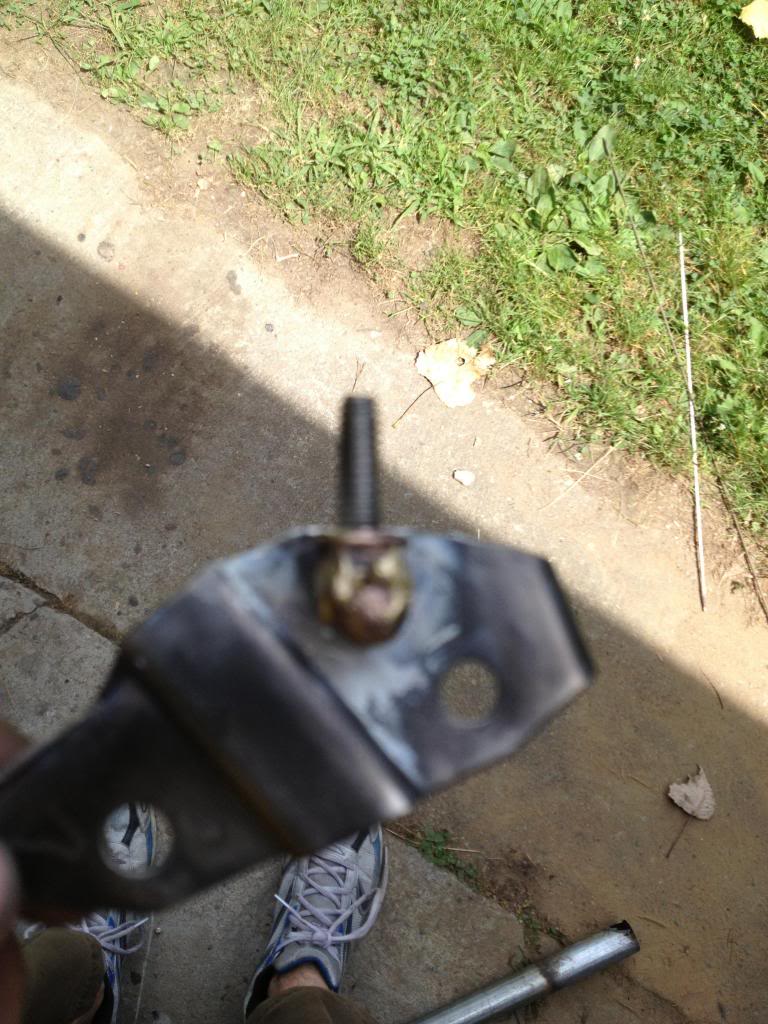
Not pretty, Good thing it only holds the back brakes and not something important ( sarcasm noted).

Maybe my first and last attempt at custom fabrication with a welder.....
 
  • Like
Reactions: gizzy2014
looks brazed with Oxy-Acetylene and brass rod
 
wht kind of welder?? stick or wire feed??

I tried to use a You tube video and Oxy- Acetylene torches with a rod taken from my father in-laws shop. He has TIG or MIG I forget.


After watching the video I thought the process was ( get both pieces red hot to the point of melting and melt the rod to connect the two metals)

I was wrong! I am going to study some more on the subject to build a better bracket.

Not to the point of melting, but actually melting.

You add the filler to the puddle of molten metal,

Gas welding is very strong and does have very little problems with crystalisation of the parent metal, as the zone of thermal disturbance is less as with electric welding.
 
is that welded on bolt for attaching it to where the cable used to go thru the bracket above the footpeg ? ...............

no welding required, bend some 3/16 - 1/4" aluminum and bolt it on :


I will fab up that bracket that you mentioned as it looks better and stronger than what I have going on.

It was a spur of the moment idea, it worked out so far but I have not been able to strength test it yet. plus it gave me a reason to play with some torches.

here are some pic's...


IMG_0617.jpg


IMG_0616.jpg


IMG_0615.jpg
 
that didn't turn out too bad at all !
as long as the pedal extension is pushing the rod directly straight into the master cylinder, it should work well
 
that didn't turn out too bad at all !
as long as the pedal extension is pushing the rod directly straight into the master cylinder, it should work well

It actually does have the slightest angle to the plunger. I am worried about this as well. It will make do until I can get to my father in-laws shop and get a hold of some aluminum that will function for the new bracket, as I am not giving the bike back until next month some time.
 
It actually does have the slightest angle to the plunger. I am worried about this as well. It will make do until I can get to my father in-laws shop and get a hold of some aluminum that will function for the new bracket, as I am not giving the bike back until next month some time.


heat the aluminum moderately while bending it to prevent cracking.
moderately means a propane torch, not oxy-ace :)

next round, extend the pedal longer than needed, mount the master, adjust rod length, then drill the hole for the clevis where it intersects the extension straight, cut off excess extension