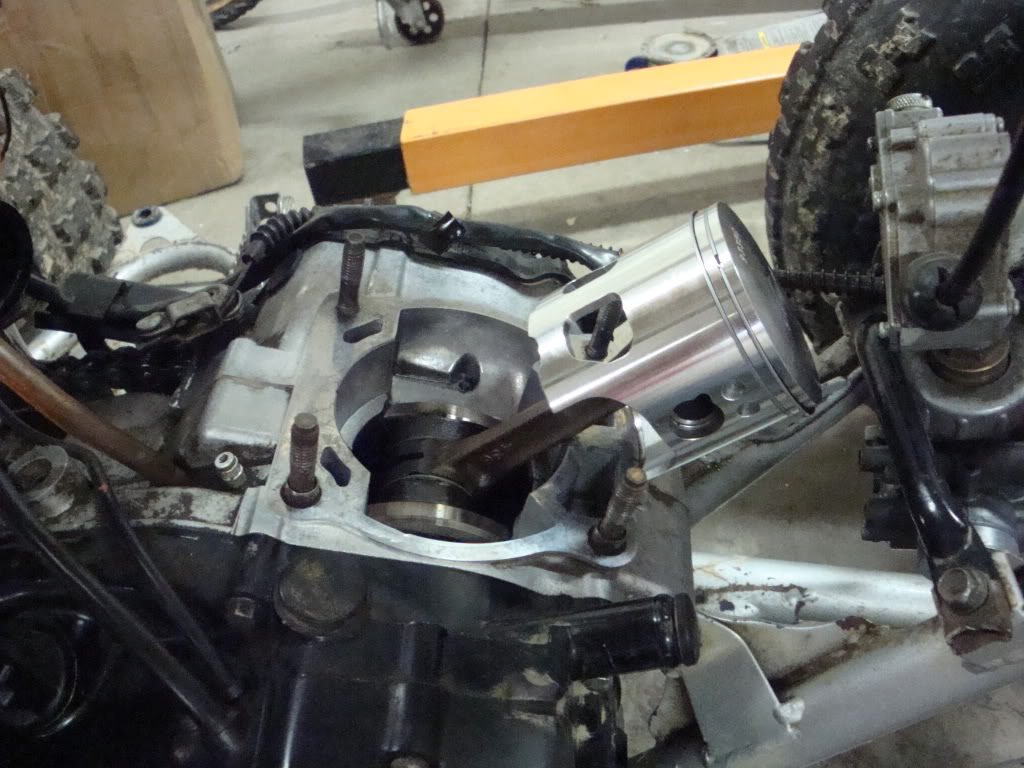
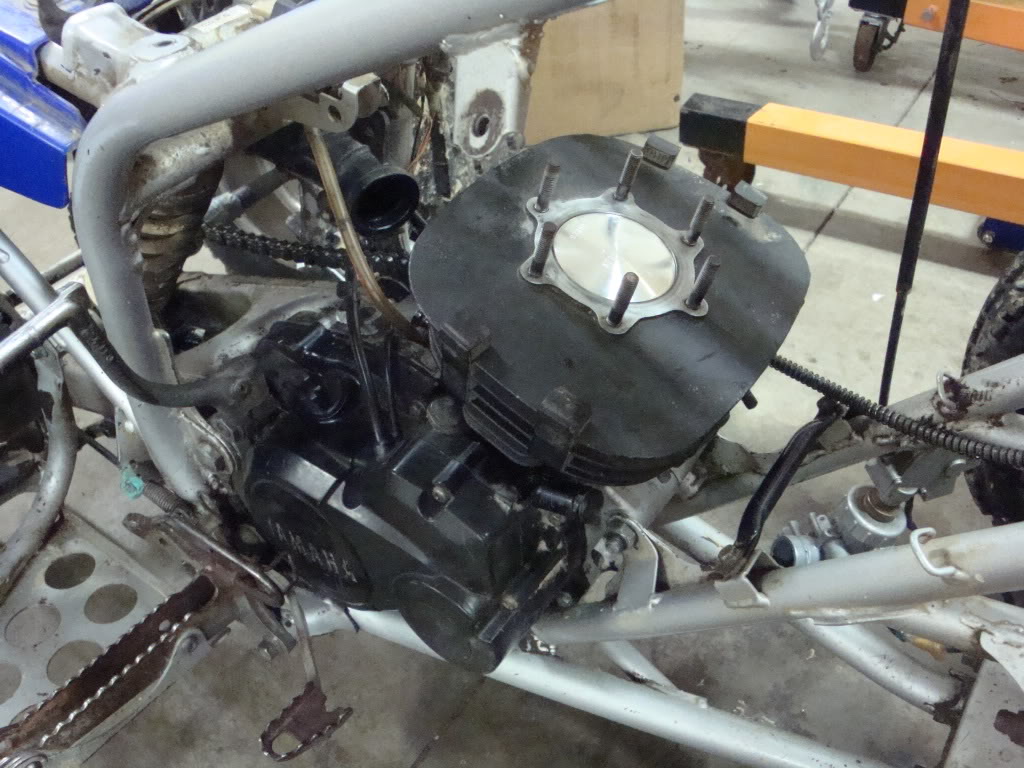
first, i just got my cylinder back from ken o'connor racing and finally have all the other pieces i need to rebuild the top end.I:I Second, I have confidence that I can do this successfully, but this is probably the most mechanically involved (and most mechanically precise) thing i have ever attempted:-[. I understand everything that i have to do, i have watched ken's video about 30 times to make sure 8-| but if anyone has some time to give me any advice from personal experience with doing your own top end rebuild, much appreciated!!
here's a list of what i have:
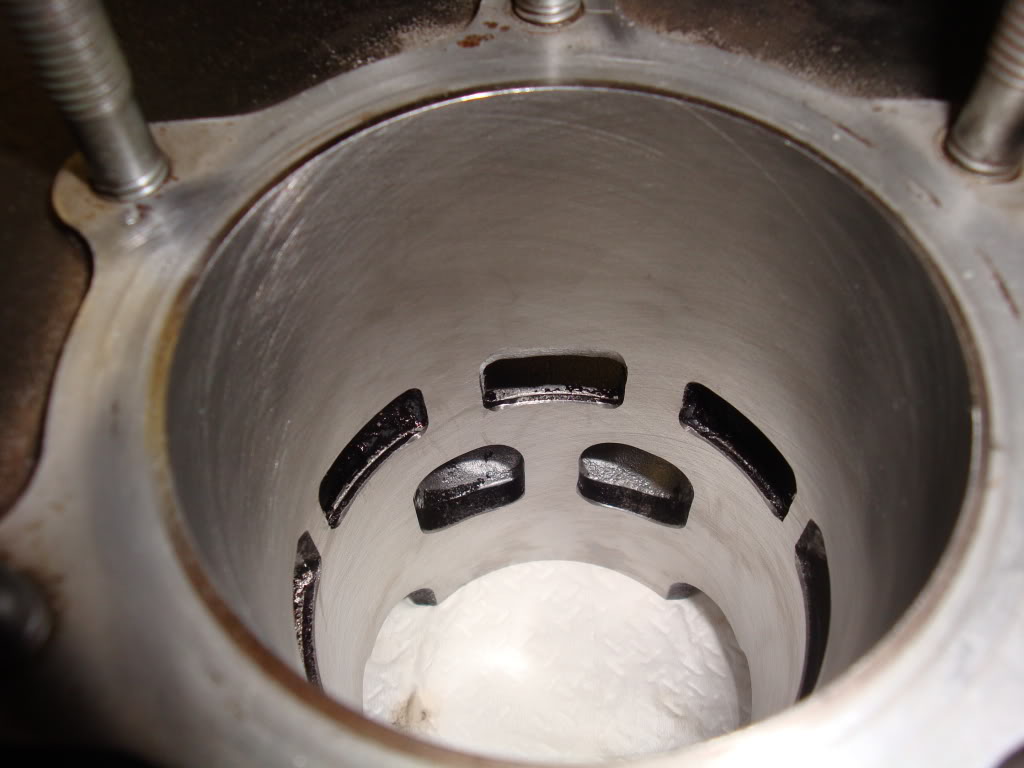
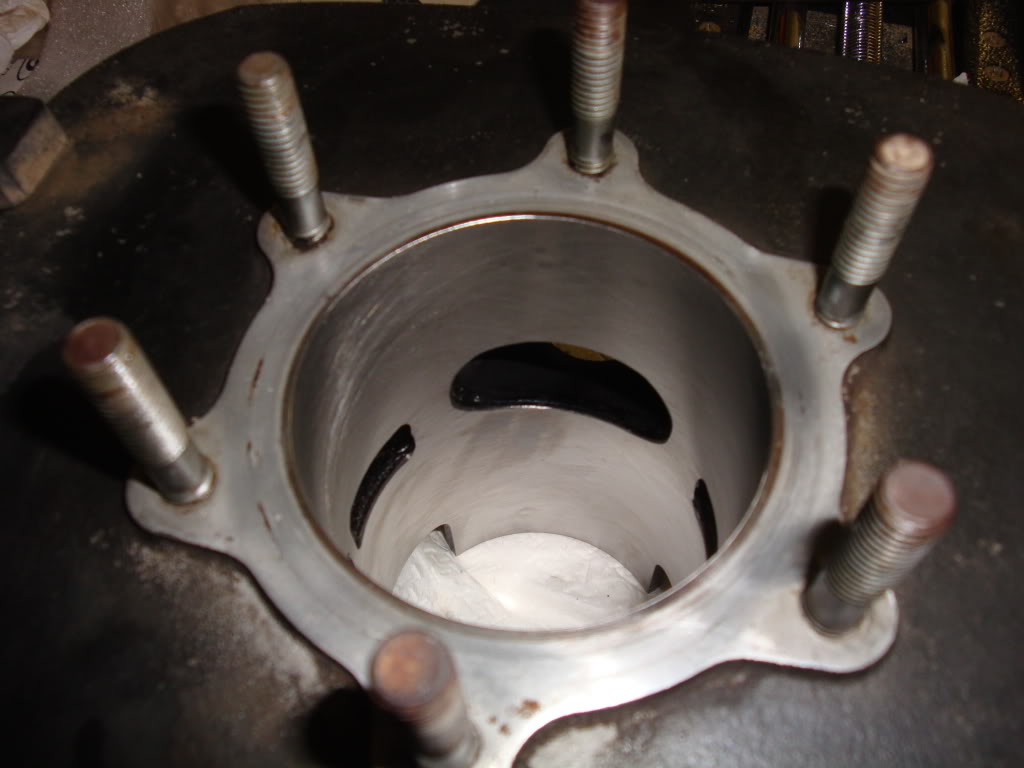
freshly bored cylinder
wiseco piston w/ rings, piston pin, clips
vitos wrist pin bearing
cometic gasket set with cylinder, head, and reed gaskets
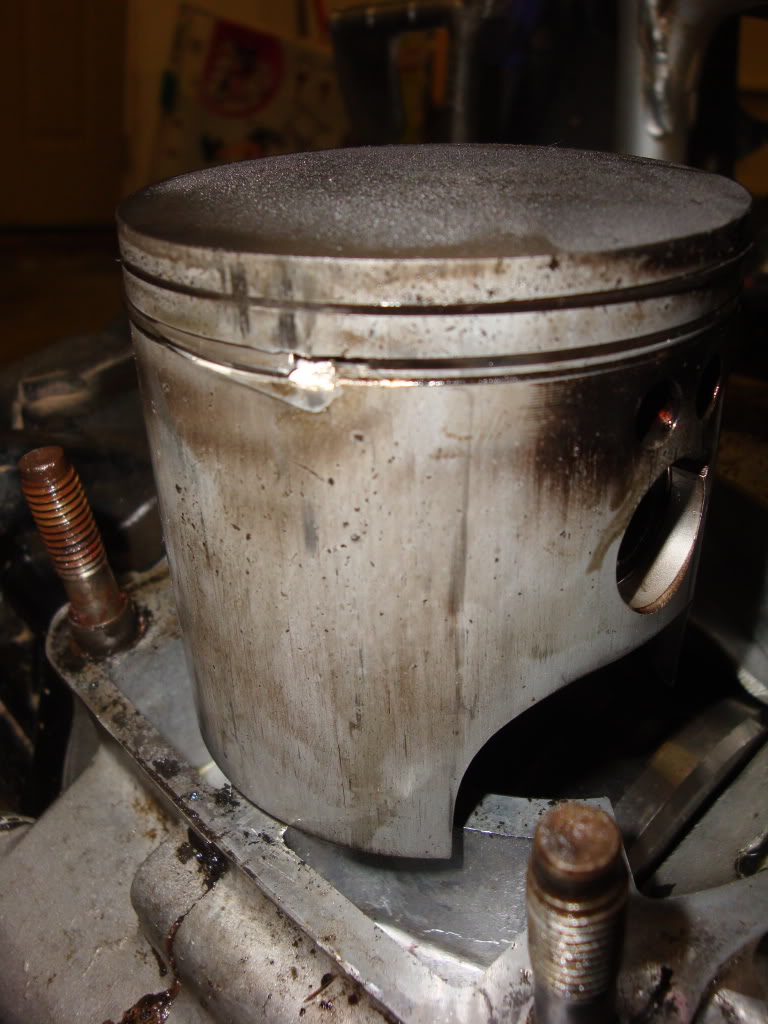
I was also wondering what peoples opinions were on using sealant where the reed cage meets the cylinder... this is where i had an airleak which would cause the rpms to hang and the engine run lean, and is probably what was the culprit that destoyed my original piston... before the piston went down, i tried to seal the leak with some red rtv? sealant some guy at some auto store said worked for him, but when i used it didn't stop the airleak entirely because the leak tester would still drop psi too fast, but was much better than before, so i decided to go with it and see if the rpms still would hang and they didn't anymore, so i made the wrong decision and went with it since i figure the leak is coming from the intake and i just went up a jet size, and one day while flying across a field the blaster lost power and was acting like it was going to die and i barely made it home... there's a pic of the piston... sorry for the rambling explanation of what happened but its hard to give you an accurate description of all that contributed to this happening... im sure that if i had done plug chops or tried to really seal the leak properly we might not be here, but i still wonder if something else might have contributed that i haven't considered... again just need some encouragement... also, i have learned my lesson and i want to do it right this time, no f@#$%# around") I'll try and update with photos of the rebuild process
I'll try and update with photos of the rebuild process
here's a list of what i have:
freshly bored cylinder
wiseco piston w/ rings, piston pin, clips
vitos wrist pin bearing
cometic gasket set with cylinder, head, and reed gaskets
I was also wondering what peoples opinions were on using sealant where the reed cage meets the cylinder... this is where i had an airleak which would cause the rpms to hang and the engine run lean, and is probably what was the culprit that destoyed my original piston... before the piston went down, i tried to seal the leak with some red rtv? sealant some guy at some auto store said worked for him, but when i used it didn't stop the airleak entirely because the leak tester would still drop psi too fast, but was much better than before, so i decided to go with it and see if the rpms still would hang and they didn't anymore, so i made the wrong decision and went with it since i figure the leak is coming from the intake and i just went up a jet size, and one day while flying across a field the blaster lost power and was acting like it was going to die and i barely made it home... there's a pic of the piston... sorry for the rambling explanation of what happened but its hard to give you an accurate description of all that contributed to this happening... im sure that if i had done plug chops or tried to really seal the leak properly we might not be here, but i still wonder if something else might have contributed that i haven't considered... again just need some encouragement... also, i have learned my lesson and i want to do it right this time, no f@#$%# around
I'll try and update with photos of the rebuild process