YZF600 engine stuffed into a 90 blaster

Not much of an update but i glad to say I am finally finished the exhaust. Learned a lot to make things easier for next time I do some when I do another swap like this.

Cut the pipes off at the collector so I could weld all around them. Fit them back on the engine and tacked the 4 pipes together, then made a diamond piece to connect the 4 in the middle. Then refit the collector and welded around the 4 pipes. So glad to be done this part of the swap.

IMG_20160107_145203_zpsdympwlmj.jpg


IMG_20160107_145149_zpsdejacpgx.jpg


On another note I made a new friend. A stray cat that is friendly as ever and won't seem to leave my side. Going to pick up some wood tonight and make a shelter for it for winter.

IMG_20151222_132305_zps27sd8bsq.jpg
 
  • Like
Reactions: MURPH
Made a little house for the cat so it's back to the bike.

I replaced the stripped plastic headstock gears on the lathe with some metal ones and just made my first ever part. About as simple as they get but it's a start. These are spacers for the foot pegs to clear the exhaust.

IMG_20160122_085439_zpskqt6deex.jpg
 
Made the rest of the peg spacers. Also mounted the rear brake master cylinder but I may redo it. Think it might look better if I just cut a new piece of steel and have it sit flush with the master rather than the current straight piece with spacers.

IMG_20160126_145200_zpstte39cp7.jpg

IMG_20160126_145212_zpsne7bbfae.jpg

IMG_20160126_145217_zpsse4wy6ig.jpg

IMG_20160126_145325_zps8zes89gx.jpg

IMG_20160126_145420_zpslw3cyrop.jpg

IMG_20160126_145437_zpsj65i1ceu.jpg

IMG_20160126_145443_zps8zqymjkx.jpg
 
I would suggest beefing up the mounting points of your foot pegs.
by pushing them out that far, there will be a lot of new tension on the old mounts. would hate to see one break
 
I was worried about that as well but the third bolt where the heel protectors bolt to the subframe really stiffened it right up. I bounced on each side with all my weight and they didn't flex.

I'm not against strengthening them though. Have any ideas?

I spun up some bushings for the 400ex shock but I made them out of 6061 aluminum. I'm thinking I should make them out of steel though as the shoulder thickness is only .65" which seems like it could be somewhat easily sheared.
 
Frame bracing 95% done. Few more to make. One to span the lower frame rails behind the a-arms and the last one will span across the top tubes after I make the gas tank to make sure it clears the tank and carbs. Next up for now is frame gussets

IMG_20160131_104213_zpspzccf7e8.jpg
 
Finished the lower frame rail tube brace behind the a-arms.

Got started on the electronics box. Need to make a top for it and drill the holes for the taillight.

20160210_141623181_zpsw3hxfo7o.jpg


20160210_143354801_zpspoab3z53.jpg


Doesn't look straight here but it is, think it's the flat left rear tire throwing it off.
20160210_143252988_zpssgxxayzm.jpg


20160210_143408958_zpsyake5l3n.jpg


20160210_144617437_zpsa9jrpvgo.jpg
 
Last edited:
Taillight mounted

20160221_131638579_zpsveuiie0v.jpg


Electronics. Best I could do with using the OEM harness. Will change the battery terminals over to the correct ones for this battery.

20160221_131659629_zpsb5zy9shh.jpg
 
Not sure how much more progress I'll be able to make until I get some parts in, most of which are coming from overseas so the updates may slow down for a little while. My fault for not ordering them sooner.

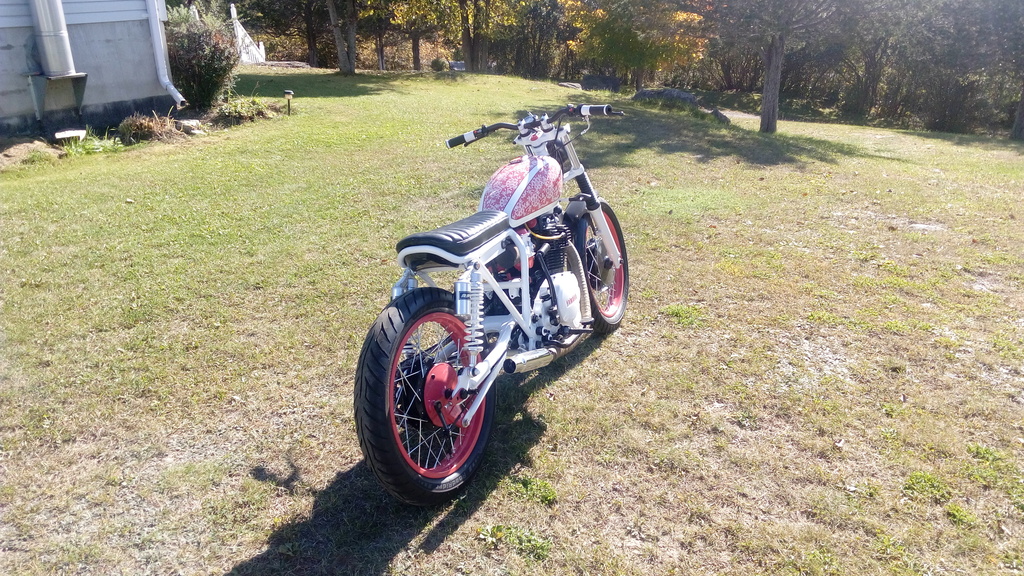
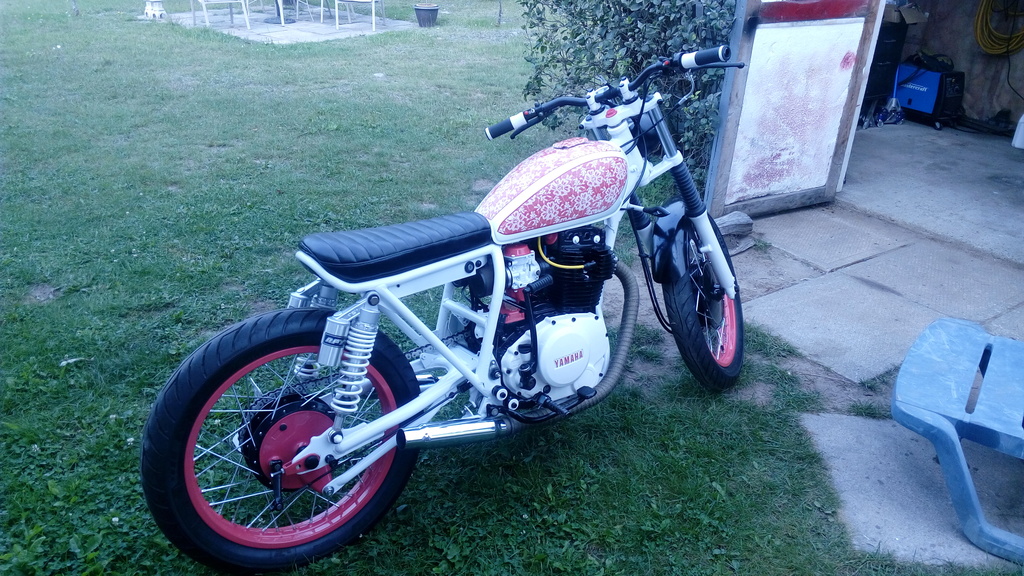
So to make up for it I thought I'd throw up some pics of my wifes XS400 I built for her last winter.

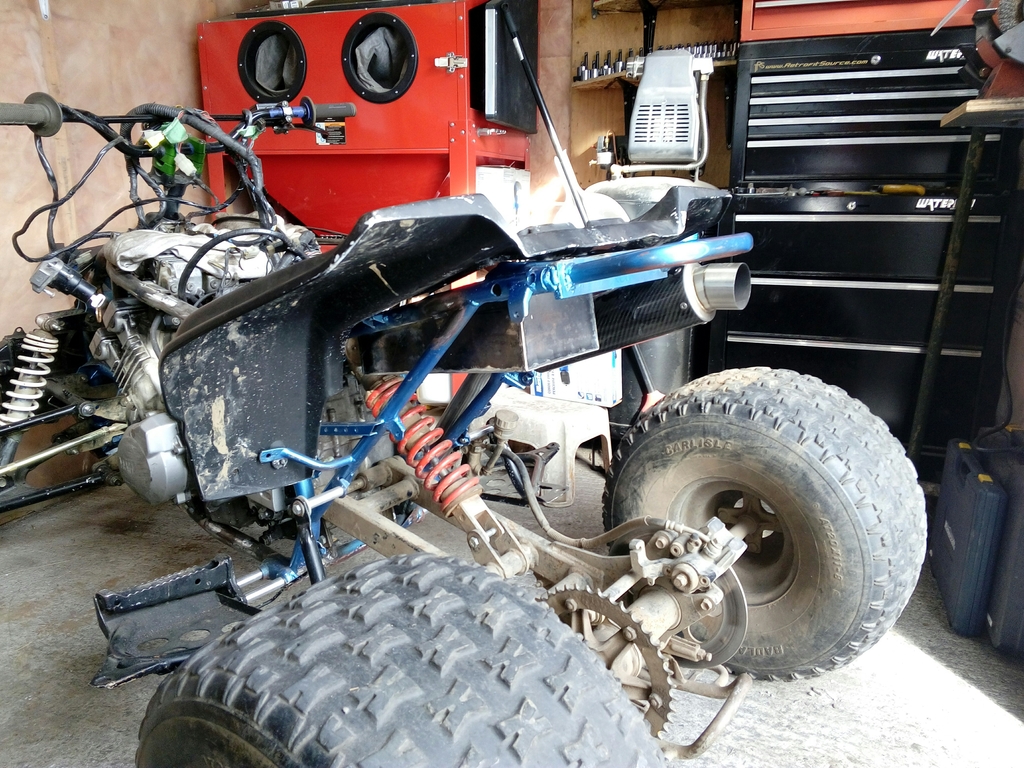
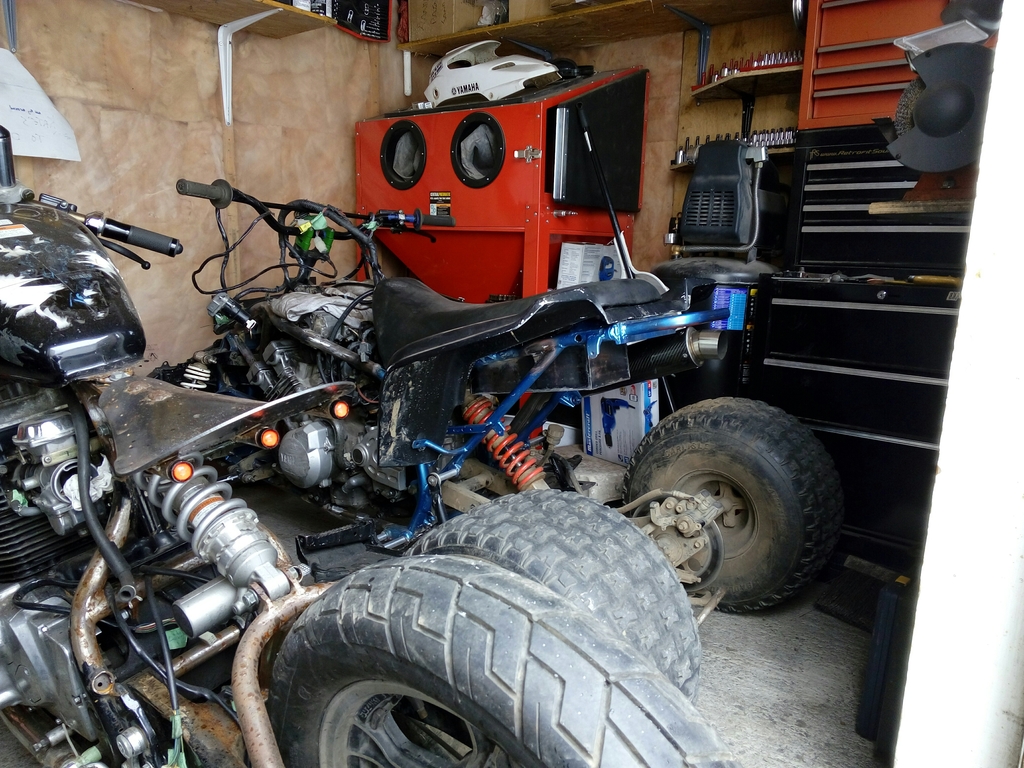
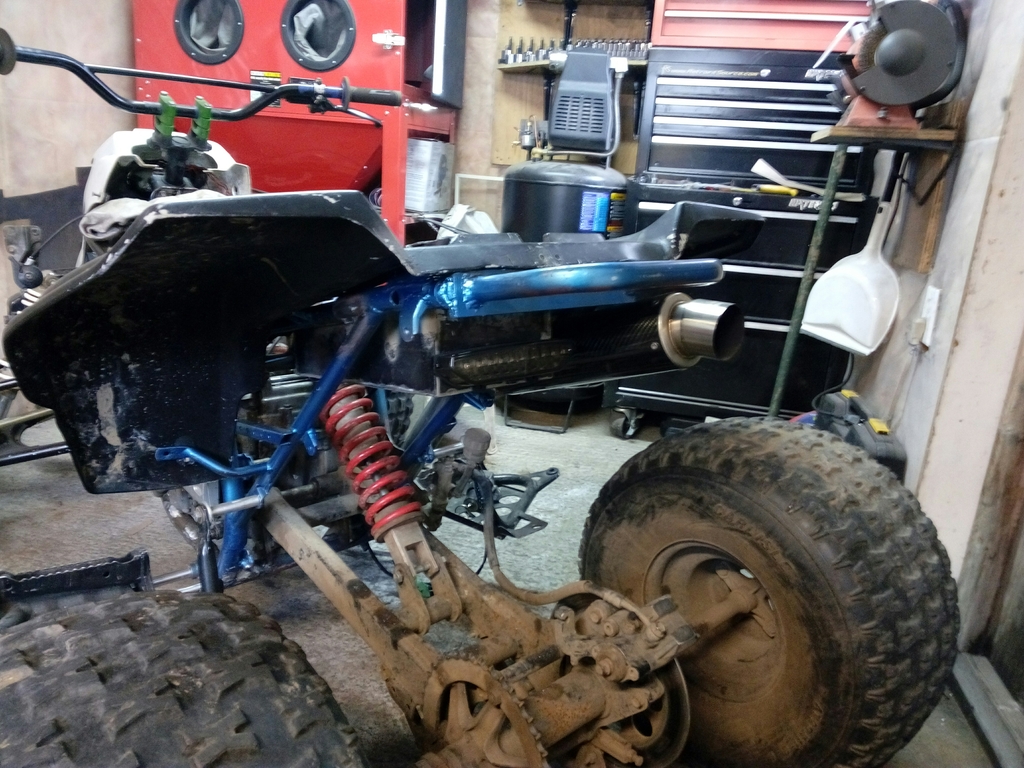
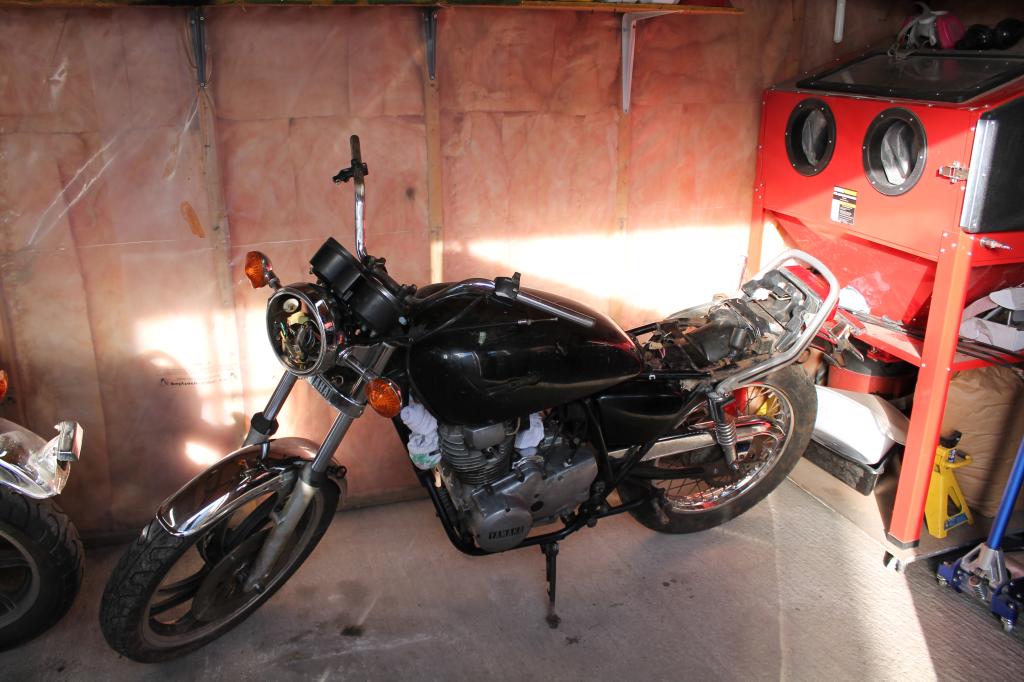
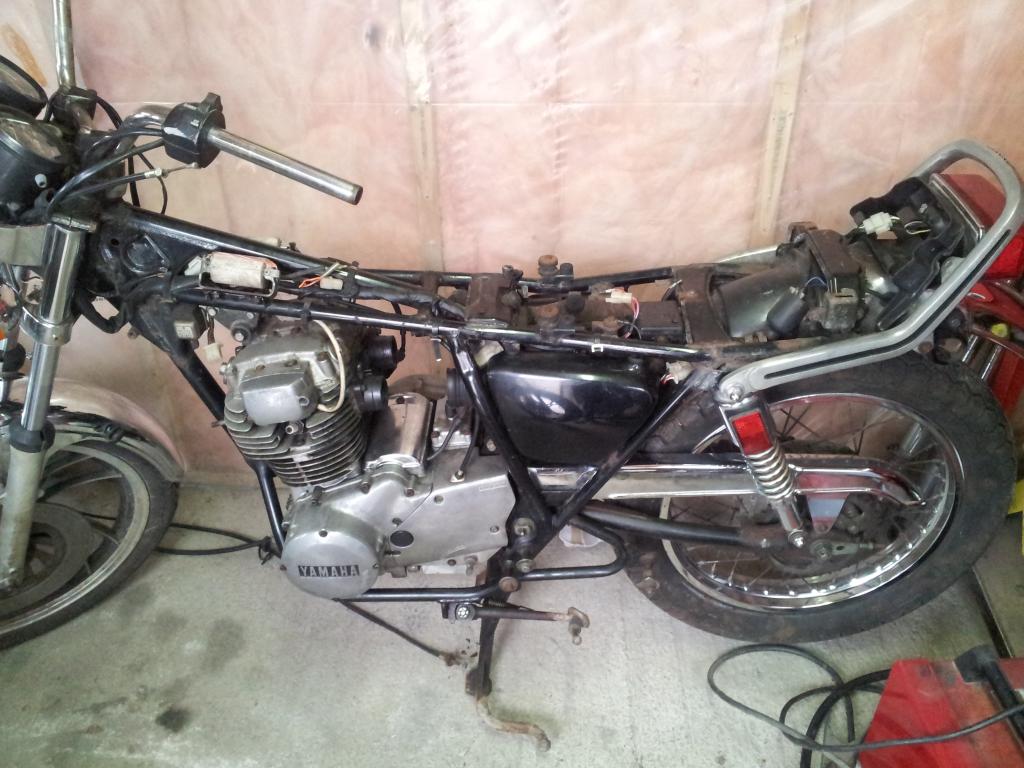
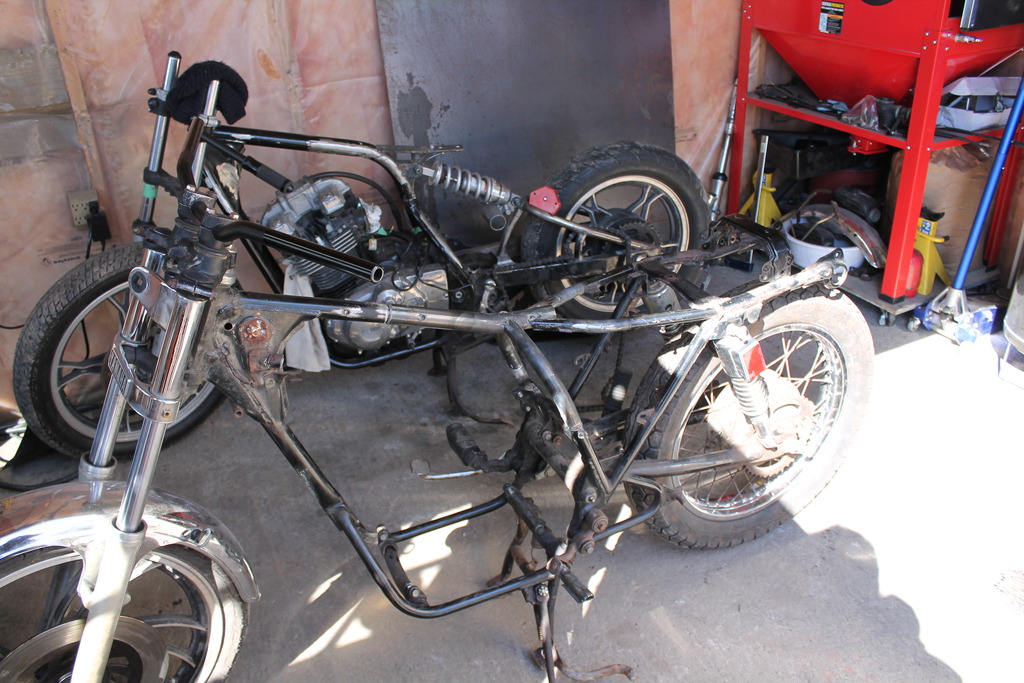
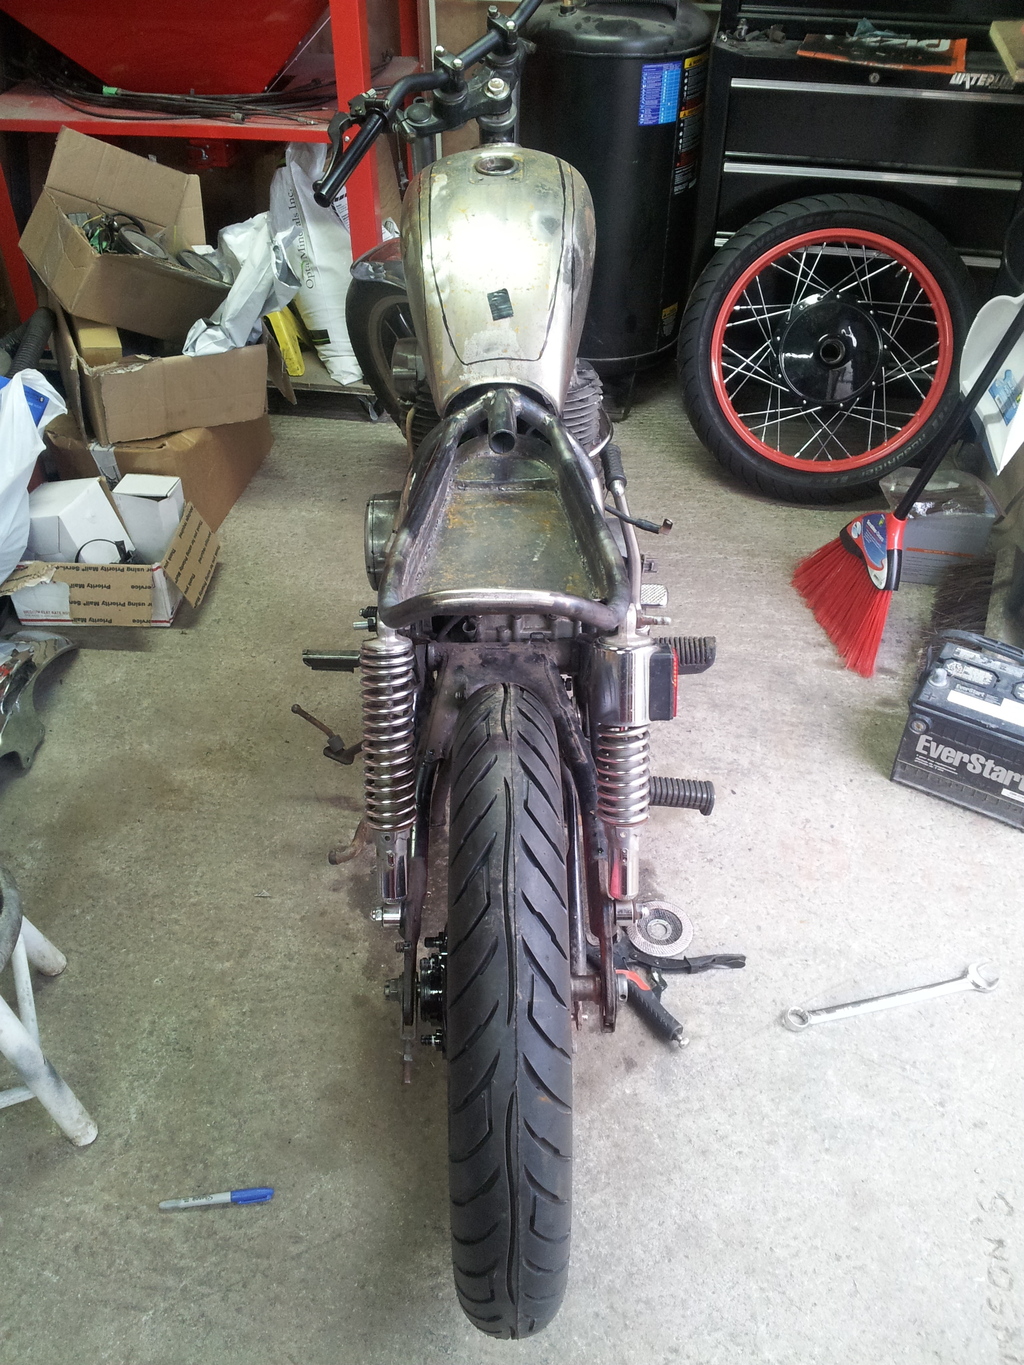
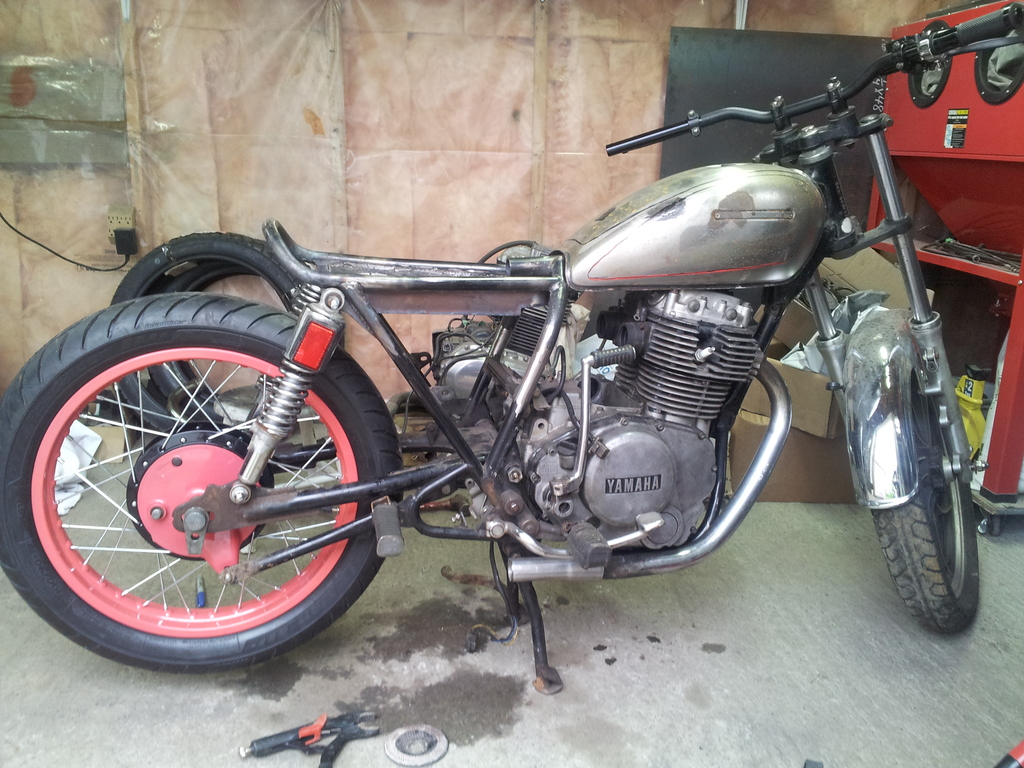
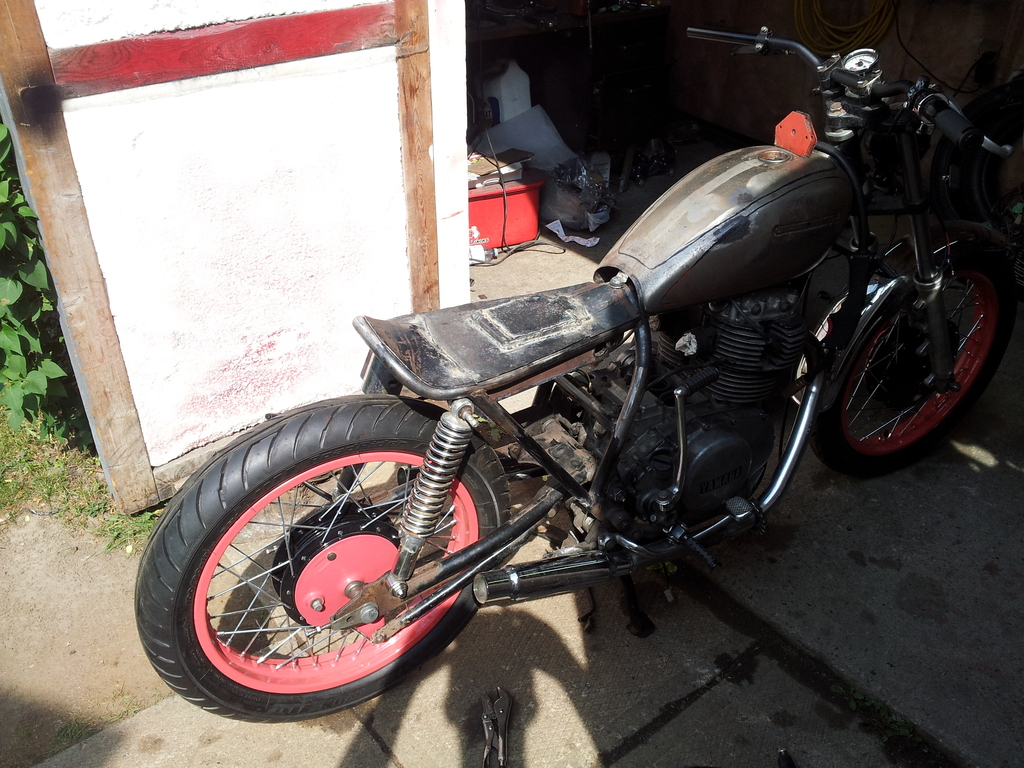
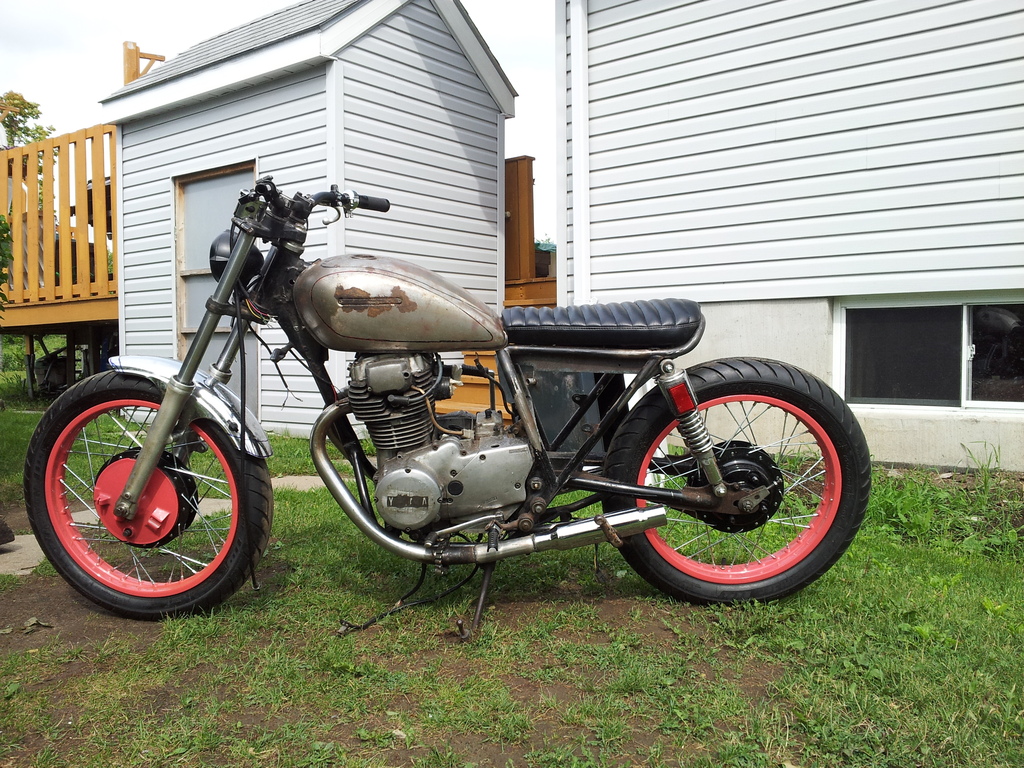
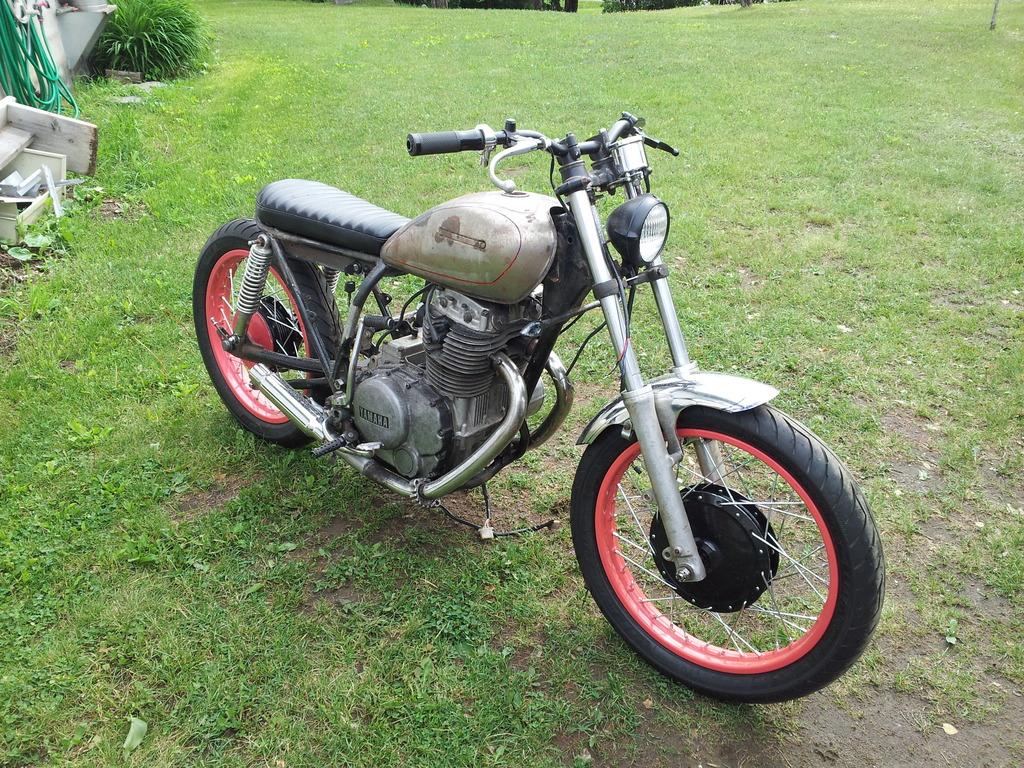
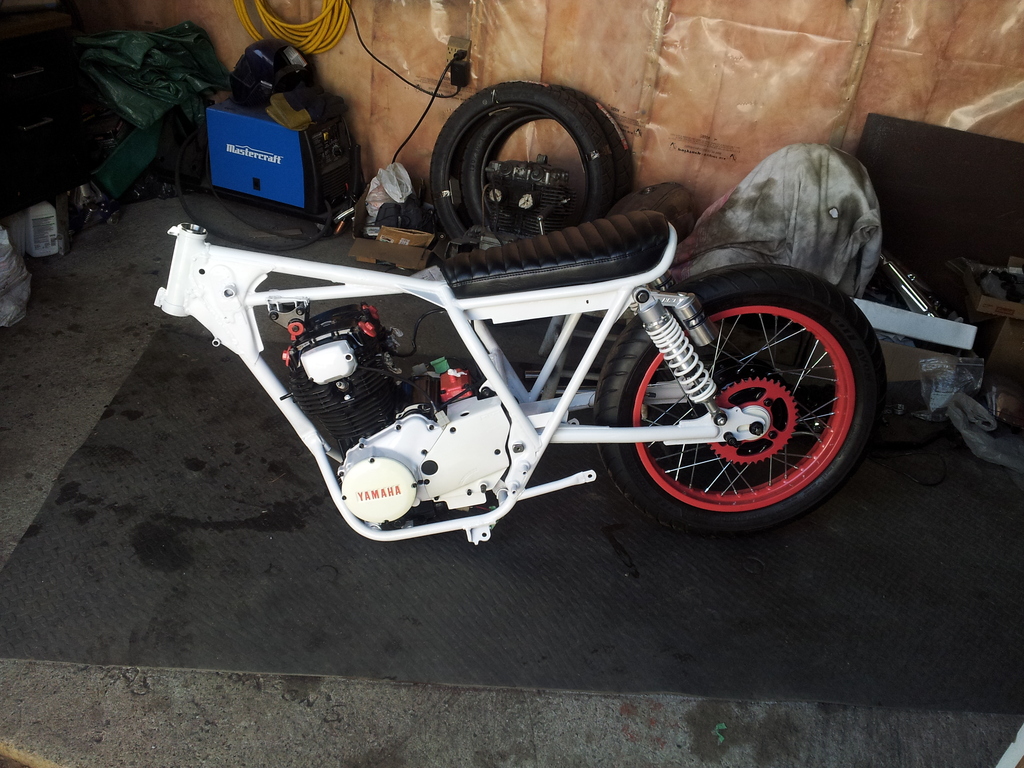
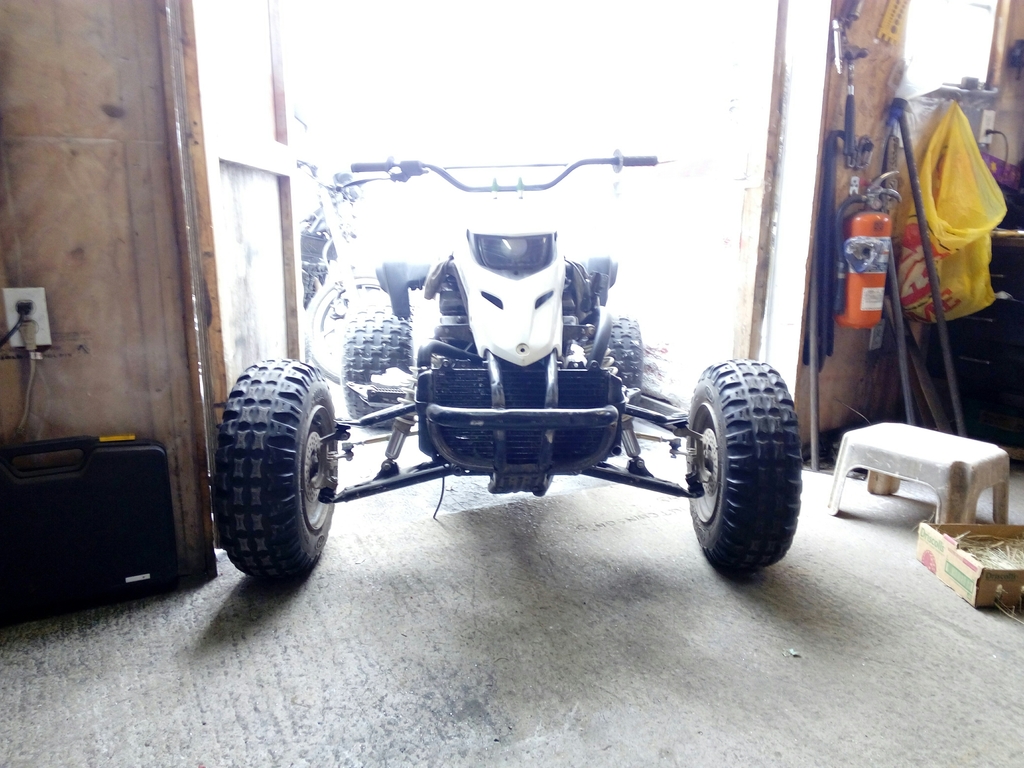
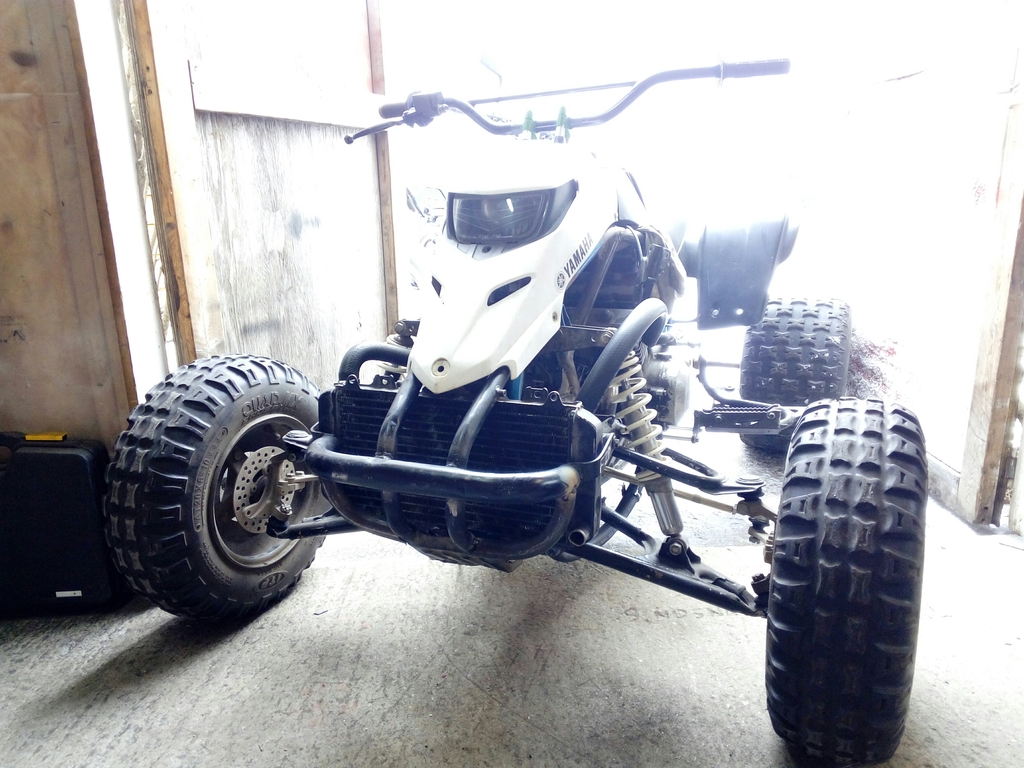
How we bought it on Christmas day:

IMG_1680_zps3vxqt4au.jpg

20150103_142459_zpsqygvn2jy.jpg


I wanted to do every feasible part in powdercoat that I could on this bike, do a complete rebuild of nearly every single part and also do 100% of the work myself, from metal fab, wheel building and truing to paint, electrical and even sewing a seat cover.

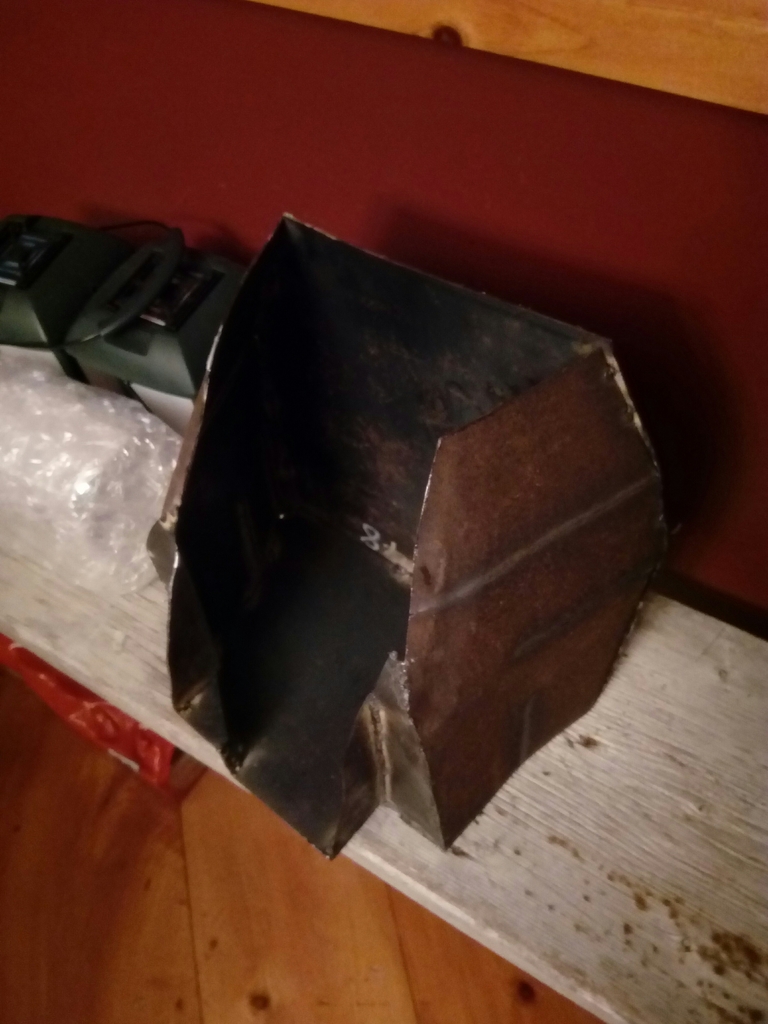
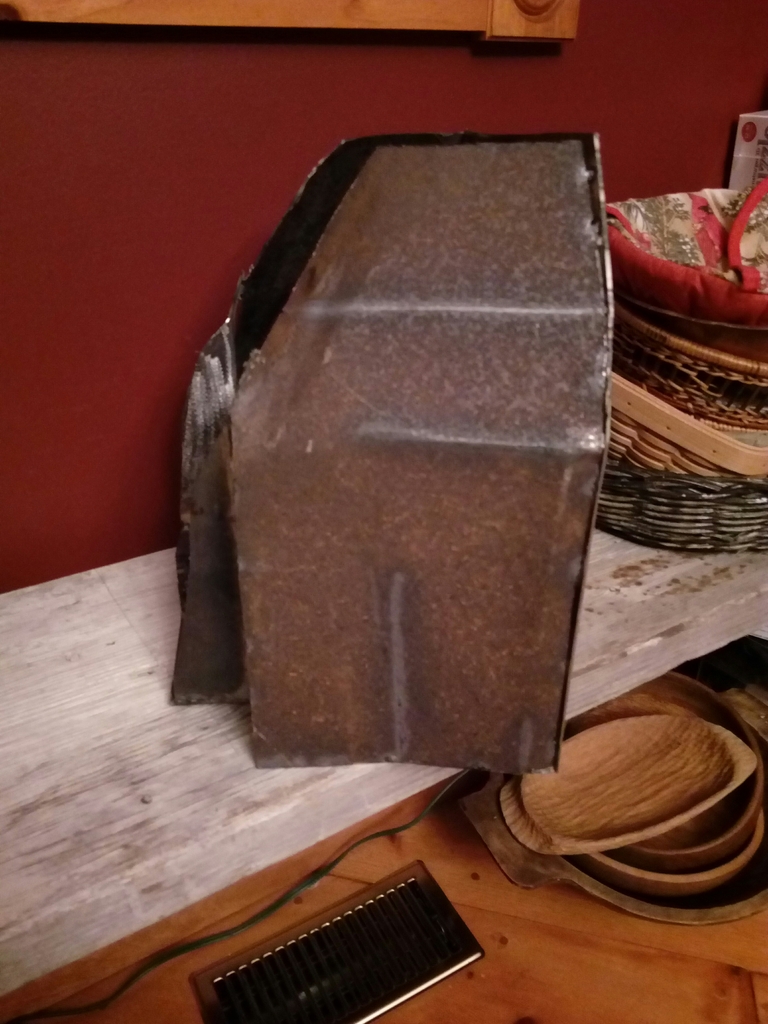
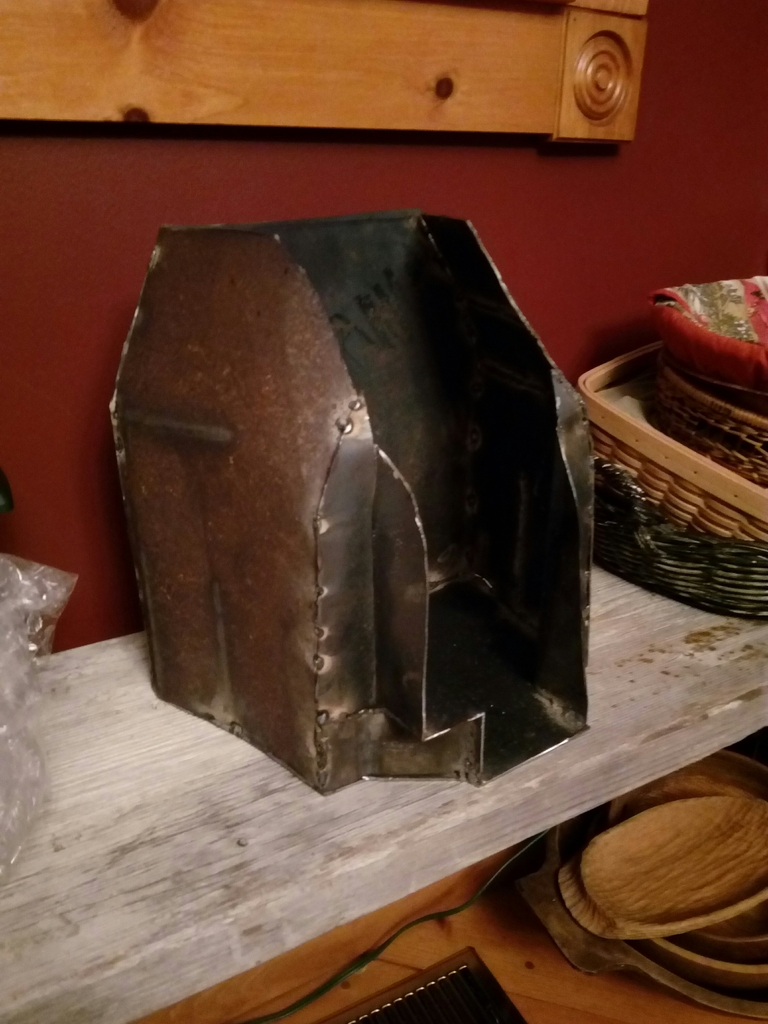
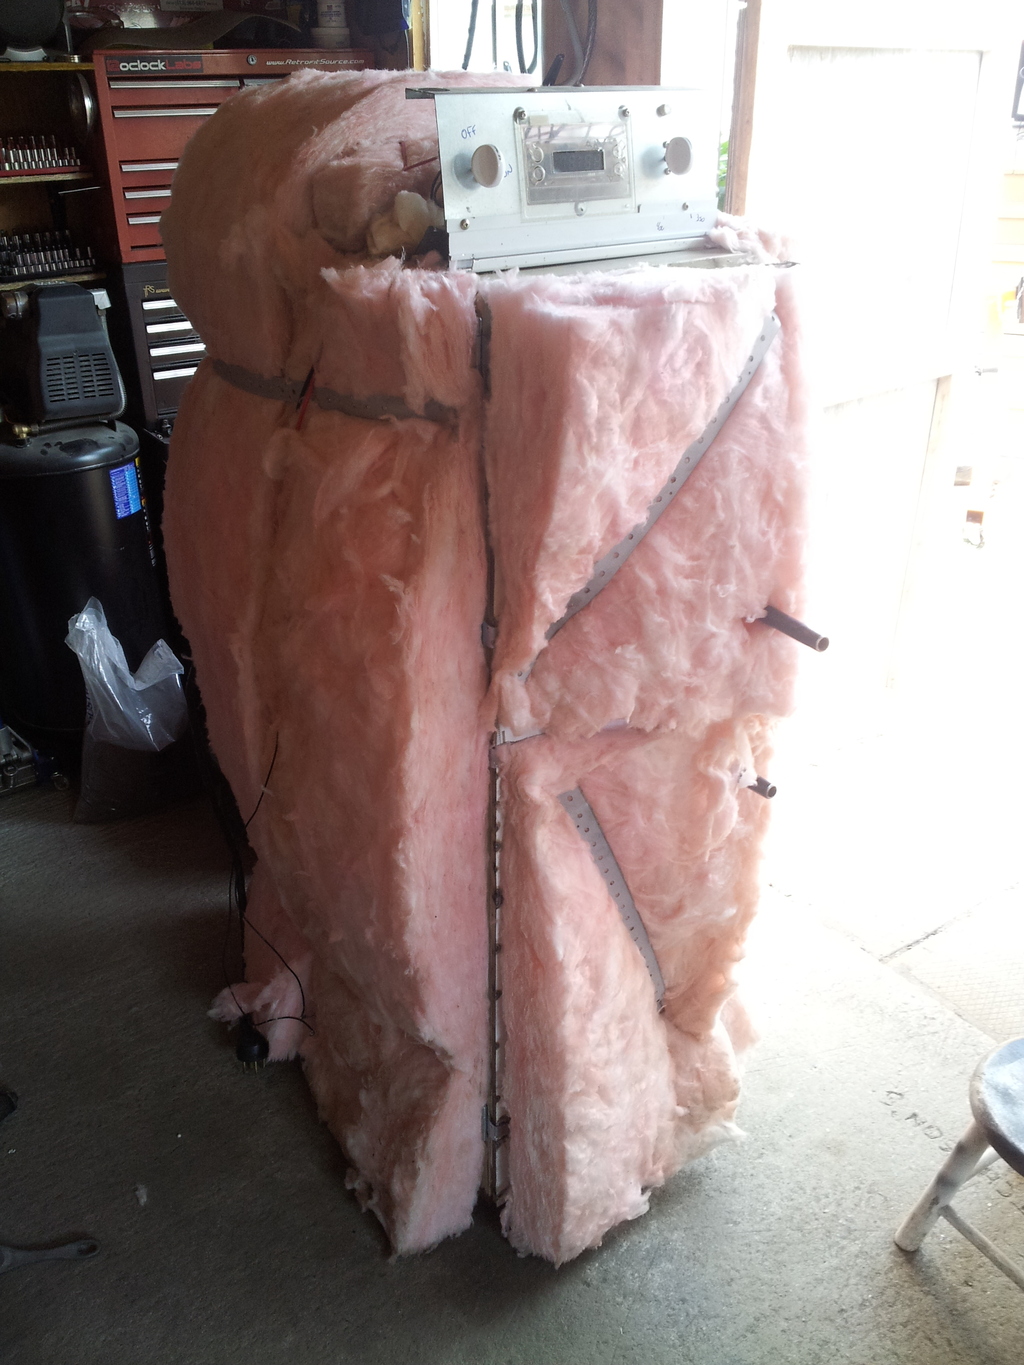
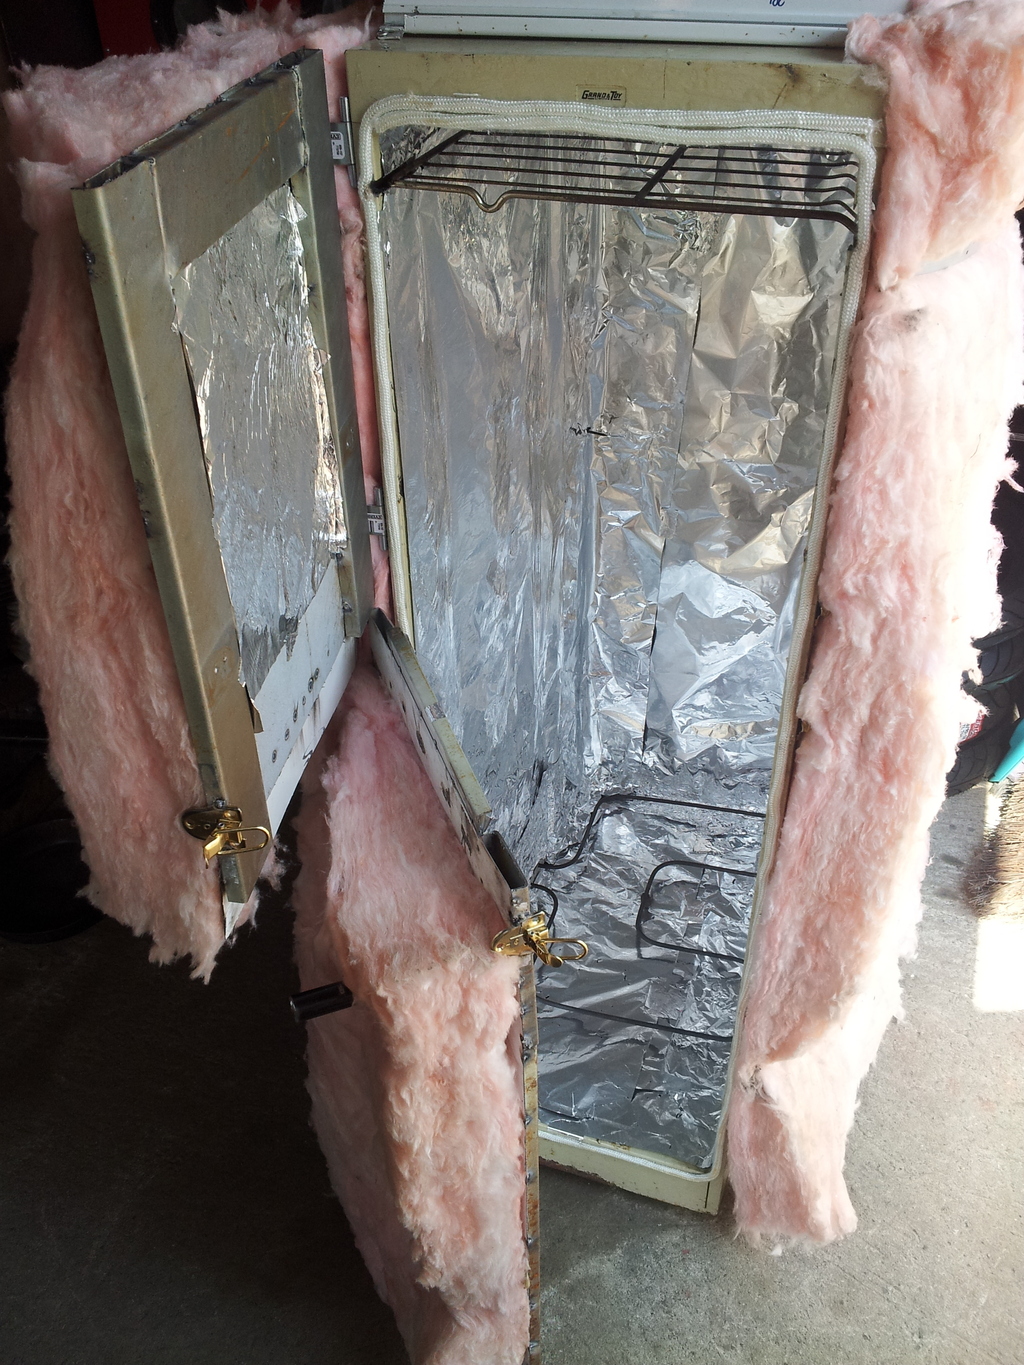
I had just started to do powdercoating for myself and this was going to be a good learning curve. Previously I had only been doing smaller parts that would fit in a regular kitchen oven I picked up for $20 which made it a pain so I decided I needed something bigger for this bike. Quick look on kijiji I found a $10 filing cabinet. Few hours later I had this beauty. Works great and heats up very quickly with the 2 elements.

20150508_151333_zpsbr7tfu49.jpg

20150508_151359_zpsjwwu060j.jpg


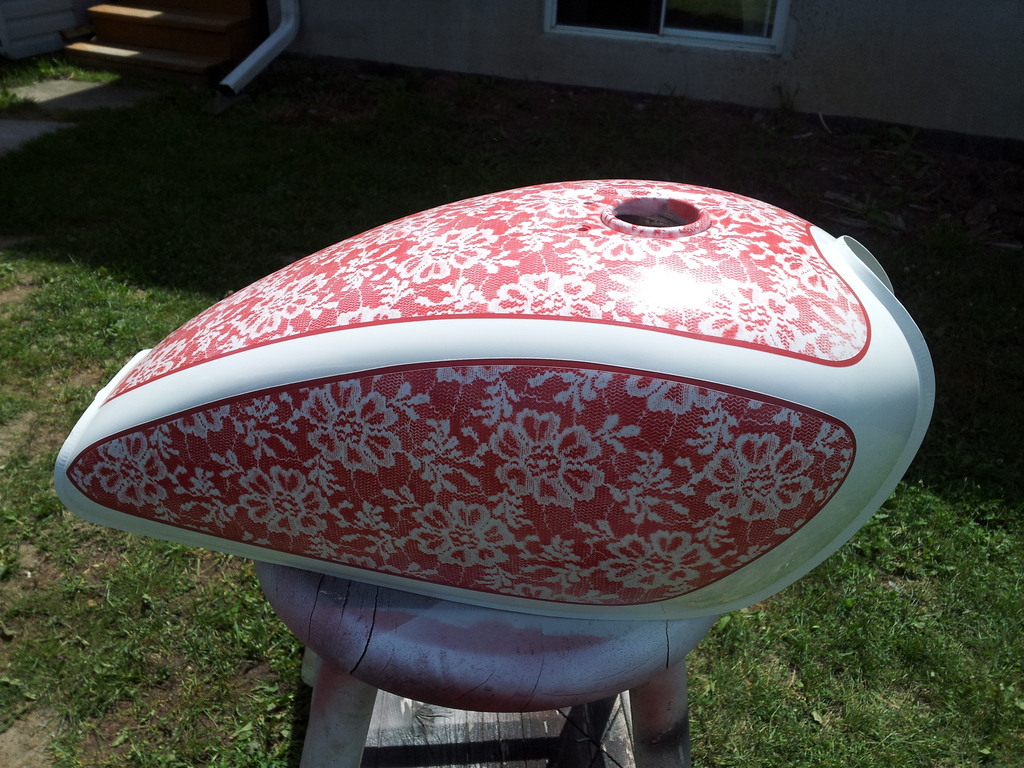
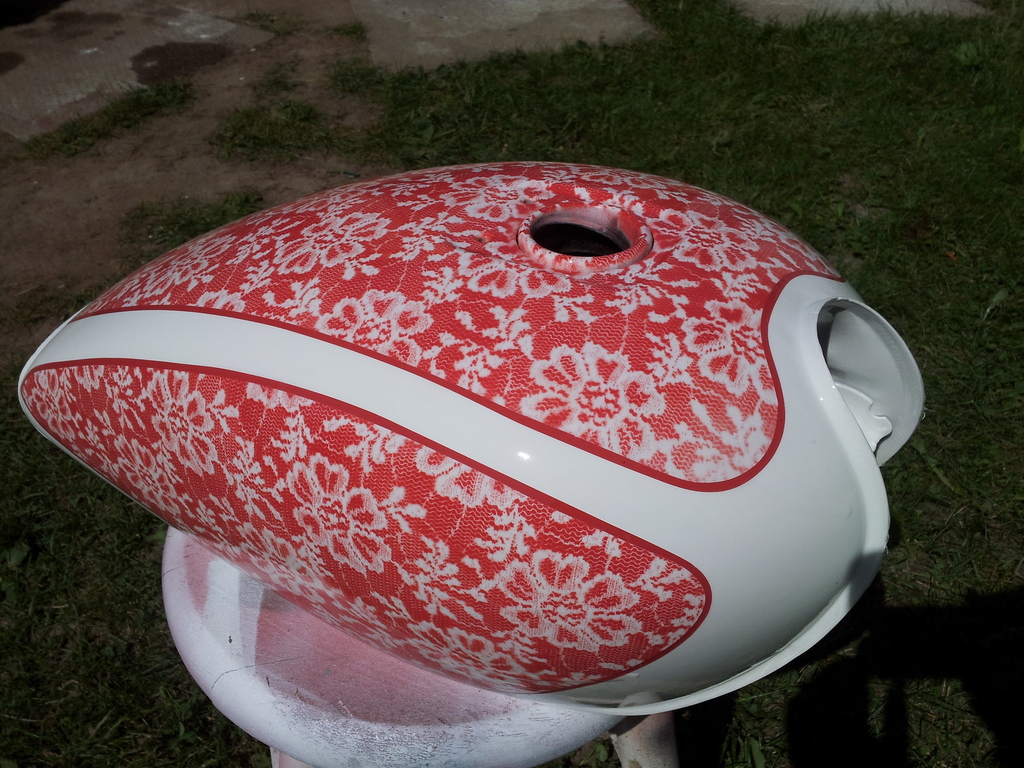
With that built so I can do bigger items I could start getting a feel for the colors she wanted. Decided to go with strawberry red and white with some black here and there.

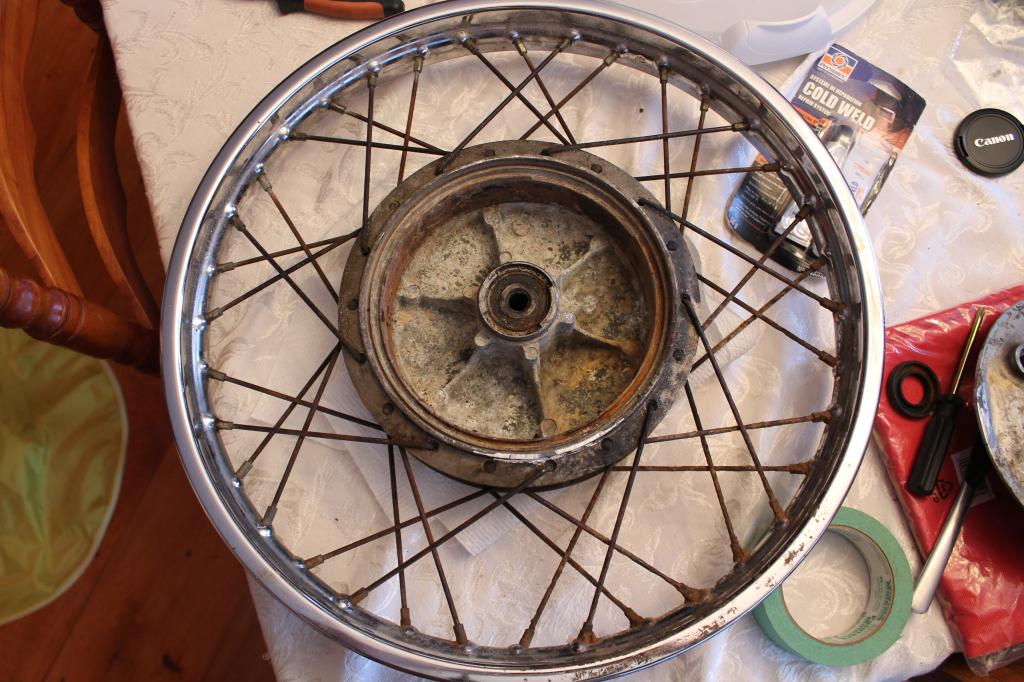
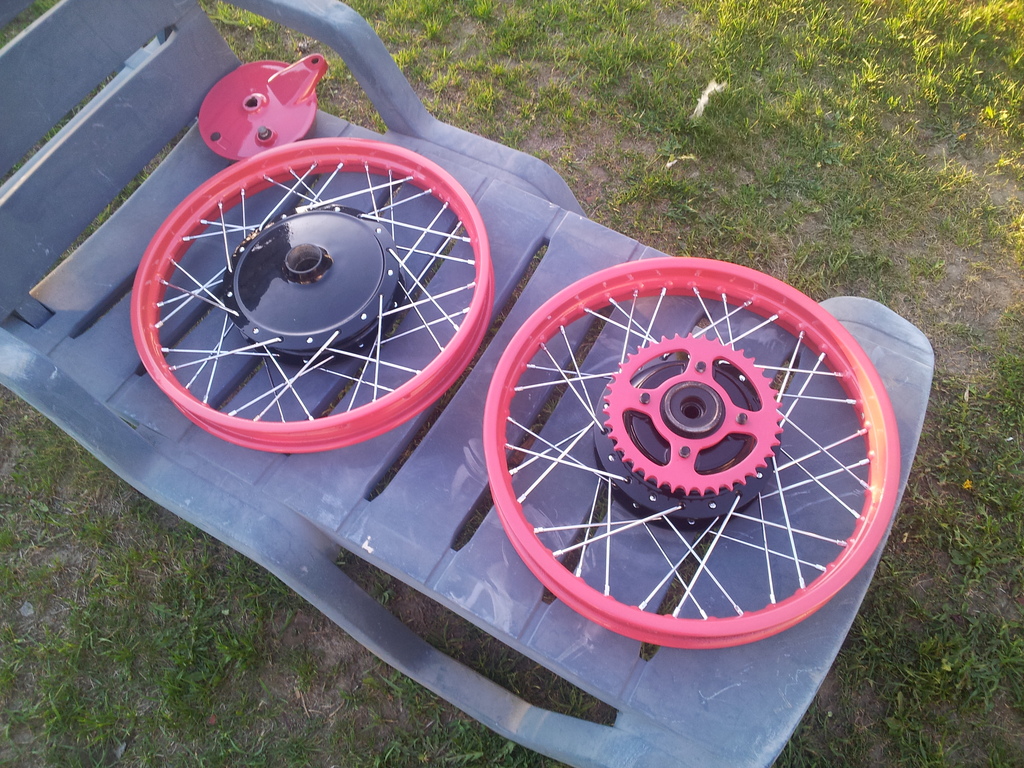
Blasted the old dirty rims and hubs and put some powder on them.

Go from this
IMG_1720_zpsms8jwas8.jpg


To this with new spokes.
20150513_194650_zpsd96canch.jpg


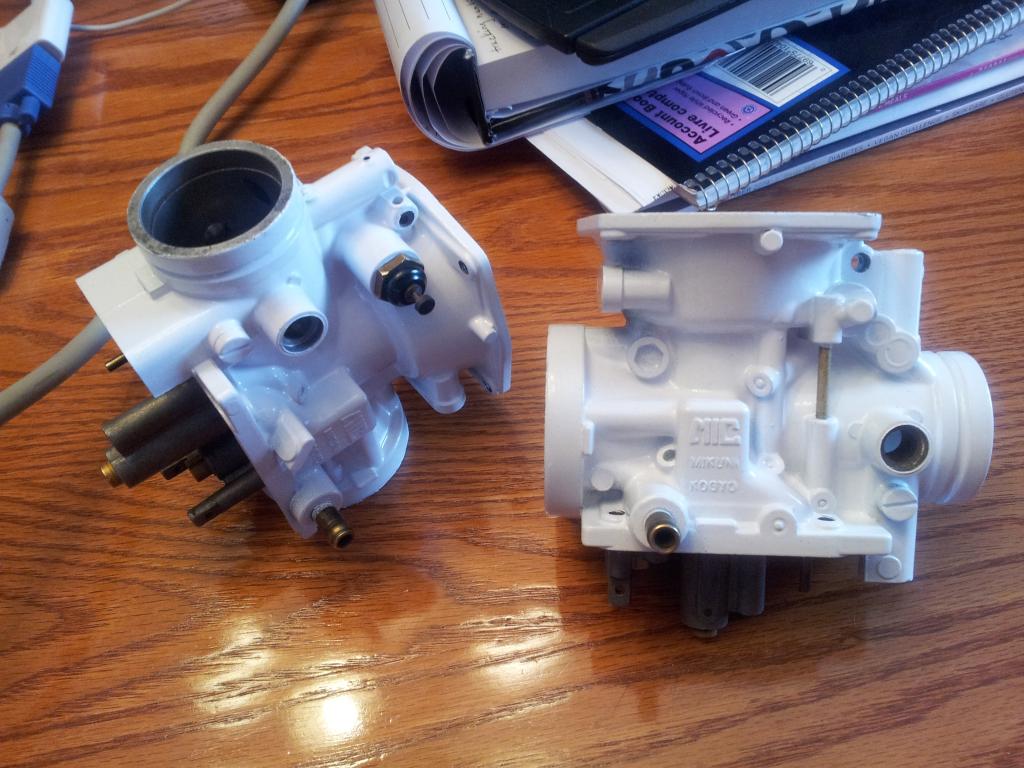
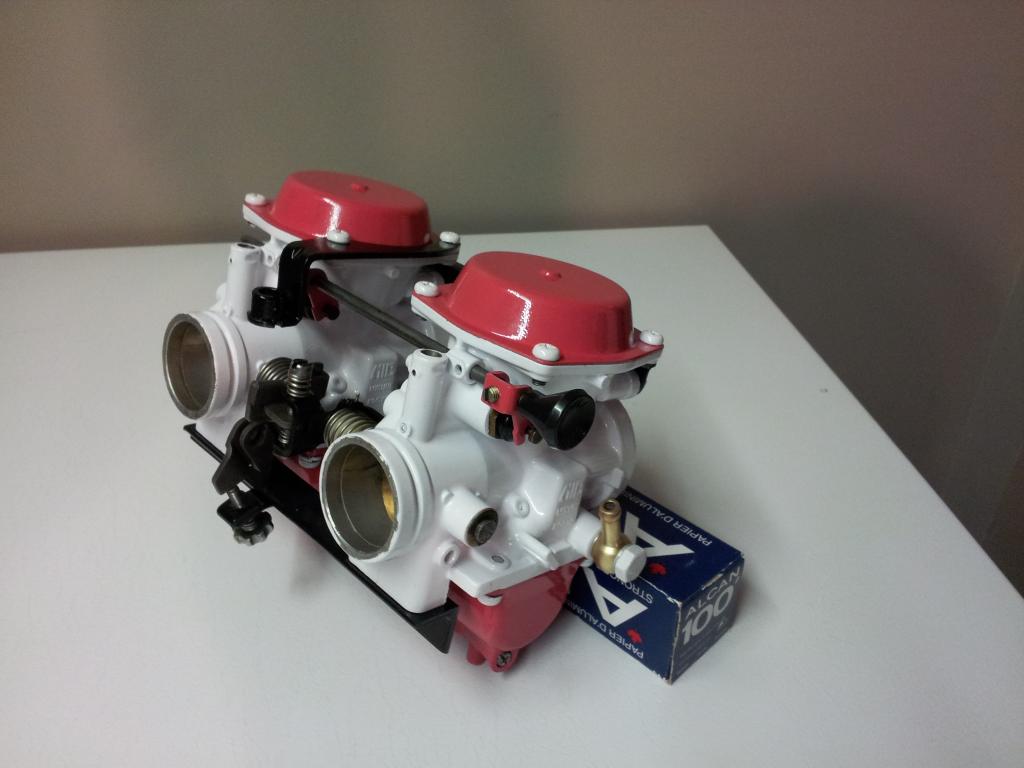
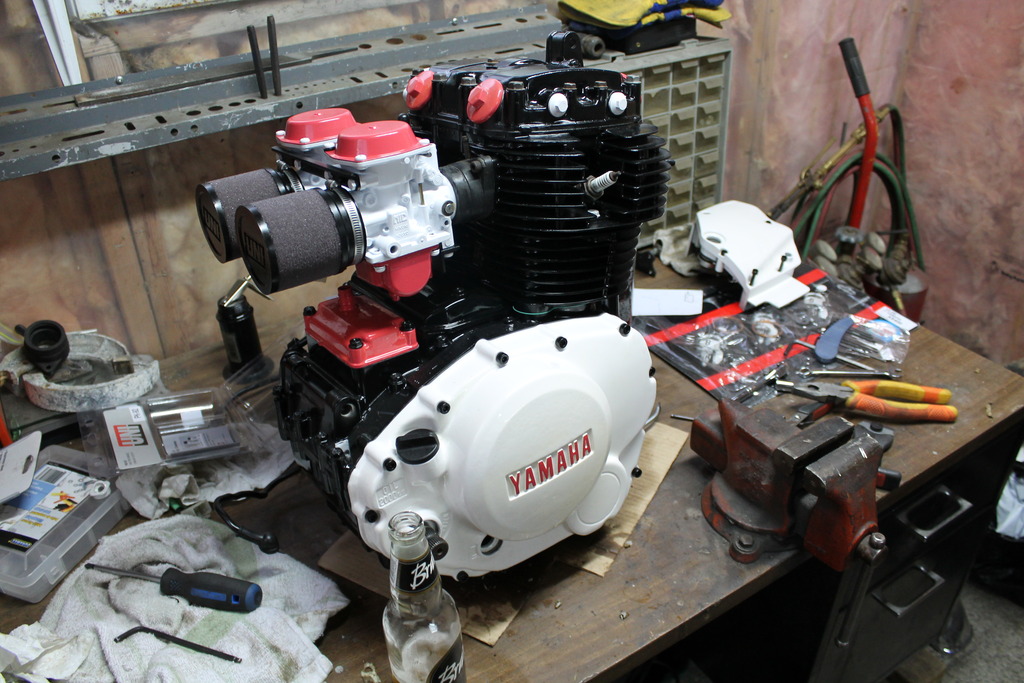
Carbs were next. 100% powder.

20150202_110713_zpsspkqzjhu.jpg

20150205_200134_zpsp9w6zz1e.jpg


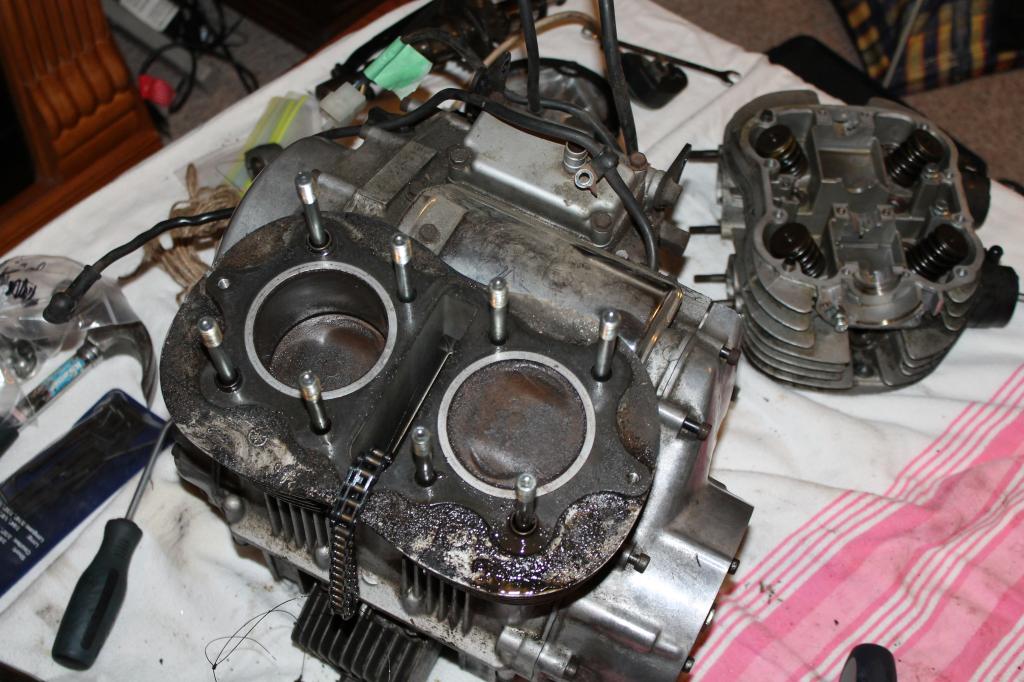
The engine had only 30 psi compression so it was time to rebuild it. After tearing it down the rings were completely seized in the pistons. No matter how much heat or soaking I did, the top 2 compression rings wouldn't free up. New pistons, rings, gaskets and seals were ordered.

IMG_1739_zpscu7rdfr1.jpg

IMG_1743_zpskeahauid.jpg

IMG_1756_zpsis1wqfs3.jpg


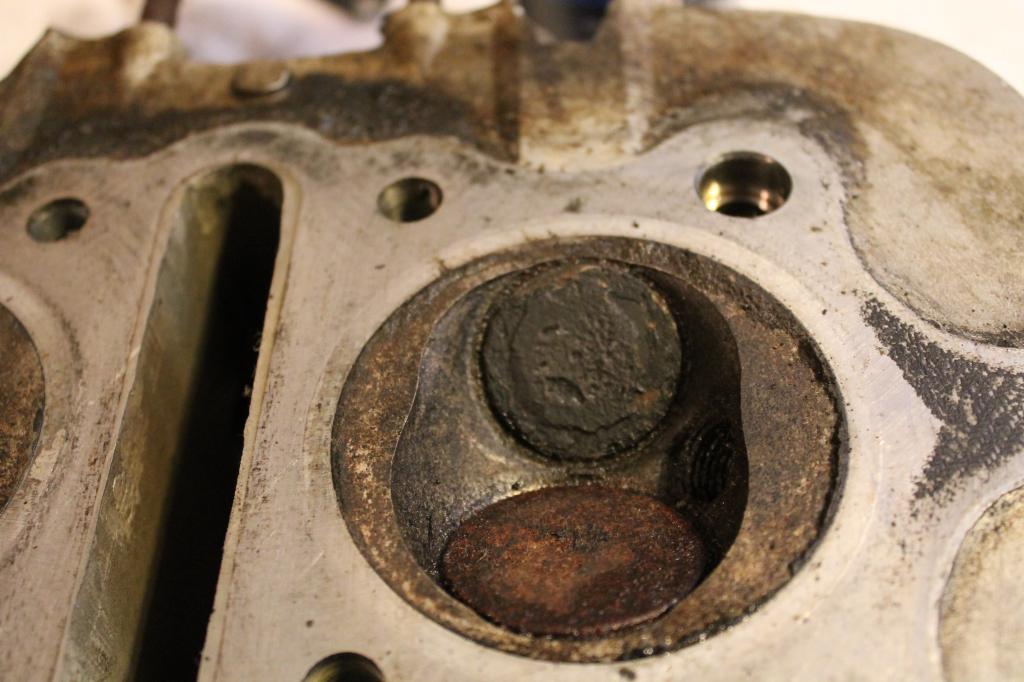
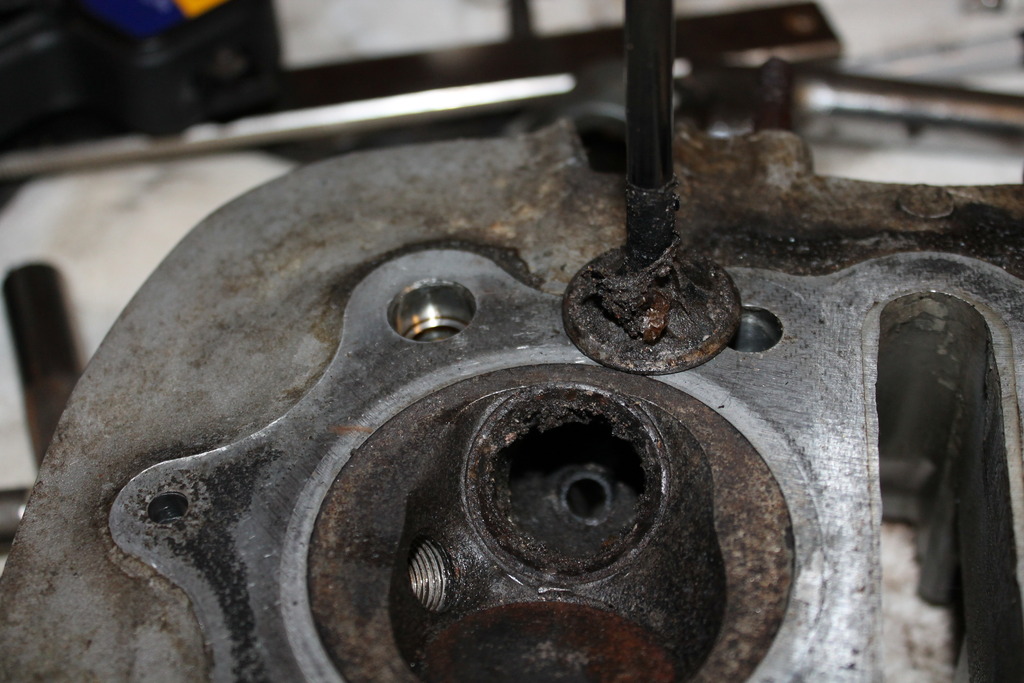
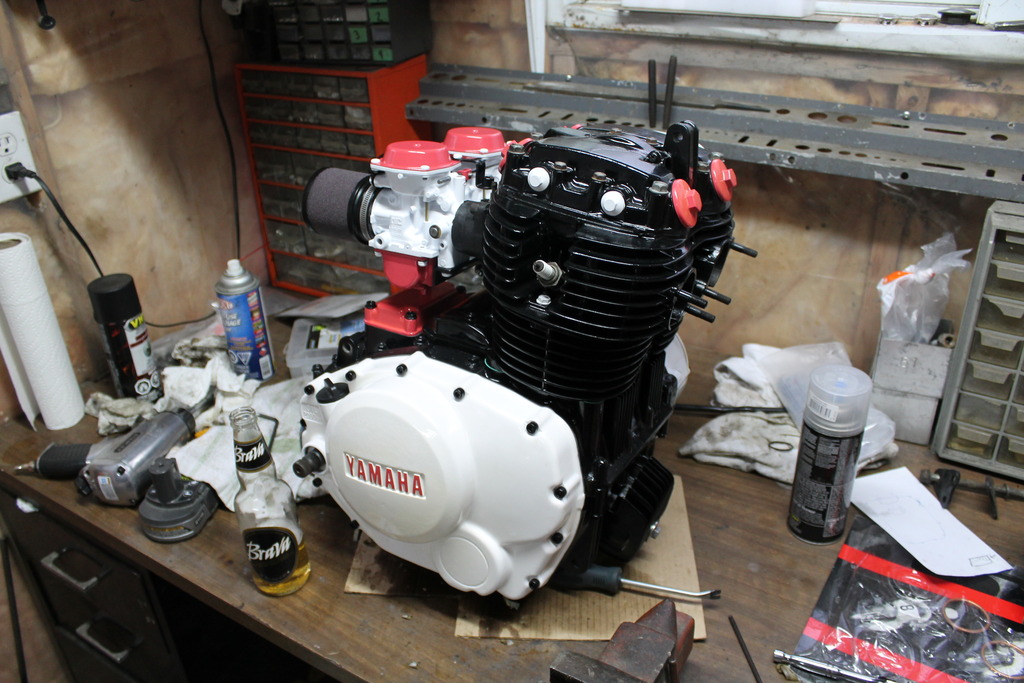
Had the bores measured and were still in spec so I just honed them as they had no crosshatch left. Cleaned up the ports and valves and lapped the seats. Luckily that's mostly all it needed. Then it was time to paint the engine, powder coat the cases and reassemble.

IMG_1790_zpso1dvgu0e.jpg


IMG_1792_zpsfizhrqln.jpg


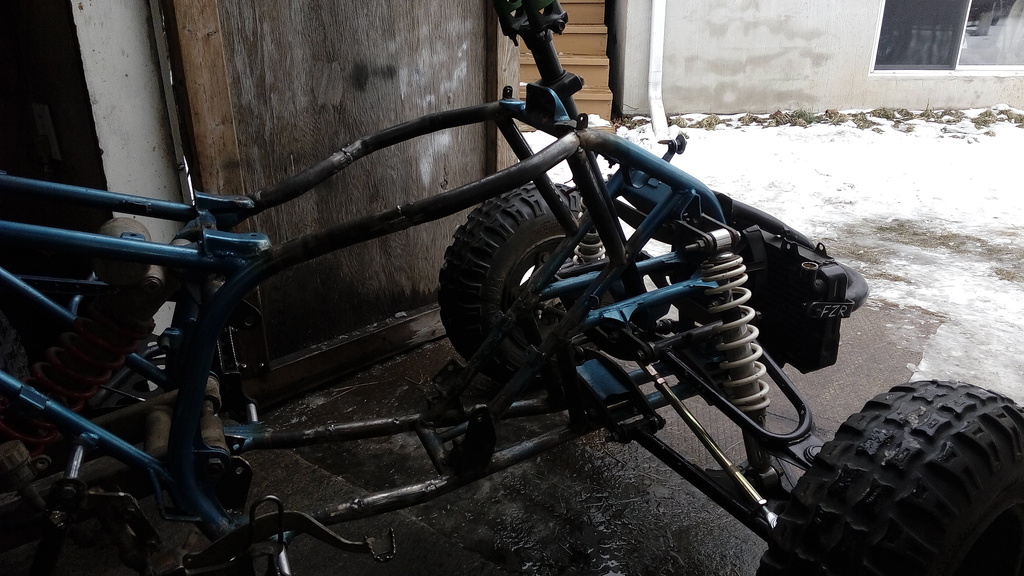
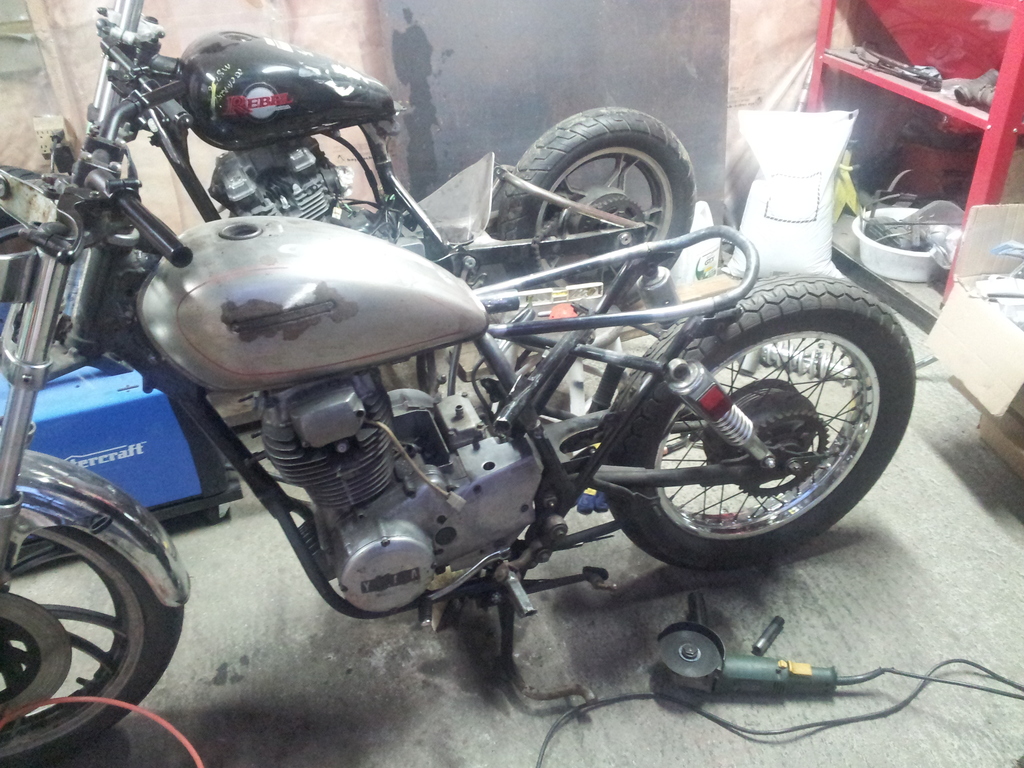
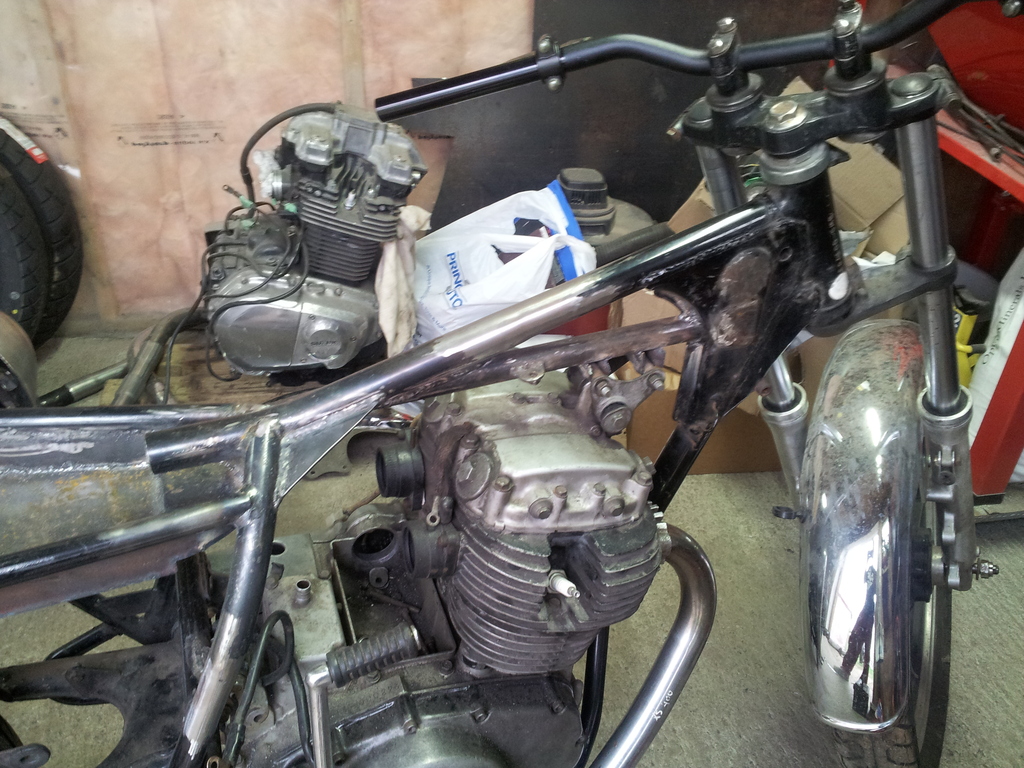
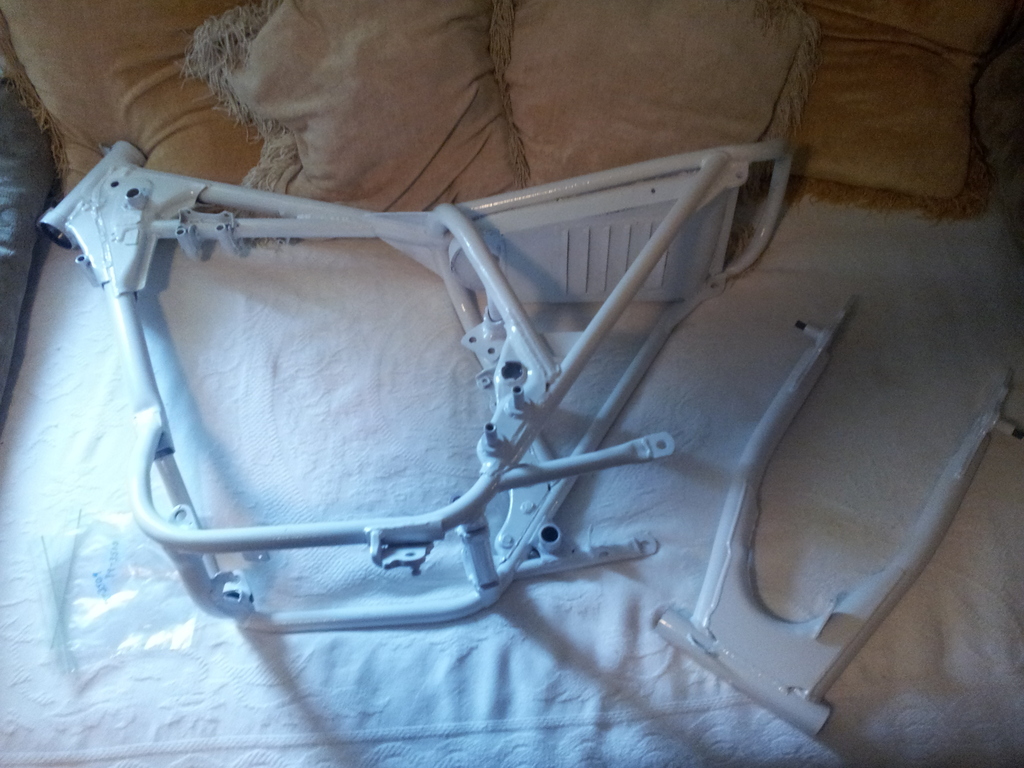
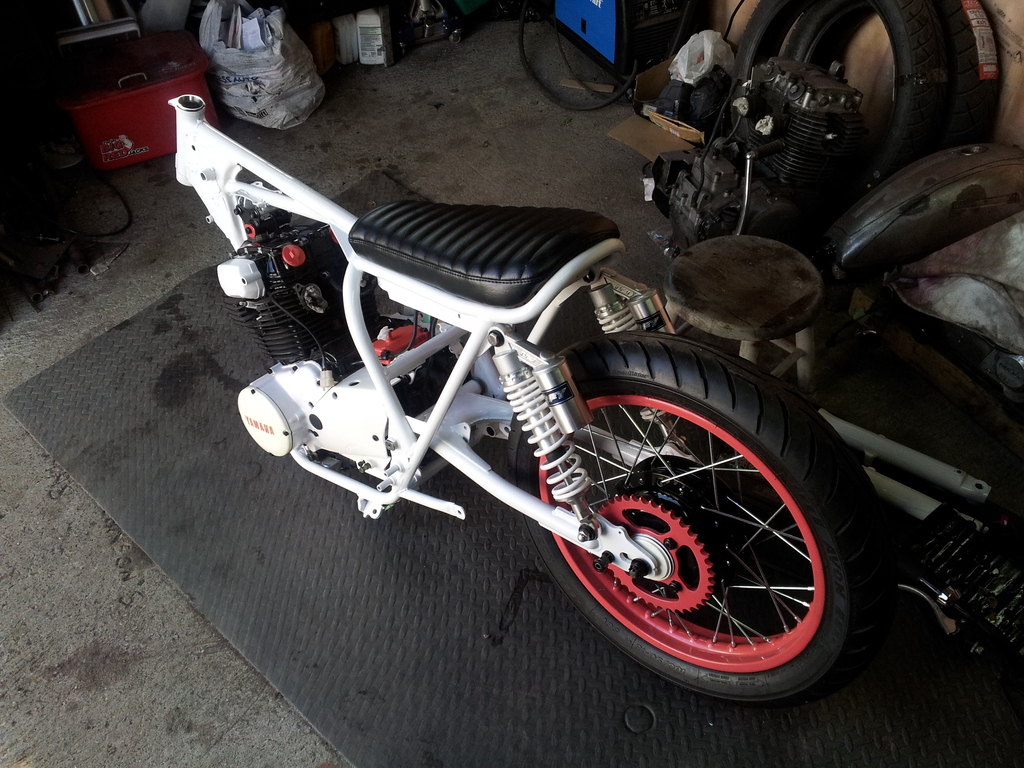
Next up was frame work. Quickly cut the triple back bone out to fit a smaller tank. Slugged and replaced the backbone with a single .120 wall. Had to make new side and rear tubes. Later re-did the rear tubes as I didn't like how they were.

IMG_1786_zpsu161jxct.jpg


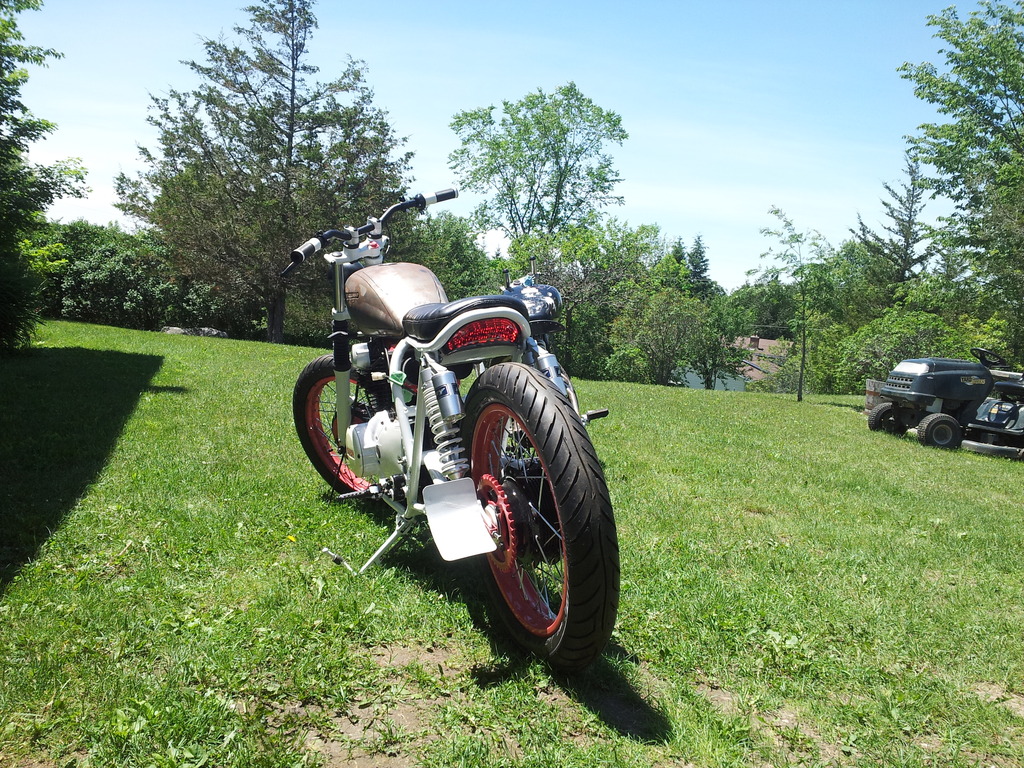
New rear tubes and hoop. I bent the hoop with an OA torch, winging the dimensions to fit a CBR taillight I wanted to use. Was shocked it came out nearly perfect the first time.
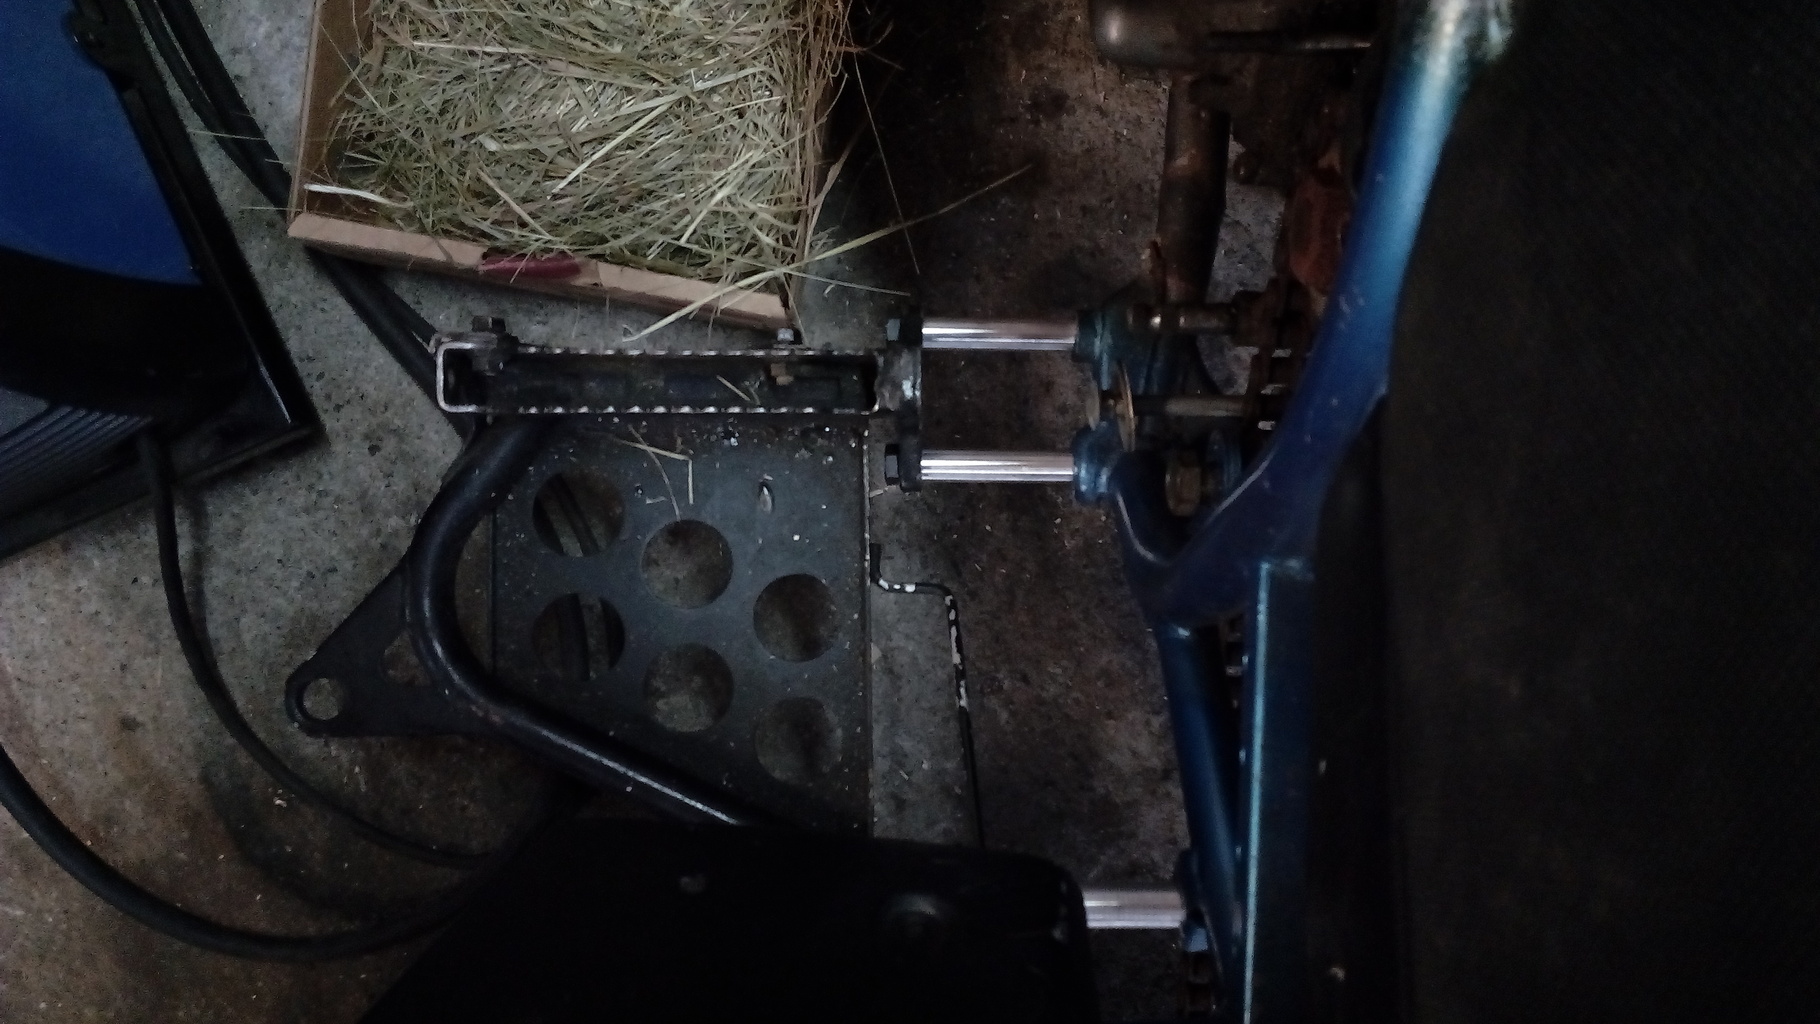
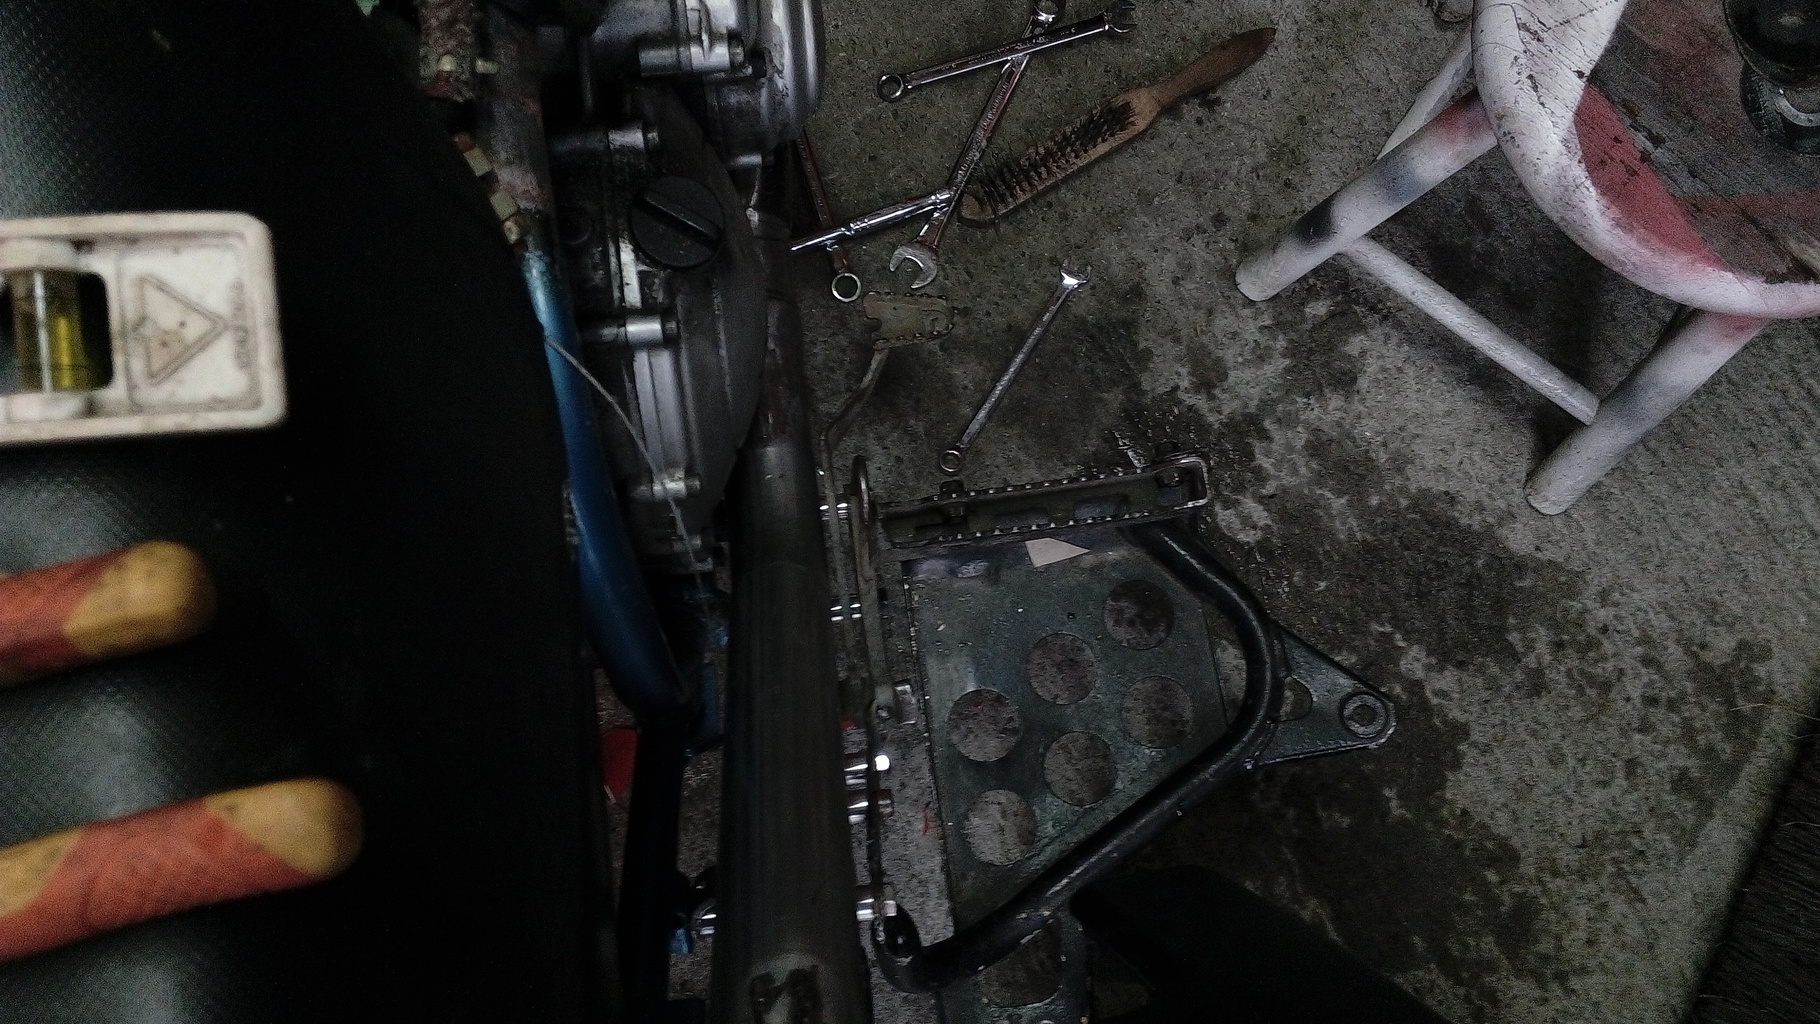
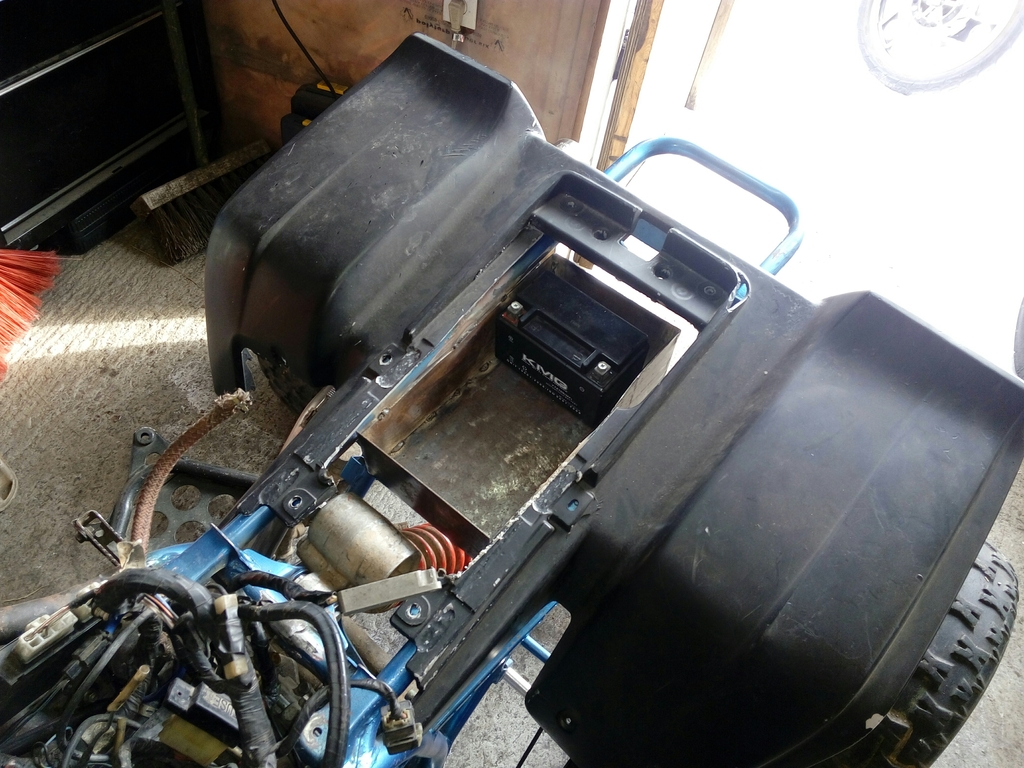
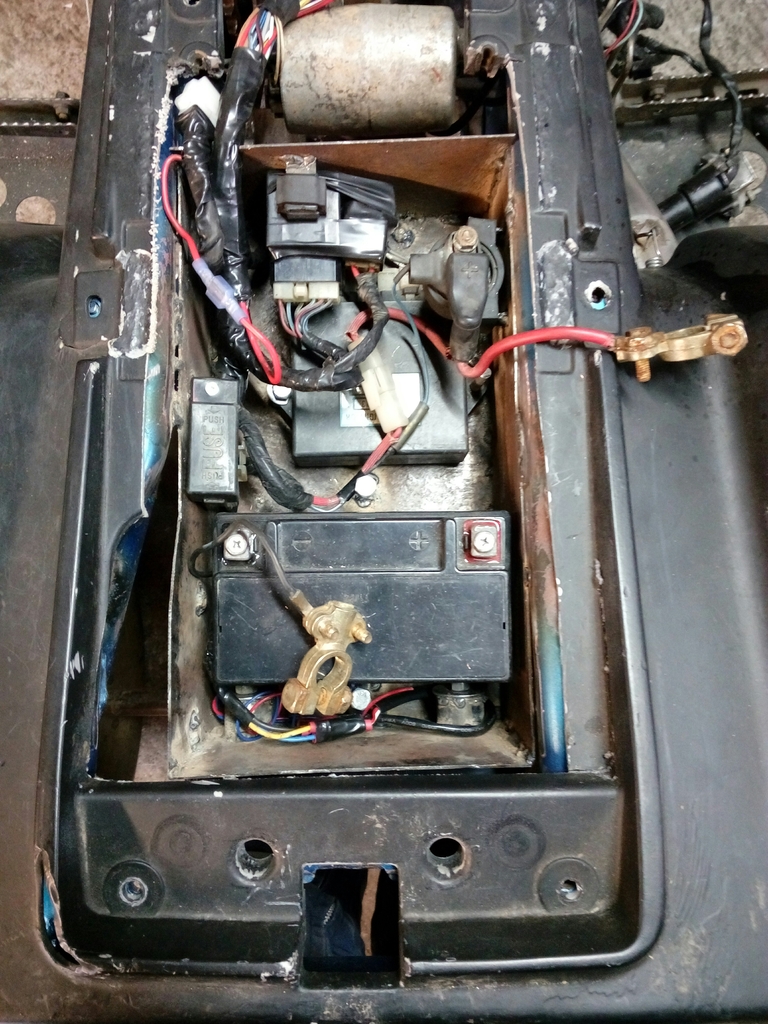
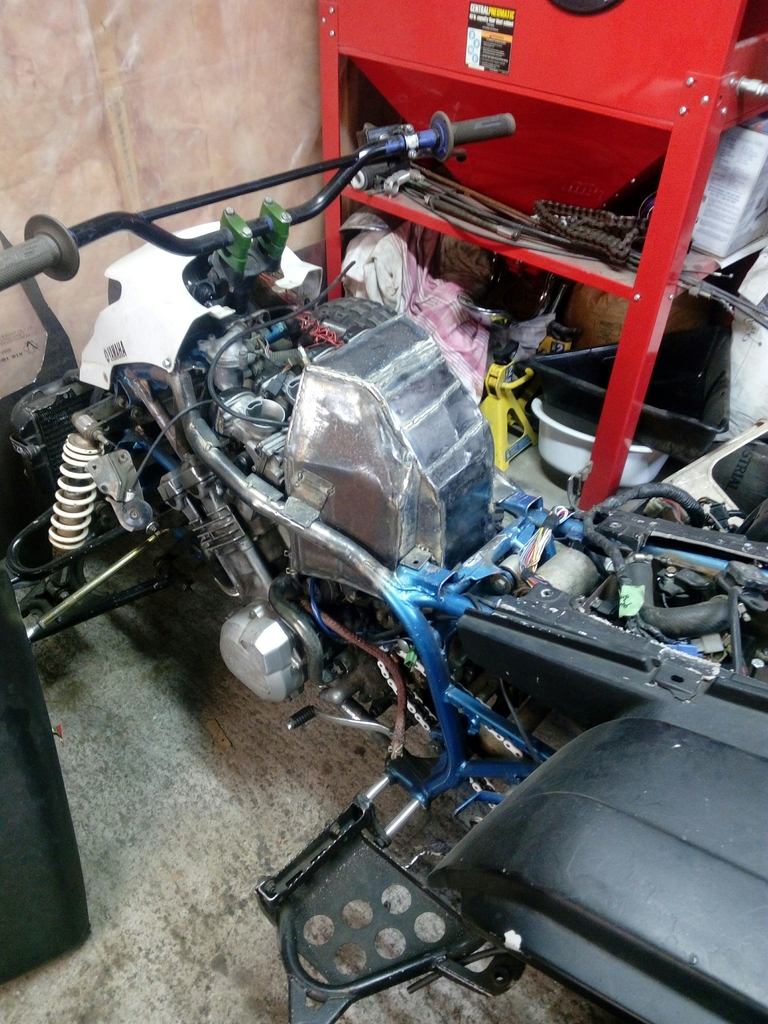
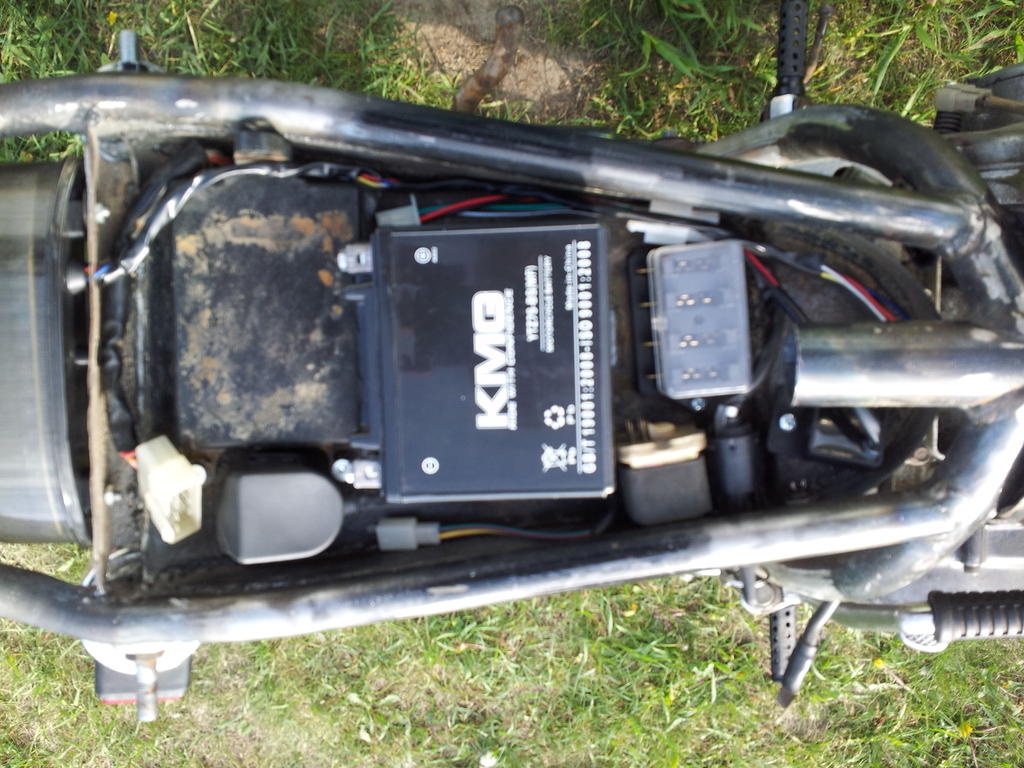
20150421_201520_zpsxpmtnvkk.jpg


20150515_174433_zpsa0mq3wqv.jpg


Electronics box

20150515_174351_zpsacd0jurr.jpg


20150515_174238_zpscrtfwrcv.jpg


20150521_175452_zpsalfjooc0.jpg


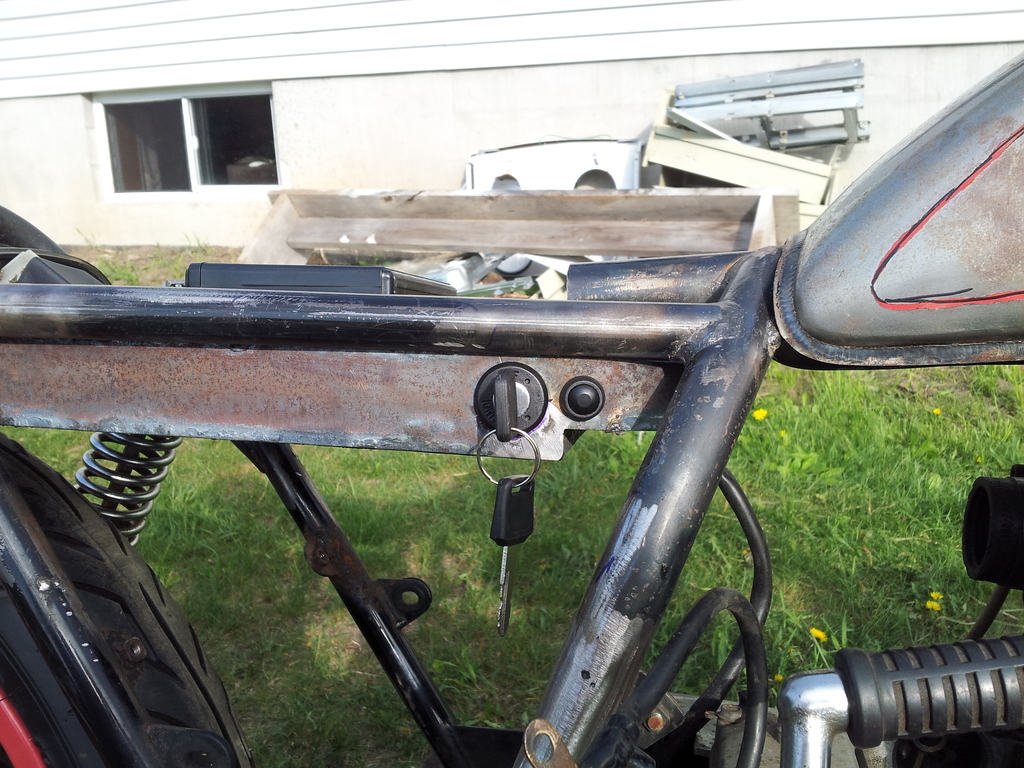
Ignition and start button
20150521_175505_zps2e3re9qv.jpg
 
Last edited:
Banged out a seat pan, glued some foam, shaped it and then after many hours of youtubing how to sew a seat cover and even many more hours with a sewing machine it was covered.

20150530_101038_zpshdblgab3.jpg

20150530_101048_zpsuht1midd.jpg

20150608_163537_zps8ciizmnd.jpg

20150608_164005_zpsnqjlmeqs.jpg


Painted frame (wouldn't quite fit in my oven easily, unfortunately) and powdered swingarm.
20150613_074638_zps6oerbjol.jpg


Start to put it together

20150613_182523_zps09gczmpy.jpg

20150613_182529_zpsy9eb9rzn.jpg


20150617_123728_zpszhtsdcb5.jpg


Now the fun part, tank paint. Lots of masking and hoping it turns out. Got some paint mixed up to match the strawberry red powder I used, exact match I'd say. The pattern is tablecloth lace. Spray some glue on it, stick it down tight, paint over it and then remove. Works great. This was spray-can base. This was before I applied a 2K clear.

20150620_111916_zpslgumfeci.jpg


20150620_154805_zpssfrjjsig.jpg


After making a wiring harness from scratch, shortening clutch, brake and throttle cables it was finished. However, this year I'm going to paint the front fender to match the tank and change out the speedometer to a black one.

IMG_20151008_143054_zpsnpzdqdny.jpg

IMG_20151008_143028_zpsnbph6na2.jpg


Here you can somewhat see the mini handlebar switches I knocked off from some expensive ones. They control signals and headlight. Wiring is ran through the bars and come out in the middle by top tree.

IMG_20150831_100222_zpsftgvugdh.jpg
 
Last edited:
I bent some tubing to add to the bumper to protect the bottom of the rad. Not sure I like how the bumper looks now. What do you think?

20160301_140226053_zpsdyzpvuqh.jpg


20160301_140305842_zps0ha3wi1w.jpg


20160301_140252285_zpsbq616czp.jpg
 
Man I checked out this entire thread.... You sir have SKILLS lol hopefully you will get a vid out of it in action when you are finished looking forward to the rest of the build

Thanks. I've been working on it still, just haven't uploaded any pictures. I should have this thing atleast running by end of March. Then the paint and powder coat will take a little while.
 
Thanks. I've been working on it still, just haven't uploaded any pictures. I should have this thing atleast running by end of March. Then the paint and powder coat will take a little while.

I would do an extended test drive. Be a shame if something needed changing or rewelding after painting.